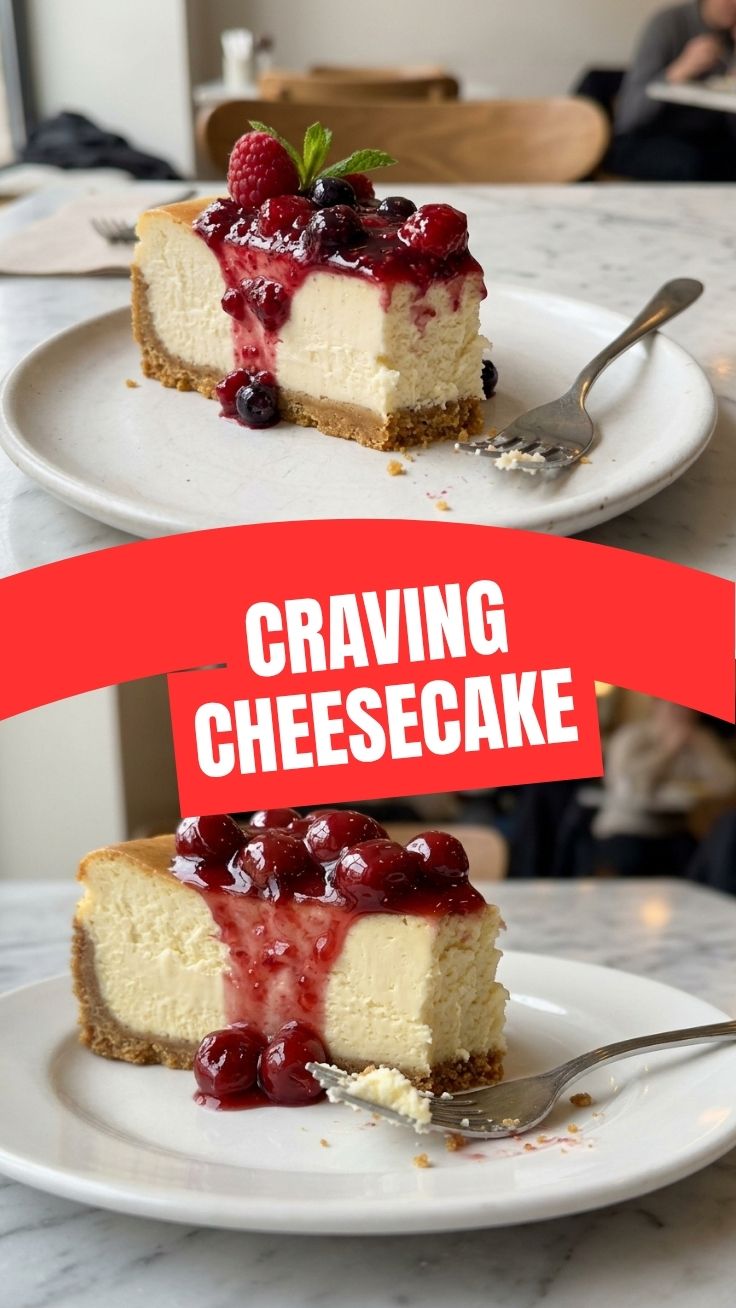
The Ultimate Creamy Cheesecake Recipe – Perfect Every Time
Have you ever sunk your fork into a slice of silky, rich cheesecake and wondered why yours never turns out that smooth? The secret isn’t just in the oven temperature—it’s in how you treat the Cream Cheese. Making this beloved dessert at home is not only rewarding but also far more economical than bakery versions. You control the sweetness, texture, and every ingredient. Whether you’re a beginner or a seasoned baker, this guide walks you through each step with data-driven tips so your cheesecake comes out crack-free and luscious. And let’s not forget the star player—cream cheese—which gives that signature tang and velvety mouthfeel.
Ingredients & Kitchen Tools
For the crust:
– 1½ cups graham cracker crumbs (or digestive biscuits)
– ¼ cup granulated sugar
– 6 tablespoons unsalted butter, melted (substitute coconut oil for dairy-free)
For the filling:
– 32 oz (4 blocks) full-fat cream cheese, room temperature (low-fat will alter texture)
– 1 cup granulated sugar
– 1 teaspoon vanilla extract
– 4 large eggs, room temperature
– ½ cup sour cream (or full-fat Greek yogurt)
– 1 tablespoon all-purpose flour (helps prevent cracking; omit for gluten-free)
Kitchen tools:
9-inch springform pan, mixing bowls, electric mixer (hand or stand), rubber spatula, roasting pan (for water bath), aluminum foil, cooling rack.
Prep Time & Cooking Schedule
– Prep time: 20 minutes (include bringing cream cheese to room temperature – don’t skip!)
– Resting time: 30 minutes at room temperature after mixing (optional but reduces lumps)
– Bake time: 55–65 minutes at 325°F (low and slow)
– Cooling time: 1 hour at room temperature, then at least 4 hours (preferably overnight) in the fridge
Plan ahead: cheesecake needs a full 8-hour chill to set properly. Morning baking = evening serving works perfectly.
Step-by-Step Instructions
1. Prep the pan: Wrap the outside of a 9-inch springform pan with two layers of heavy-duty foil. Lightly grease the inside.
2. Make the crust: Combine graham crumbs, sugar, and melted butter. Press firmly into the bottom of the pan using a flat-bottomed glass. Bake at 325°F for 10 minutes. Cool completely.
3. Prepare the filling: In a large bowl, beat room-temperature cream cheese with sugar on medium-low until smooth (about 2 minutes). Scrape down sides often. Add vanilla, then eggs one at a time, mixing on low after each just until incorporated. Fold in sour cream and flour. Do not overmix—excess air causes cracks.
4. Water bath: Place the foil-wrapped pan inside a larger roasting pan. Pour boiling water into the roasting pan until it reaches halfway up the sides of the springform. This gentle steam ensures even baking and a silky cheesecake texture.
5. Bake: Bake 55–65 minutes. The center should jiggle slightly when shaken; a knife inserted near the edge should come out clean. Turn off oven, crack door, and let cheesecake cool inside for 1 hour (prevents sudden temperature shock).
6. Chill: Remove from water bath, take off foil, and refrigerate uncovered for 1 hour, then cover with plastic wrap and chill at least 4 hours.
Pro tip: If you see browning too fast, tent with foil halfway through.
Nutritional Benefits & Advantages
Full-fat cream cheese provides calcium, vitamin A, and healthy fats that support satiety. A moderate slice (1/12 of a 9-inch cake) contains about 350 calories, 25g fat, and 6g protein. The protein from eggs and dairy helps balance blood sugar when paired with a low-sugar crust. For a lighter option, use Neufchâtel cheese (1/3 less fat) but expect a slightly softer set.
Tips Variations & Cooking Advice
– Flavor twists: Swirl in melted dark chocolate, pumpkin purée with cinnamon, or lemon zest.
– Gluten-free: Use almond flour or gluten-free cookie crumbs for the crust.
– Dairy-free: Substitute vegan cream cheese and coconut cream for sour cream.
– No water bath? Place a pan of hot water on the lower oven rack – it’s less effective but still helps.
– Portion control: Bake in a lined muffin tin for mini cheesecakes; reduce time to 18–22 minutes.
Common Mistakes to Avoid
| Mistake | Solution |
|———|———-|
| Cracked top | Don’t overmix; use water bath; cool gradually |
| Dense, gummy texture | Overbaking or cold cream cheese – always use room-temp ingredients |
| Soggy crust | Par-bake crust and press it very firmly; avoid wet fillings |
| Burnt edges | Oven too hot – use an oven thermometer and lower rack |
| Sticking to pan | Grease pan well and line bottom with parchment circle |
Storage & Meal Prep Tips
– Refrigerate: Store covered in the springform pan (or airtight container) for up to 5 days.
– Freeze: Wrap individual slices in plastic wrap then foil. Freeze up to 3 months. Thaw overnight in the fridge.
– Reheat: Let come to room temperature (15–20 minutes) before serving. For warm cheesecake, microwave a slice for 10–15 seconds only; longer may curdle the filling.
– Meal prep: Bake on Sunday, chill until Tuesday’s dinner party – the flavor actually improves after 24 hours.
Conclusion
Making a flawless cheesecake at home is entirely achievable when you follow a few key steps: room-temperature cream cheese, gentle mixing, and a water bath. This recipe yields a dense, creamy, and tangy dessert that rivals any bakery. The patience you invest in chilling pays off with every silky bite. Try it for your next gathering, and don’t forget to snap a photo of your creation! Share your results or tag a friend who loves cheesecake as much as you do.
FAQs
1. Can I use low-fat cream cheese?
Yes, but the texture will be less rich and may crack more easily because lower fat content changes emulsion stability.
2. Why did my cheesecake sink in the middle?
Usually overmixing or opening the oven door too early. Fold ingredients gently and resist peeking for the first 40 minutes.
3. Can I skip the water bath?
You can, but you risk cracking and uneven texture. Place a pan of water on the oven floor as a compromise.
4. How do I know when it’s done?
The center should jiggle like Jell-O when gently shaken. The internal temperature at center should be 150°F.
5. Can I add fruit directly to the batter?
Fresh fruit releases water and can cause a wet layer. Instead, swirl in fruit purée (cooked down) or top with fruit after baking.