The Ultimate Guide to Baking Perfect Blondies at Home
Have you ever craved a dessert that delivers all the buttery, chewy satisfaction of a classic brownie but with a richer, caramel-like flavor profile? Enter the world of blondies—the often-overlooked cousin of the chocolate brownie. While traditional brownies rely on cocoa powder for their deep color and intense chocolate taste, blondies (also known as `blonde brownies`) derive their magic from brown sugar, vanilla, and sometimes a touch of white chocolate. Understanding the difference between these two beloved treats is the first step to mastering a dessert that is surprisingly simple yet impressively decadent.
Preparing blondies at home is not just about following a recipe; it’s about controlling quality, customizing flavors, and creating a bakery-fresh experience in your own kitchen. You can tweak the sweetness, add your favorite mix-ins, and ensure every ingredient is fresh. More importantly, DIY blondies allow you to appreciate the subtle science behind the perfect texture—crispy edges with a soft, gooey center. In this guide, we’ll break down everything you need to know, from ingredients to troubleshooting, ensuring your first (or fiftieth) batch is flawless.
—
Ingredients & Kitchen Tools
Essential Ingredients:
– Unsalted butter (1 cup / 2 sticks): Provides richness; browning adds a nutty depth.
– Light brown sugar (1 ½ cups, packed): The star ingredient for caramel flavor and chewiness.
– Granulated sugar (½ cup): Adds crispness to the edges.
– Large eggs (2): Bind the batter; room temperature for better emulsification.
– Vanilla extract (2 tsp): Amplifies the butterscotch notes.
– All-purpose flour (1 ¾ cups): Structure—measure correctly by spooning and leveling.
– Baking powder (1 tsp): Leavening for a slight lift.
– Salt (½ tsp): Balances sweetness.
– White chocolate chips or butterscotch chips (1 cup): Optional but highly recommended.
Kitchen Tools:
– 9×13-inch baking pan
– Parchment paper (for easy removal)
– Mixing bowls (large and medium)
– Whisk and rubber spatula
– Electric mixer (hand or stand) or strong arm
– Cooling rack
Optional Substitutions:
– Brown sugar: Use coconut sugar (less sweet) or dark brown sugar (more molasses flavor).
– Flour: Gluten-free 1:1 blend works well.
– Mix-ins: Chopped nuts, dried cherries, chocolate chunks, or even a swirl of peanut butter.
—
Prep Time & Cooking Schedule
– Prep Time: 15 minutes
– Cook Time: 22-25 minutes
– Cooling Time: 30 minutes (minimum)
– Total Time: ~1 hour 10 minutes
Plan ahead: The butter needs to melt and slightly cool, and the eggs must be at room temperature. For the best flavor, consider browning the butter (which adds a 5-minute step) and letting the batter rest for 10 minutes after mixing. This allows the flour to hydrate, resulting in a denser, fudgier texture. Most of the cooking time is hands-off, so you can clean up while they bake.
—
Step-by-Step Instructions
1. Preheat and Prep: Preheat oven to 350°F (175°C). Line your 9×13 pan with parchment paper, leaving overhang for lifting.
2. Brown the Butter (Optional but Incredible): Melt butter in a saucepan over medium heat. Stir constantly; it will foam, then turn golden brown with nutty aromas. Remove immediately. Pour into a large bowl and let cool for 5 minutes.
3. Mix Wet Ingredients: Whisk both sugars into the warm butter until combined. Add eggs and vanilla, whisking vigorously until smooth and slightly thickened (about 1 minute).
4. Add Dry Ingredients: Gently fold in flour, baking powder, and salt. Crucial tip: Stop mixing when just combined—overmixing develops gluten and makes blondies tough. The batter should be thick and glossy.
5. Add Mix-ins: Fold in white chocolate chips or your chosen add-ins. Reserve a handful to press on top for a pretty presentation.
6. Bake: Spread batter evenly in the pan. Bake for 22–25 minutes. The top should be golden brown, edges set, and a toothpick inserted in the center should come out with moist crumbs (not wet batter). For perfect blondies, always err on the side of underbaking—they continue to cook in the pan.
7. Cool: Let cool in the pan for 30 minutes, then lift out and slice. For clean cuts, use a long, sharp knife and wipe it clean between cuts.
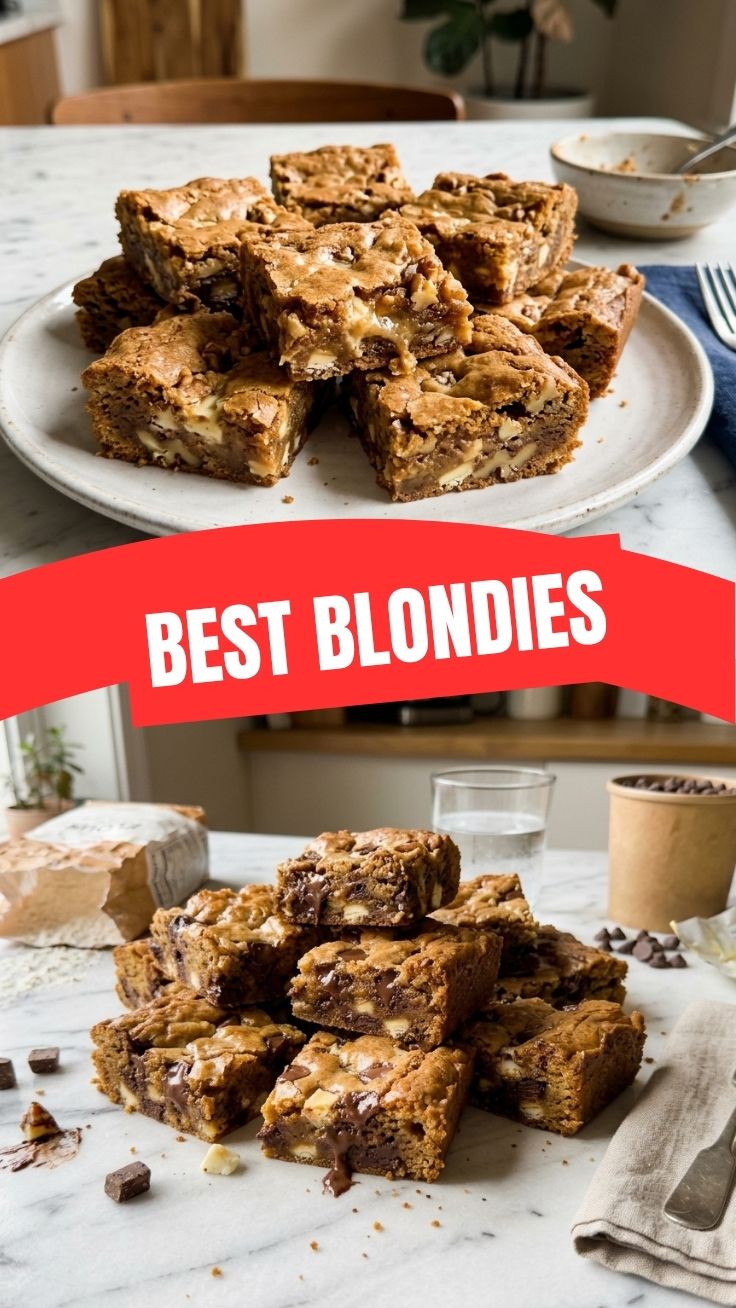
At this stage, you will notice that properly baked blondies have a signature golden hue, setting them apart from blonde brownies which typically include a higher ratio of white chocolate or vanilla for a lighter color.
—
Nutritional Benefits & Advantages
While blondies are undoubtedly a treat, they offer some surprising advantages over chocolate-heavy alternatives. The primary ingredient, brown sugar, contains molasses, which provides trace amounts of minerals like calcium, potassium, and iron. When you use browned butter, you also introduce healthy fats that contribute to satiety—meaning a smaller piece can satisfy a sweet craving.
If you add nuts or seeds (like walnuts or pepitas), you boost healthy omega-3 fatty acids and protein. Blondies made with whole wheat flour (substitute 1:1) or oat flour increase fiber content, helping with digestion. Compared to many store-bought desserts, homemade blondies have no preservatives and allow you to control sugar levels. Plus, they are naturally lower in fat than traditional brownies when made with oil or applesauce substitutions.
—
Tips Variations & Cooking Advice
– Flavor Twists: Add 1 tsp of cinnamon or espresso powder to deepen the toffee notes. A swirl of dulce de leche or caramel sauce before baking adds gooey pockets.
– Dietary Adaptations: For gluten-free blondies, use a 1:1 gluten-free flour blend with xanthan gum. For dairy-free, swap butter with coconut oil or vegan butter, and use dairy-free white chocolate.
– Portion Tweaks: For smaller batches, halve the recipe and bake in an 8×8 pan for 30-35 minutes.
– Texture Changes: For extra chewiness, replace one egg with an egg yolk. For cakier blondies, add an extra egg white.
– Gourmet Touch: Sprinkle flaky sea salt on top immediately after baking.
—
Common Mistakes to Avoid
– Overbaking: The #1 mistake. Blondies should be slightly underbaked; they firm up as they cool. Overbaking yields dry, crumbly bars.
– Using Cold Eggs: Cold eggs seize the butter, leading to a greasy batter. Always bring them to room temperature.
– Skipping Parchment Paper: You’ll struggle to remove them neatly. Parchment is non-negotiable.
– Incorrect Measurement of Flour: Scooping directly from the bag can pack up to 25% more flour, creating dense blondies. Always spoon into measuring cups and level.
– Not Cooling Before Cutting: Cutting hot blondies will create a mess and ruin the texture. Patience is essential.
—
Storage & Meal Prep Tips
Storage Method:
– Room Temperature: Store in an airtight container at room temperature for up to 5 days. Add a slice of bread to the container to absorb excess moisture and keep them soft.
– Refrigeration: Not recommended—it can dry them out quickly.
– Freezing: Wrap individual blondies in plastic wrap, then place in a freezer bag. They freeze well for up to 3 months.
Reheating Instructions: To restore that fresh-from-the-oven texture, microwave a single blondie for 10-15 seconds. For a crispier edge, reheat in a 350°F oven for 5 minutes.
—
Conclusion
Mastering blondies at home is a rewarding experience that transforms simple pantry staples into a decadent, crowd-pleasing dessert. In this guide, we’ve covered the essential techniques—from browning butter to avoiding overmixing—that ensure your batch turns out perfectly every time. Whether you prefer classic blondies or crave the lighter hue of blonde brownies, this recipe serves as a foundational canvas for endless creativity.
The key takeaways are simple: measure accurately, do not overbake, and always let them cool. By following these principles, you’ll produce blondies with the ideal balance of crispy edges, chewy centers, and deep caramel flavor. Try this recipe today, share your results with friends, and don’t hesitate to experiment with mix-ins. For more baking inspiration, explore our other dessert guides—your perfect treat awaits!
—
FAQs
1. Can I use salted butter instead of unsalted?
Yes, but reduce the added salt in the recipe by half. Salted butter can vary widely in salt content, so taste the batter (raw flour aside) to gauge.
2. Why are my blondies not spreading in the pan?
Your batter may be too thick due to over-measuring flour or using too many mix-ins. Ensure you slide the batter to the edges with a spatula, and bake at the correct temperature.
3. How do I fix greasy blondies?
Greasiness often results from over-creaming butter and sugar, or using too much butter. Stick to the recipe ratios, and ensure your eggs are room temperature for proper emulsification.
4. Can I make blondies without brown sugar?
Brown sugar is essential for the classic flavor. Use a 1:1 mix of white sugar + 1 tablespoon molasses as a substitute, but it won’t be identical.
5. How long do blondies stay fresh?
Kept in an airtight container at room temperature, they stay fresh for 4-5 days. Freeze them for longer storage, consuming within 3 months for best quality.