Here is the comprehensive, SEO-optimized blog post following your exact specifications.
—
The Ultimate Guide to School Snack Prep (Healthy) for Busy Parents
Are you tired of the afternoon meltdowns that follow a sugary, store-bought snack? You know the ones: the brief sugar high followed by a crash that makes homework a battle. The solution isn’t just about feeding your kids; it’s about fueling their brains and bodies with nutrient-dense options. This is where intentional School Snack Prep (Healthy) becomes a game-changer. By dedicating just one hour on a Sunday, you can transform your kitchen into a hub of grab-and-go goodness. These Healthy school snacks are designed to provide sustained energy, supporting your child’s focus and mood throughout the school day. When you control the ingredients, you eliminate preservatives and excess sugar, making every bite count. This guide provides a data-driven, step-by-step plan to master school snack prep healthy routines that actually stick.
Ingredients & Kitchen Tools
For the Base Snack (Protein Energy Bites):
- 1 cup Rolled Oats (Gluten-Free if needed): Provides complex carbohydrates for slow-release energy and fiber for digestive health.
- ½ cup Natural Peanut Butter (or Almond Butter): A source of healthy fats and protein. Ensure it’s stirred well and free of added sugar.
- ⅓ cup Honey or Maple Syrup: Acts as a natural binder and provides quick energy. Use less if you prefer a less sweet bite.
- ¼ cup Dark Chocolate Chips (Mini): Adds a touch of sweetness and antioxidants. Look for 70%+ cocoa for lower sugar.
- ¼ cup Ground Flaxseed or Chia Seeds: Boosts omega-3 fatty acids and adds a nutritional punch without altering flavor.
- Pinch of Sea Salt: Balances sweetness and enhances the nutty flavor.
Kitchen Tools:
- Large Mixing Bowl: For combining dry and wet ingredients.
- Measuring Cups & Spoons: For accuracy in portion control.
- Cookie Scoop (1-inch): Ensures uniform size for even rolling and consistent snack portions.
- Parchment Paper: Prevents sticking during the rolling process and during storage.
- Airtight Container (BPA-Free): Essential for maintaining freshness in the pantry or fridge.
Prep Time & Cooking Schedule
This recipe is entirely no-bake, which means the only “cooking” time is your hands-on work. To integrate this into your typical meal prep routine, follow this schedule:
- Active Prep Time: 15 minutes
- Chilling/Resting Time: 30 minutes (Optional but recommended for easier rolling)
- Total Time: 45 minutes
Pro Tip: Start this immediately after dinner cleanup. While the kids are doing homework, you can mix the dough. The 30-minute chill time is perfect for loading the dishwasher or helping with a spelling quiz. These bites are ready to pack as soon as they are firm.
Step-by-Step Instructions
- Combine Dry Ingredients: In your large mixing bowl, whisk together the rolled oats, ground flaxseed (or chia seeds), mini chocolate chips, and a pinch of salt. This ensures even distribution of the small seeds and chips.
- Add Wet Ingredients: Pour the peanut butter and honey (or maple syrup) over the dry mixture. It might seem like there is too much liquid initially, but persistence is key here.
- Mix Thoroughly: Use a sturdy spatula or your clean hands (this is more effective) to fold everything together until a stiff, sticky dough forms. Temperature control note: If the peanut butter is cold from the fridge, it will be harder to mix. Microwave it for 10 seconds to soften it.
- Chill the Dough: Cover the bowl and place it in the refrigerator for 30 minutes. This step is crucial for texture. The oats absorb moisture, making the dough less sticky and much easier to roll into perfect spheres.
- Roll into Bites: Line a baking sheet or tray with parchment paper. Using your cookie scoop, portion the dough and roll it between your palms to form smooth balls. Place them on the parchment. This is the heart of your school snack prep healthy routine; each bite is a perfectly portioned, nutrient-dense unit. These are fantastic healthy school snacks because they offer a perfect balance of protein, fiber, and healthy fat to keep blood sugar stable through math and reading.
- Final Set: Place the rolled bites back in the fridge for another 15 minutes to firm up completely before transferring to a storage container.
Nutritional Benefits & Advantages
These energy bites are far more than just a treat; they are a calculated nutritional strategy. A single bite (approximately 1.5 ounces) contains roughly 120-150 calories, 5g of protein, and 3g of fiber. The combination of oats and nut butter creates a low glycemic index snack, meaning it releases energy slowly. This prevents the dreaded 2 PM sugar crash. The flaxseed provides alpha-linolenic acid (ALA), a plant-based omega-3 essential for brain function and reducing inflammation. By choosing dark chocolate, you deliver flavonoids that support cognitive function. This makes the entire concept of school snack prep healthy a direct investment in your child’s academic performance and physical well-being.
Tips, Variations & Cooking Advice
- Flavor Variations: Swap chocolate chips for dried cherries or chopped apricots. Add ¼ teaspoon of cinnamon or a drop of peppermint extract for a holiday twist.
- Ingredient Swaps: For a dairy-free version, ensure your chocolate chips are dairy-free (most dark chocolate is). For a nut-free version, substitute peanut butter with sunflower seed butter (sunbutter). Note that sunbutter can react with baking soda, but since this is no-bake, it works perfectly.
- Alternative Cooking Method: This recipe cannot be baked. However, you can press the mixture into a parchment-lined 8×8 pan to make bars instead of bites. Just chill for 1 hour and slice.
- Portion Changes: This recipe yields approximately 18-20 bites. You can easily double the batch for a two-week supply.
Common Mistakes to Avoid
- Skipping the Chill Time: This is the #1 mistake. Without chilling, the dough is too sticky to roll, and the bites will be loose and crumbly. The oats need time to hydrate.
- Using “Natural” Peanut Butter with Oil Separation: If the oil separates, the mixture will be too greasy and won’t bind. Always stir your peanut butter vigorously in the jar before measuring, or use a processed brand like Skippy Natural (which has a stabilizer) for a firmer texture.
- Over-mixing the Chocolate: If you use full-size chocolate chips and mix for too long with warm hands, the chocolate may melt, creating streaks. Use mini chips and cold hands for the best visual result.
Storage & Meal Prep Tips
- Refrigeration: Store the energy bites in an airtight container in the refrigerator. They will stay fresh for up to 2 weeks. The cool temperature helps them maintain their firm shape.
- Freezing: These are excellent for long-term storage. Place the bites on a baking sheet in the freezer for 1 hour (flash freeze) to prevent them from sticking together. Then, transfer them to a freezer-safe bag or container. They will keep for 3 months.
- Reheating/Thawing: Do not microwave these as they will become mushy. To thaw for a lunchbox, simply move them from the freezer to the refrigerator the night before. Alternatively, pack them frozen directly in the lunchbox; they will be perfectly thawed by lunchtime.
Conclusion
Mastering a simple, no-bake energy bite recipe is the cornerstone of efficient School Snack Prep (Healthy). It removes the decision fatigue of “what to pack” and replaces it with a reliable, delicious option. These bites prove that healthy school snacks do not have to be complicated or time-consuming to be incredibly effective. By taking just 45 minutes today, you are setting your child up for a week of sustained energy and better focus. The most important ingredient here is not the honey or the oats; it is your intention. Now, we encourage you to customize this base recipe—add your favorite seeds, switch up the dried fruit, and let your kids help with the rolling. Share your creation in the comments below and tell us which variation your family loved the most!
Frequently Asked Questions (FAQs)
1. Can I use quick oats instead of rolled oats?
Yes, you can, but the texture will be much softer and less chewy. Rolled oats provide the best structure and fiber content for this recipe. If using quick oats, reduce the honey slightly to prevent a soggy mixture.
2. My mixture is too dry and won’t stick together. What should I do?
This usually happens if the peanut butter is very thick or the oats are extra dry. Add warm water or more honey one teaspoon at a time until the mixture holds together when pinched. You can also add one tablespoon of melted coconut oil for extra moisture.
3. How can I make these lower in sugar?
Replace the honey with sugar-free maple syrup (like Lakanto) or use a sugar-free sweetener like monk fruit drops. You can also reduce the chocolate chips and increase the amount of unsweetened dried coconut or seeds.
4. Are these safe for peanut allergies?
Absolutely. Simply substitute the peanut butter with a seed butter like sunflower seed butter (sunbutter) or soy nut butter. Be sure to double-check the labels on the chocolate chips and oats to ensure they are not processed in a facility that handles peanuts.
5. My balls flattened in the lunchbox. How do I prevent this?
This means they were not chilled enough before packing. Ensure you refrigerate the formed balls for at least 45 minutes to 1 hour. If your lunchbox gets warm, consider adding a small ice pack or freezing the bites overnight before packing them.
Quick way to grow: 5 School Snack Prep (Healthy) Ideas
Ingredients
Equipment
Method
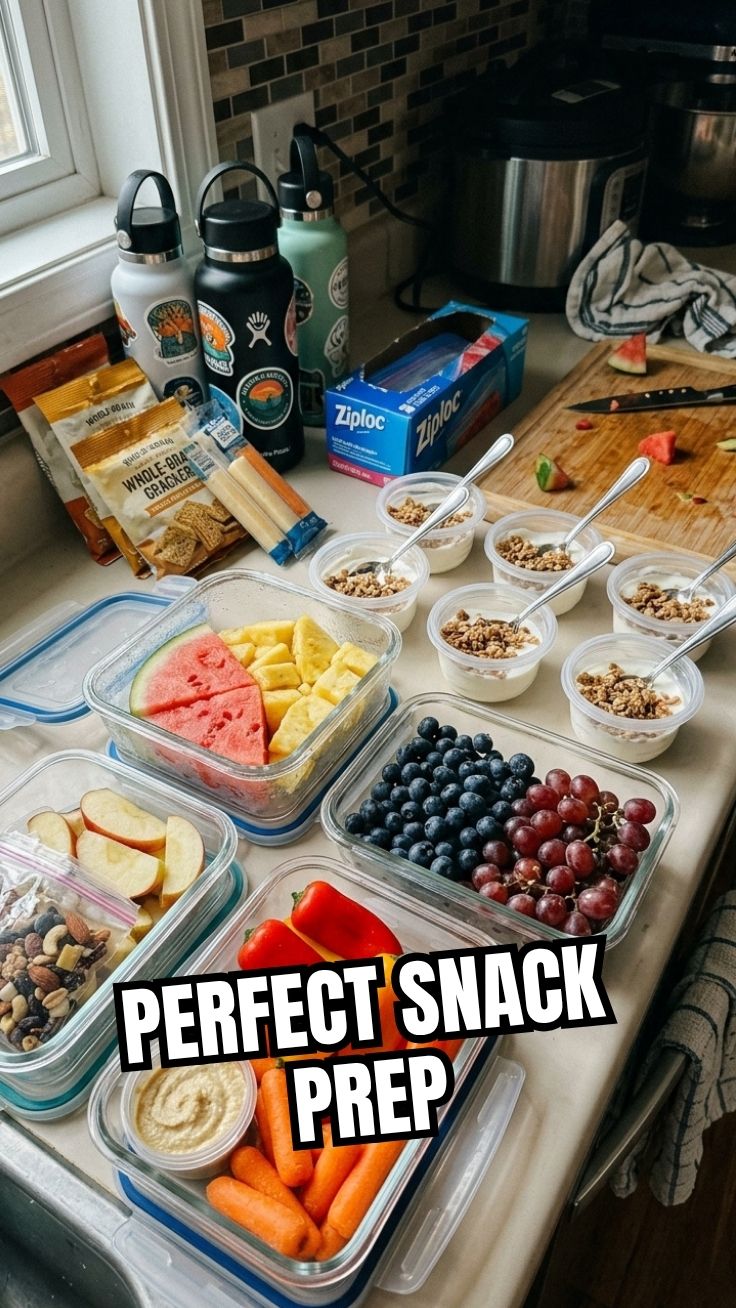
- For Veggie Sticks & Hummus, wash and chop carrots, cucumbers, and bell peppers into sticks, then portion them with hummus into containers.
- For Fruit Skewers, wash and cut fruits as needed, then thread them onto wooden skewers.
- For Mini Sandwiches, assemble sandwiches with whole wheat bread, cheese, and turkey, then cut them into smaller shapes.
- For Yogurt Parfait, layer Greek yogurt, berries, and granola in individual containers.
- For Trail Mix, combine almonds, cashews, dried cranberries, and seeds in resealable bags or small containers.
- Store all prepped snacks in airtight containers in the refrigerator for up to 3-5 days; the trail mix can be stored at room temperature.