The Ultimate Guide to Perfectly Chewy Rice Krispie Treats
Have you ever bitten into a homemade Rice Krispie Treats only to find it rock-hard or disappointingly soggy? The magic of this nostalgic no-bake dessert lies in achieving that perfect balance between chewy and crunchy. While store-bought versions are convenient, preparing them at home allows you to control the sweetness, add creative mix-ins, and ensure the ideal texture every time. Mastering the art of homemade Rice Krispie Treats begins with understanding the science of marshmallow ratios and butter temperature—a skill that transforms simple ingredients into an irresistible snack. Whether you call them bars, squares, or Rice Krispie squares, this guide will unlock the secrets to consistent, bakery-quality results.
Ingredients & Kitchen Tools
Essential Ingredients
– Unsalted butter (3 tbsp): Controls saltiness; use European-style for richer flavor
– Marshmallows (10 oz or 1 standard bag): Mini marshmallows melt faster; avoid stale bags
– Crisped rice cereal (6 cups): Classic Rice Krispies work best; store brands may be less crispy
– Vanilla extract (½ tsp): Optional but enhances sweetness depth
Kitchen Tools
– Large heavy-bottomed pot (4-5 quart): Prevents scorching; nonstick recommended
– Silicone spatula: Flexible for gentle folding; avoid wooden spoons that crush cereal
– 9×13-inch baking pan: Greased with butter or lined with parchment paper
– Sharp knife or bench scraper: For clean cuts after setting
Optional Substitutions
– Coconut oil for butter (dairy-free)
– Brown rice syrup + gelatin (vegan marshmallow alternative)
– Gluten-free crispy rice cereal for celiac-safe version
Prep Time & Cooking Schedule
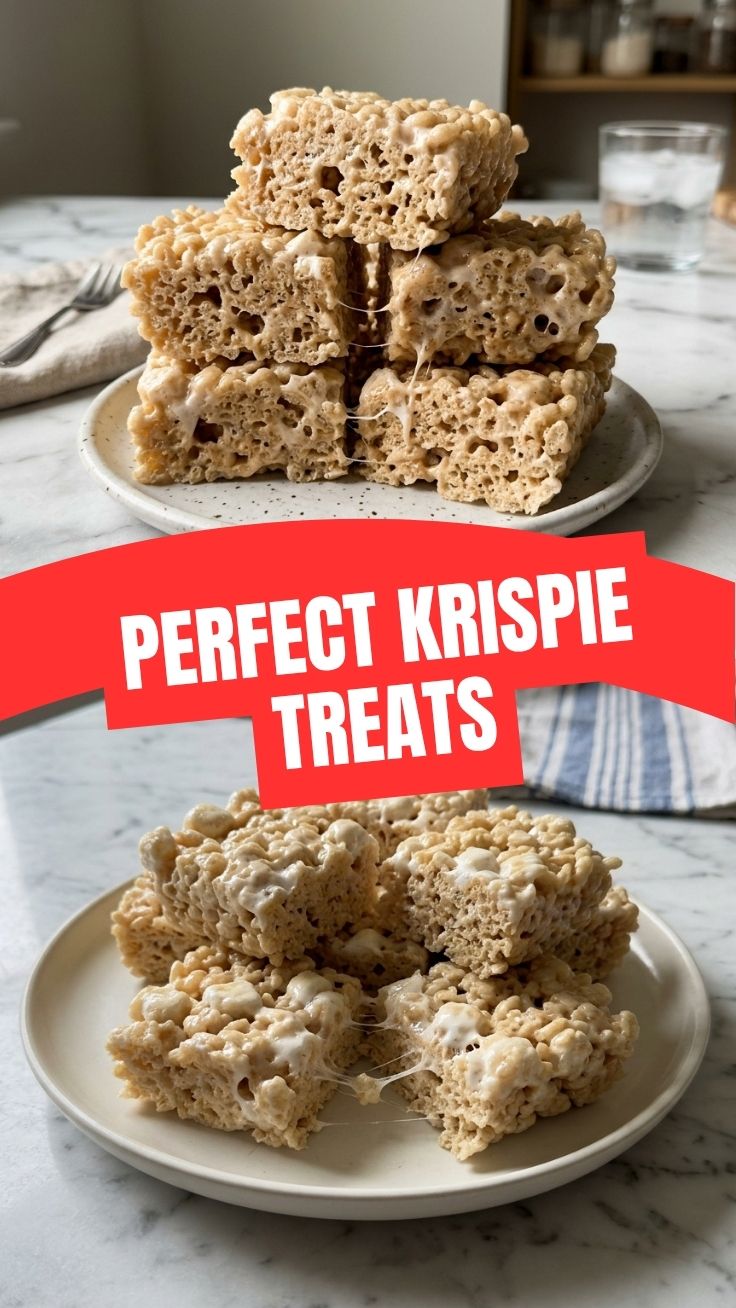
| Phase | Time | Notes |
|——-|——|——-|
| Prep | 5 min | Measure ingredients; grease pan |
| Cooking | 8-10 min | Low heat; constant stirring |
| Cooling | 20-25 min | Room temperature; don’t refrigerate |
| Setting | 30 min | Uncovered for best texture |
Pro Tip: Plan this recipe when you have at least 1 hour total. The cooling phase is critical—rushing leads to compacted treats. For events, prepare 2 hours ahead for optimal chewiness.
Step-by-Step Instructions
1. Melt butter over low heat in your large pot. Watch carefully—butter should bubble gently, not brown. Swirl occasionally for even melting.
2. Add marshmallows once butter is fully liquid. Stir continuously with silicone spatula in a figure-eight motion. The mixture will puff up then deflate—this is normal. Remove from heat when 95% melted; residual heat finishes the process.
3. Remove from burner and stir in vanilla extract. Let sit 30 seconds—this prevents cereal from becoming soggy from steam.
4. Pour in crispy rice cereal all at once. Fold gently using a cutting motion rather than stirring. Stop folding when you see no dry pockets of marshmallow but before cereal breaks down. Overmixing creates soggy Rice Krispie Treats.
5. Transfer to prepared pan. Use a buttered spatula or greased hands to press evenly. Apply light pressure—pressing too hard compresses air pockets, leading to dense Rice Krispie squares. For perfect height, gently pat until level.
6. Cool uncovered for 20 minutes at room temperature. Cut with a greased knife using a sawing motion. For clean edges, dip knife in hot water between cuts.
Nutritional Benefits & Advantages
While these treats are an indulgence, they offer surprising advantages:
– Quick energy source: Rice cereal provides easily digestible carbohydrates—ideal for post-workout refueling or kids’ snack time
– Customizable portion control: Homemade versions let you control sugar (reduce marshmallows by ¼ cup for less sweetness)
– Low fat profile: When made with minimal butter (3 tbsp per batch), fat content is modest compared to cookies or brownies
– Allergen-friendly base: Naturally gluten-free (check cereal label), and easily adapted vegan or dairy-free
– No artificial preservatives: Homemade avoids emulsifiers and stabilizers found in commercial snack bars
Tips Variations & Cooking Advice
Flavor Boosters
– Salted caramel: Add ½ tsp flaky sea salt after pressing
– Chocolate drizzle: Melt dark chocolate chips with coconut oil; drizzle after cooling
– Peanut butter swirl: Drop tablespoonfuls of peanut butter on top before pressing
Texture Variations
– Extra crispy: Reduce butter to 2 tbsp; add ¼ cup crushed potato chips
– Ultra-soft: Increase marshmallows by 1 cup; reduce cereal to 5 cups
– Fruity twist: Fold in ½ cup freeze-dried strawberries or mango bits
Diet Adaptations
– Gluten-free: Use certified gluten-free rice cereal (like One Degree brand)
– Vegan: Replace butter with Miyoko’s cultured vegan butter; use Dandies marshmallows
– Keto: Swap cereal with crushed pork rinds + monk fruit-sweetened marshmallows
Common Mistakes to Avoid
1. Overheating marshmallows → Creates tough, brittle treats. Solution: Remove from heat when 90% melted; residual heat finishes.
2. Pressing too firmly → Dense, hard bars. Fix: Use even, light pressure; aim for 1-inch thickness.
3. Adding cereal too soon → Soggy results from steam. Fix: Let marshmallow mixture sit 30 seconds off heat.
4. Using stale ingredients → Flat flavor, poor texture. Check: Marshmallows should be fresh (squeeze test—they should spring back).
5. Cutting before fully set → Crumbly edges. Patience: Wait 20-25 minutes minimum at room temperature.
Storage & Meal Prep Tips
Room Temperature (best method):
– Store in airtight container with wax paper between layers
– Keeps fresh 3-4 days; avoid refrigerating (causes condensation)
– Add a slice of bread to container to maintain moisture
Freezing:
– Wrap individual squares in plastic wrap, then foil
– Freeze up to 3 months
– Thaw at room temperature 15 minutes; don’t microwave (turns rubbery)
Reheating (revives stale treats):
– Microwave 5-7 seconds on medium power
– Place in 300°F oven for 3 minutes for refreshed crunch
– Avoid high heat – marshmallow burns easily
Meal Prep Tip: Double batch and freeze half. These Rice Krispie Treats freeze exceptionally well—perfect for lunchboxes or last-minute parties. For portion control, pre-cut into bite-sized Rice Krispie squares before freezing.
Conclusion
Achieving the perfect batch of crispy, chewy treats isn’t rocket science—it’s about respecting the ingredients and technique. By controlling heat, avoiding over-compression, and allowing proper cooling, you can consistently produce Rice Krispie Treats that rival any bakery version. Whether you’re making classic bars for a bake sale or creative Rice Krispie squares for Halloween parties, the principles remain the same: low heat, gentle folding, and patience during cooling. Now that you know the science behind the crunch, try this recipe tonight and experiment with your favorite add-ins. Share your creations with #HomemadeCrunch and subscribe for more foolproof dessert guides!
FAQs
Q: Why did my Rice Krispie treats turn out hard?
A: Overcooking marshmallows or pressing too firmly. Keep heat low and use light pressure when spreading.
Q: Can I use generic crispy rice cereal?
A: Yes, but premium brands (like Rice Krispies) maintain crunch longer. Store brands may soften faster.
Q: How do I make them less sweet?
A: Reduce marshmallows by 25% or substitute 2 tbsp honey for some marshmallows. You can also use sugar-free marshmallows.
Q: Can I add chocolate chips without melting?
A: Yes! Fold in mini chocolate chips after removing from heat. They’ll stay partially intact for gooey pockets.
Q: How long do they last?
A: 3-4 days at room temperature in airtight container. Freeze up to 3 months for longer storage.
Quick way to grow a perfect batch of Rice Krispie Treats
Ingredients
Equipment
Method
- Melt butter in a large pot over low heat, then add marshmallows and stir until completely melted and smooth.
- Remove the pot from heat and stir in the vanilla extract, if you are using it.
- Add the Rice Krispies cereal to the marshmallow mixture and stir until the cereal is thoroughly coated.
- Evenly press the mixture into a buttered 9x13 inch baking pan using a buttered spatula or wax paper.
- Allow the treats to cool completely before cutting them into squares and serving.