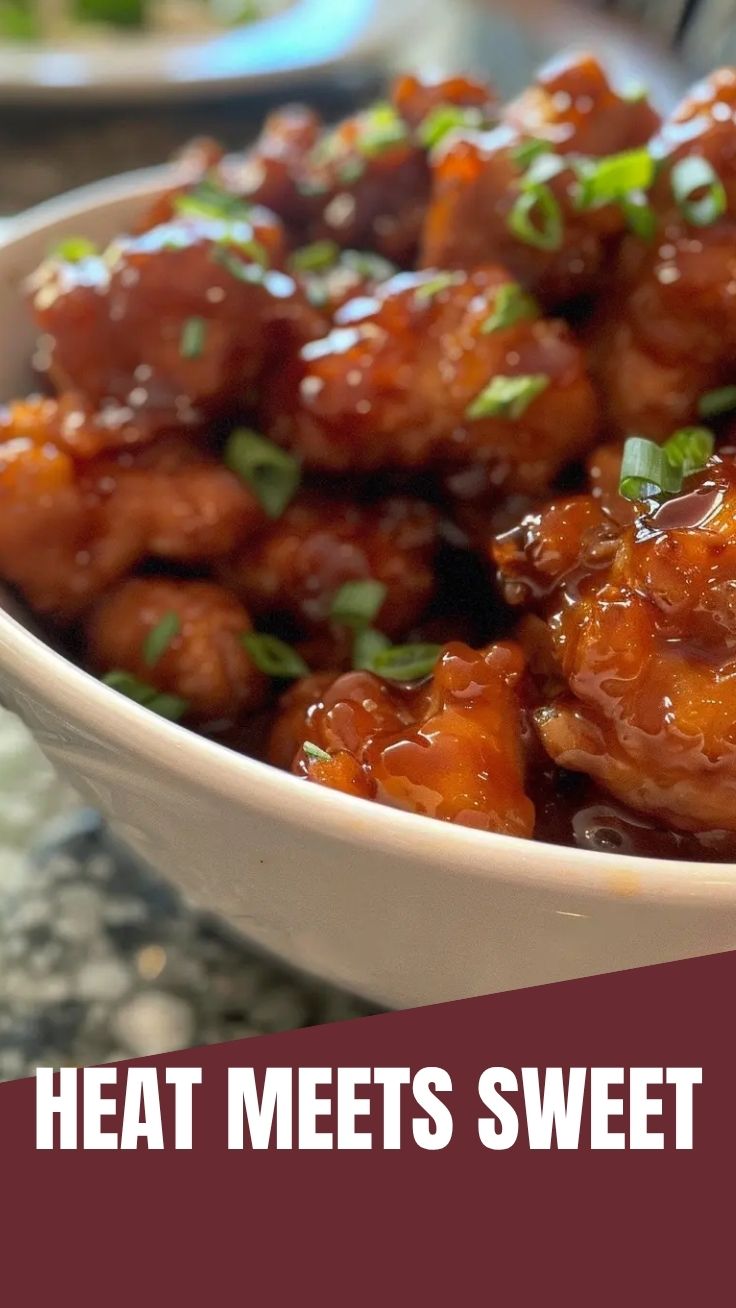
Sweet Heat Perfection: The Ultimate Hot Honey Chicken Recipe
Have you ever wondered why restaurant versions of sticky, spicy chicken taste so addictive yet seem impossible to replicate at home? The secret isn’t complicated techniques or hard-to-find ingredients—it’s understanding the perfect balance between honey’s natural sweetness and chili’s lingering warmth. Preparing this Hot Honey Chicken in your own kitchen delivers restaurant-quality results while giving you complete control over spice levels and ingredient quality. This versatile recipe also translates beautifully into a game-day favorite when you use the same method for Hot Honey Chicken Wings, making it a staple for both weeknight dinners and party spreads. The best part? The entire process takes under an hour from start to finish.
Ingredients & Kitchen Tools
Main Ingredients
– Boneless, skinless chicken thighs (1.5 lbs) – Dark meat stays juicier during cooking; substitute with chicken breasts for a leaner option
– Buttermilk (1 cup) – Tenderizes the chicken naturally; mix milk with 1 tablespoon lemon juice as a quick substitute
– All-purpose flour (1½ cups) – Creates the crispy coating base; use rice flour for gluten-free version
– Cornstarch (½ cup) – Essential for extra crunch and lightness
– Smoked paprika (1 tbsp) – Adds depth and color; regular paprika works but offers less complexity
– Garlic powder (1 tsp) – Provides savory backbone
– Cayenne pepper (½ tsp) – Adjust based on heat preference
– Salt and black pepper (to taste)
– Honey (⅓ cup) – Use raw honey for more complex floral notes
– Hot sauce (2 tbsp) – Choose your favorite; Frank’s RedHot provides classic flavor
– Apple cider vinegar (1 tbsp) – Brightens the glaze and cuts through richness
– Butter (2 tbsp) – Adds silkiness to the sauce
– Neutral oil for frying – Canola, vegetable, or peanut oil work well
Kitchen Tools Needed
– Large mixing bowls (2-3)
– Whisk
– Deep skillet or Dutch oven for frying
– Candy or deep-fry thermometer
– Wire rack set over baking sheet
– Small saucepan for sauce
– Tongs for handling chicken
– Paper towels for draining
Prep Time & Cooking Schedule
– Active prep time: 20 minutes
– Marinating time: 30 minutes (minimum) to 4 hours (ideal)
– Cooking time: 15-18 minutes total
– Resting time: 5 minutes after frying
– Total time from start to table: Approximately 1 hour 10 minutes
Plan ahead: Marinate the chicken while you prepare other ingredients. The buttermilk bath can be done the night before for deeper flavor penetration.
Step-by-Step Instructions
Step 1: Prepare the buttermilk marinade. Combine 1 cup buttermilk with 1 teaspoon salt and ½ teaspoon black pepper in a large bowl. Add the chicken pieces, ensuring they’re fully submerged. Cover and refrigerate for at least 30 minutes. This step tenderizes the meat and helps the coating adhere.
Step 2: Create the seasoned flour mixture. In a separate bowl, whisk together 1½ cups all-purpose flour, ½ cup cornstarch, 1 tablespoon smoked paprika, 1 teaspoon garlic powder, ½ teaspoon cayenne, 1 teaspoon salt, and ½ teaspoon black pepper. The cornstarch is crucial here—it creates that delicate, shattering crust you want.
Step 3: Heat the oil. Fill a deep skillet or Dutch oven with 2 inches of oil. Heat to 350°F (175°C). Maintaining this temperature is critical for crispy results without greasiness. Use a thermometer to monitor consistently.
Step 4: Coat the chicken. Remove chicken from buttermilk, letting excess drip off. Dredge each piece thoroughly in the flour mixture, pressing firmly to adhere. Shake off excess and place on a wire rack for 5 minutes before frying—this allows the coating to set.
Step 5: Fry in batches. Carefully lower 3-4 pieces into the hot oil, avoiding overcrowding. Fry for 5-6 minutes per side until golden brown and internal temperature reaches 165°F. Transfer to a fresh wire rack set over a baking sheet. This keeps the crust crisp rather than soggy from paper towels.
Step 6: Make the hot honey glaze. While the chicken rests, combine ⅓ cup honey, 2 tablespoons hot sauce, 1 tablespoon apple cider vinegar, and 2 tablespoons butter in a small saucepan. Warm over medium-low heat, whisking until smooth and slightly thickened. Taste and adjust heat by adding more hot sauce gradually. This step transforms your Hot Honey Chicken into something truly special with its glossy, clingy coating.
Step 7: Glaze and serve. Place fried chicken in a large bowl, pour warm glaze over the top, and toss gently to coat each piece evenly. For extra visual appeal, the same method applied to Hot Honey Chicken Wings creates an equally impressive appetizer—just reduce frying time for smaller wing pieces. Serve immediately while the exterior remains crisp.
Pro tip: If the glaze starts to thicken too much while sitting, add a teaspoon of warm water and whisk to loosen.
Nutritional Benefits & Advantages
This dish delivers surprising nutritional value alongside its indulgent flavor. Chicken thighs provide high-quality protein (approximately 24g per serving) along with iron and zinc for immune support. Honey, despite its sweetness, contains antioxidants that combat inflammation and may soothe sore throats naturally. The capsaicin from hot sauce can boost metabolism slightly and has been linked to improved cardiovascular health when consumed regularly. While fried, using proper oil temperature minimizes absorption—properly fried chicken absorbs significantly less oil than food fried at incorrect temperatures.
For those monitoring sodium, controlling your own seasoning allows for a 40% reduction compared to restaurant versions. Pairing this dish with fresh vegetables or a crisp salad creates a balanced meal that satisfies cravings without derailing nutritional goals.
Tips Variations & Cooking Advice
Flavor Twists
– Garlic Lovers: Add 3 minced garlic cloves to the butter while making the glaze
– Smoky Heat: Replace cayenne with chipotle powder for earthy warmth
– Asian Fusion: Substitute hot sauce with sriracha and add sesame seeds on top
– Milder Version: Use only 1 tablespoon hot sauce and add ½ teaspoon paprika instead
Cooking Method Alternatives
– Oven-Baked: Place coated chicken on greased wire rack over baking sheet, spray with cooking oil, and bake at 400°F for 25 minutes, flipping halfway. Broil 2 minutes per side for extra crispness
– Air Fryer: Cook at 375°F for 12-14 minutes, shaking basket halfway. Works wonderfully with smaller wing pieces
– Grilled: Skip the breading entirely, marinate chicken in buttermilk, then grill over medium-high heat for 6-7 minutes per side before glazing
Dietary Adaptations
– Gluten-Free: Replace all-purpose flour with almond flour mixed with 2 tablespoons arrowroot powder
– Dairy-Free: Use coconut milk mixed with lemon juice instead of buttermilk, and substitute vegan butter in the glaze
– Low-Sugar: Reduce honey to 2 tablespoons and add monk fruit sweetener to taste
Common Mistakes to Avoid
Mistake 1: Skipping the buttermilk marinade. This step isn’t optional—it tenderizes and helps the coating stick. Without it, the breading falls off during frying.
Solution: Even 20 minutes of marinating makes a difference. If truly short on time, use seasoned Greek yogurt thinned with water as a quick alternative.
Mistake 2: Overcrowding the pan. Adding too many pieces drops oil temperature drastically, resulting in greasy, soggy coating.
Solution: Fry in batches of 3-4 pieces. Allow oil to return to 350°F between batches (about 2-3 minutes).
Mistake 3: Applying glaze too early. If you toss the chicken in glaze while it’s still hot from frying, the steam softens the crust immediately.
Solution: Let fried chicken rest 3-4 minutes on a wire rack before glazing. The slight cooling allows the coating to stay crunchy longer.
Mistake 4: Making the glaze too thin. Runny sauce slides off instead of clinging to each piece.
Solution: Simmer the honey mixture until it coats the back of a spoon. Adding butter helps create emulsion that sticks better.
Storage & Meal Prep Tips
Refrigeration: Store leftover glazed chicken in an airtight container for up to 3 days. Place a paper towel at the bottom to absorb excess moisture. For best results, store chicken and glaze separately—keep glaze in a small jar and toss together only when reheating.
Freezing: Unbreaded, cooked chicken freezes beautifully for up to 2 months. Wrap each piece individually in plastic wrap, then place in a freezer bag. Thaw overnight in the refrigerator before reheating and glazing.
Reheating Instructions:
– Oven (best method): Place on wire rack over baking sheet at 375°F for 10-12 minutes. This restores crispness better than any other method
– Air Fryer: Reheat at 350°F for 5-7 minutes, shaking halfway
– Microwave: Not recommended for breaded chicken, as it turns rubbery and soggy
Meal Prep Strategy: Cook double batch of chicken without glaze on Sunday. Refrigerate unglazed pieces in containers. Each night, warm sauce and toss with desired amount of chicken. This keeps leftovers fresh and versatile throughout the week.
Conclusion
This Hot Honey Chicken recipe proves that restaurant-quality sweet heat is absolutely achievable at home. The combination of crispy, seasoned coating with that glossy, spicy-sweet glaze creates a dish that impresses everyone who tries it. Whether you’re serving it over rice with steamed broccoli or offering Hot Honey Chicken Wings at your next gathering, this recipe delivers consistent, crowd-pleasing results. The beauty lies in its adaptability—adjust the heat, swap cooking methods, or experiment with different honey varieties to make it uniquely yours. We’d love to hear how this turns out for you. Share your results in the comments below, tag us in your photos, and explore our other sweet-spicy recipes for more kitchen inspiration.
FAQs
Can I use chicken breasts instead of thighs?
Absolutely. Boneless, skinless chicken breasts work well but require slightly shorter cooking times (4-5 minutes per side). Pound them to even thickness for consistent cooking, and check internal temperature reaches 165°F before removing from oil.
How do I make this dish spicier without changing the texture?
Add ½ teaspoon crushed red pepper flakes to the flour coating plus an extra tablespoon of hot sauce to the glaze. You can also drizzle with chili oil right before serving for an additional heat layer that doesn’t compromise crispness.
What’s the best honey to use?
Raw, unfiltered honey provides the most complex floral notes and pairs beautifully with heat. Clover honey offers mild sweetness, while orange blossom honey adds citrus undertones. Avoid “honey-flavored syrups” as they lack the viscosity needed for proper glaze texture.
Can I prepare this ahead for a party?
Cook the chicken completely and keep it warm on a wire rack in a 200°F oven for up to 45 minutes. Make the glaze separately and toss with chicken just before serving to maintain optimal crispness. This strategy works perfectly for buffets and game day spreads.
Why did my coating fall off during frying?
Three common culprits: chicken wasn’t dried properly before coating, oil temperature was too low (below 325°F), or the coating wasn’t pressed on firmly enough. Ensure chicken is patted dry before dredging, maintain oil at 350°F, and let coated pieces rest 5 minutes before hitting the oil.
Quick way to grow with Hot Honey Chicken
Ingredients
Equipment
Method
- Pat the chicken thighs dry with paper towels and season them with garlic powder, paprika, salt, and pepper.
- In a small bowl, whisk together the hot sauce and honey to create the hot honey glaze.
- Heat olive oil in a large skillet over medium-high heat.
- Add the seasoned chicken thighs to the hot skillet and cook for 5-7 minutes per side, or until cooked through and golden brown.
- Reduce heat to low, pour the hot honey glaze over the cooked chicken, and toss to coat evenly. Simmer for 2-3 minutes until the glaze thickens slightly.
- Serve immediately with your favorite sides, such as rice or roasted vegetables.