The Ultimate Teriyaki Chicken Wrap Recipe (Plus a Grilled Chicken Twist)
Have you ever taken a bite of a soggy, bland wrap and felt immediate culinary disappointment? You deserve better. Today, we are diving deep into making the perfect Teriyaki Chicken wrap that is bursting with umami flavor and has the perfect texture. Preparing it at home allows you to control the quality of ingredients, avoiding excessive sugar and preservatives found in takeout. For those looking for an even faster prep method, I highly recommend checking out this specific Grilled Chicken crockpot version which offers a deep, smoky flavor profile without the hassle.
Ingredients & Kitchen Tools
For the Chicken & Marinade:
– Boneless Chicken Thighs (4–6 pieces): Prefer thighs for juiciness; breasts work too but watch the cooking time.
– Soy Sauce (⅓ cup): Low-sodium recommended to prevent salt overload.
– Mirin (2 tbsp): Japanese sweet rice wine; dry sherry or honey + rice vinegar works as a substitute.
– Brown Sugar or Honey (2 tbsp): Adds that signature sticky sweetness.
– Fresh Ginger (1-inch piece, grated): Ground ginger is fine in a pinch but fresh is superior.
– Garlic (3 cloves, minced): Jarred minced garlic is a time-saver.
– Sesame Oil (1 tbsp): For cooking and flavor.
For the Wrap:
– Large flour tortillas (or lettuce cups for low-carb)
– Cooked jasmine rice
– Sautéed bell peppers and onions
– Shredded carrots and cucumbers
– Avocado slices
Kitchen Tools:
– Sharp chef’s knife and cutting board
– Mixing bowls (small for sauce, large for marinating)
– Large skillet or wok
– Tongs and a whisk
– Meat thermometer (optional but recommended)
Prep Time & Cooking Schedule
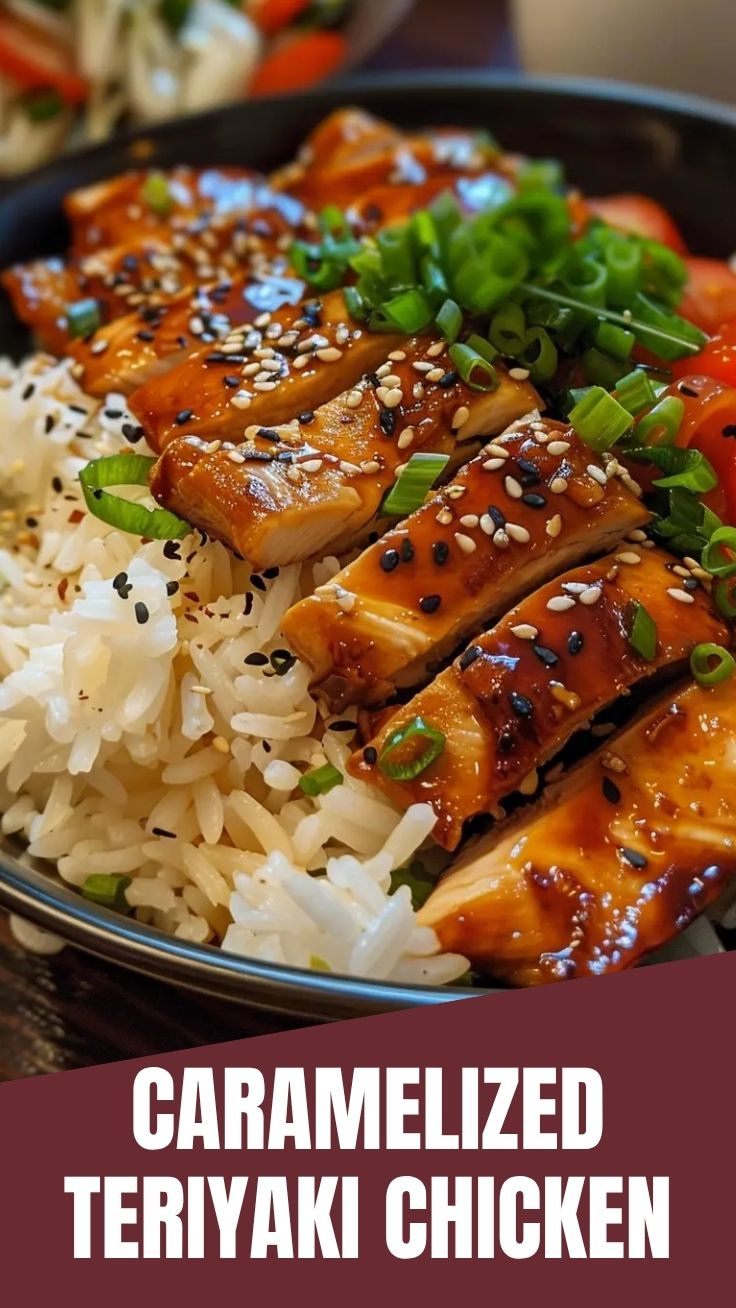
– Prep Time: 15 minutes (mincing, dicing, whisking)
– Marinating Time: 30 minutes (minimum) to 2 hours (optimal)
– Cooking Time: 15–20 minutes
– Assembly Time: 5 minutes
– Total Active Time: ~35 minutes
Schedule Tip: Marinate your chicken in the morning before work or during the lunch hour. The actual cooking is incredibly fast, making this a true weeknight winner. If you are using the crockpot Grilled Chicken method from the linked recipe, plan for 3–4 hours on low heat for fall-apart tenderness.
Step-by-Step Instructions
1. Make the Sauce:
In a small bowl, whisk together soy sauce, mirin, brown sugar, grated ginger, and minced garlic. Whisk until the sugar is fully dissolved. Split the mixture into two portions—one for marinating, one reserved for glazing.
2. Marinate the Chicken:
Place your chicken thighs into a large zip-top bag or glass dish. Pour the marinade portion over the chicken. Seal the bag, massage the marinade into the meat, and refrigerate for at least 30 minutes.
3. Cook the Chicken:
Heat sesame oil in a large skillet over medium-high heat. Remove the chicken from the bag, shaking off excess marinade (discard the used liquid). Place the chicken in the hot skillet. Cook the Teriyaki Chicken for 5–6 minutes per side until a deep caramelized crust forms and the internal temperature reaches 165°F.
4. Glaze:
Lower the heat to medium. Pour the reserved fresh sauce into the pan around the chicken. Simmer for 2–3 minutes, turning the chicken to coat, until the sauce thickens into a glossy, clingy glaze.
5. Rest & Slice:
Transfer the chicken to a cutting board and let it rest for 5 minutes. Slice against the grain into thin strips.
6. Assemble:
Warm your tortillas briefly in a dry skillet or microwave. Layer down a bed of rice. Top with sliced chicken, sautéed bell peppers, shredded carrots, cucumbers, and avocado. Fold the sides in, roll tightly, and slice in half.
Pro Tip: For a charred, complex flavor profile akin to the Grilled Chicken version linked above, sear your marinated chicken on a blazing hot grill pan or outdoor grill instead of a skillet. This adds beautiful smoky notes that contrast perfectly with the sweet teriyaki glaze.
Nutritional Benefits & Advantages
This Teriyaki Chicken wrap is an excellent source of lean protein, which supports muscle repair and keeps you full for hours. Ginger and garlic provide powerful anti-inflammatory and immune-boosting properties. By making this at home, you slash the sodium content typically found in restaurant versions by up to 40%. The abundance of fresh vegetables adds fiber, Vitamin A, and antioxidants. For a low-carb adaptation, swapping the tortilla and rice for lettuce wraps reduces the carbohydrate load significantly without sacrificing flavor.
Tips Variations & Cooking Advice
– Spicy Kick: Add 1 tablespoon of gochujang (Korean chili paste) or sriracha to the marinade.
– Gluten-Free: Use tamari or coconut aminos instead of soy sauce, and choose certified gluten-free tortillas.
– Vegetarian Swap: Replace the chicken with firm tofu or thick portobello mushroom caps—marinate and cook using the same method.
– Pineapple Teriyaki: Add ¼ cup of pineapple juice to the sauce for sweetness and acidity.
– Crockpot Method: As featured in the incredible Grilled Chicken crockpot link, you can cook the chicken low and slow (4 hours on low) for a texture that shreds effortlessly.
– Dietary Adaptation: Skip the rice and tortilla entirely. Serve the glazed chicken and vegetables over a bed of cauliflower rice or a simple green salad.
Common Mistakes to Avoid
– Soggy Wraps: Never pour extra sauce directly onto the tortilla. Layer rice first as a barrier, then dry veggies, then the glazed chicken. Keep extra sauce on the side for dipping.
– Burnt Sauce: Sugar burns quickly. Keep the heat at medium-high, not high. If you see the sauce turning dark brown too fast, add a splash of water and lower the temperature immediately.
– Overcooked Chicken: Chicken breasts are especially prone to drying out. Use a meat thermometer to pull them at exactly 165°F. Resting is non-negotiable for juice retention.
– Skipping the Marinate: Even 15 minutes of marinating makes a measurable difference in flavor penetration and tenderization. Do not skip this step.
Storage & Meal Prep Tips
Storage: Store the cooked chicken and vegetables separately from the tortillas and rice to prevent sogginess.
Refrigeration: The chicken and veggies will stay fresh for up to 4 days in airtight containers.
Freezing: The cooked, sliced chicken freezes beautifully for up to 3 months. Thaw overnight in the refrigerator before using.
Reheating: Reheat sliced chicken in a dry skillet over medium heat for 2–3 minutes to restore the caramelized crust. Avoid the microwave as it creates a rubbery, steamed texture.
Meal Prep Strategy: Cook a double batch of chicken and rice on Sunday. Portion the veggies and sauce into containers. Assemble fresh wraps throughout the week for a speedy lunch.
Conclusion
Mastering a homemade Teriyaki Chicken wrap not only elevates your lunch game but also puts you in complete control of your nutrition and flavor. The combination of a sticky, savory-sweet glaze with crisp, fresh vegetables is an unbeatable symphony of textures and tastes. Whether you prefer the stovetop method detailed here or the hands-off approach of a slow-cooked Grilled Chicken recipe, this dish is destined to become a staple in your kitchen. I encourage you to try this recipe this week and share your creations with friends and family.
FAQs
1. Can I use chicken breast instead of thighs for this recipe?
Absolutely! Chicken breasts work perfectly. To keep them moist, consider a 15-minute brine before marinating, or simply be vigilant with temperature checks—pull them at 165°F.
2. How do I make this wrap low-carb or keto-friendly?
Skip the tortilla and rice entirely. Use large lettuce leaves (butter lettuce or romaine hearts) as the wrap. Bulk up the filling with avocado and sautéed mushrooms.
3. My teriyaki sauce turned out too salty. How do I fix it?
Dilute the sauce with a bit of water, extra mirin, or a squeeze of fresh lime juice. Balancing the saltiness with acid or sweetness is the easiest fix.
4. Can I prepare the components ahead of time for a party?
Yes. Marinate the chicken up to 24 hours in advance. Pre-slice all vegetables and store them in the fridge. The sauce can be whisked together days ahead and kept in the fridge.
5. Is it better to use bottled teriyaki sauce or make my own?
Homemade is always best for controlling sugar and sodium. A simple blend of soy sauce, mirin, sake (or water), and sugar is classic. Store-bought often contains high fructose corn syrup and preservatives, making homemade the healthier choice.
Proven way to grow 5 star Teriyaki Chicken
Ingredients
Equipment
Method
- Cut the chicken thighs into 1-inch pieces and pat them dry with paper towels.
- In a bowl, whisk together soy sauce, mirin, sake, brown sugar, grated ginger, and minced garlic to create the marinade.
- Add the chicken to the marinade, ensuring all pieces are well-coated, then cover and refrigerate for at least 30 minutes or up to 4 hours.
- Heat vegetable oil in a large skillet over medium-high heat.
- Remove chicken from the marinade, reserving the marinade for later, and sear the chicken in batches until browned on all sides and cooked through.
- Pour the reserved marinade into the skillet, bring it to a simmer, and cook until it thickens slightly or for about 5 minutes.
- If a thicker sauce is desired, whisk together cornstarch and water, then stir the slurry into the simmering sauce and cook until it reaches your preferred consistency.
- Return the cooked chicken to the skillet, tossing to coat it evenly with the teriyaki sauce.
- Garnish the teriyaki chicken with sliced scallions and sesame seeds.
- Serve immediately with steamed rice and vegetables for a complete meal.