Perfect Savory Rice Pilaf with Herbs – A Step-by-Step Guide
Have you ever wondered why restaurant Rice Pilaf tastes so much better than the boxed version? The secret lies in using high-quality grains and a simple toasting technique that unlocks incredible nutty flavors. By preparing this dish at home, you not only save money but also control every ingredient, ensuring a fresh, aromatic side that pairs beautifully with grilled meats or roasted vegetables. The foundation of any great pilaf is choosing the right grain, and I always reach for Basmati rice. Its long, slender grains stay separate and fluffy, absorbing broth and herbs like a dream. In this guide, I’ll walk you through creating a foolproof rice pilaf that elevates any meal, using Basmati as the star ingredient.
Ingredients & Kitchen Tools
– Basmati rice (1 cup) – Rinsed well to remove excess starch. Opt for aged Basmati for the best fragrance.
– Unsalted butter (2 tbsp) or olive oil for dairy-free version.
– Small onion (½ cup diced) – Adds sweetness. Shallots work too.
– Garlic (2 cloves, minced) – Optional but recommended.
– Chicken or vegetable broth (2 cups) – Low-sodium preferred; use homemade for richer flavor.
– Salt (½ tsp) – Adjust to taste depending on broth saltiness.
– Black pepper (¼ tsp)
– Fresh herbs (2 tbsp parsley or dill, chopped) – Plus a few sprigs for garnish.
– Bay leaf (1) – For subtle depth.
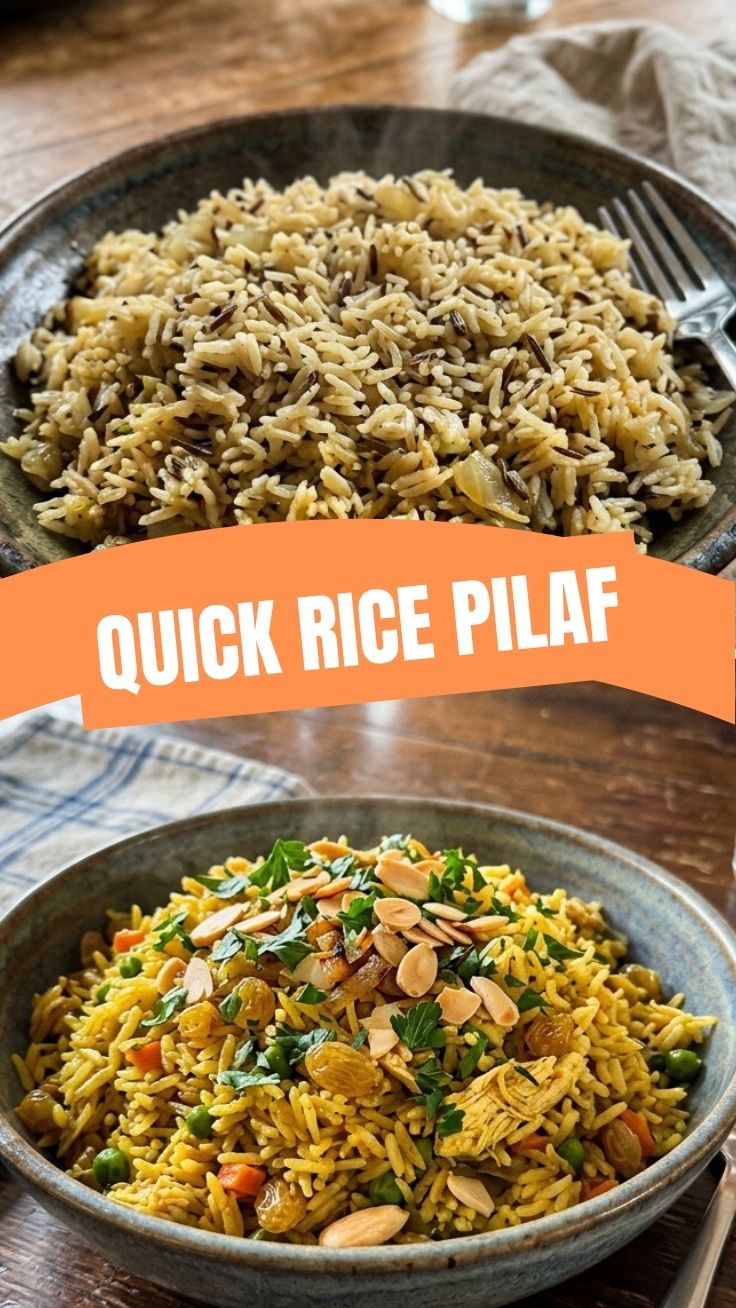
– Optional stir-ins – Toasted almonds, dried cranberries, or lemon zest.
Kitchen tools: Medium saucepan with tight-fitting lid, fine-mesh sieve, cutting board, chef’s knife, wooden spoon, measuring cups/spoons, fork for fluffing.
Prep Time & Cooking Schedule
– Prep time: 10 minutes (dice onion, mince garlic, rinse rice until water runs clear, chop herbs)
– Cook time: 20–25 minutes (15–18 minutes simmering + 5–10 minutes resting covered)
– Total time: ~35 minutes
Plan to start the pilaf while your main dish rests or cooks. The resting phase is crucial—don’t skip it! Letting the rice sit off heat for 5–10 minutes allows steam to finish cooking each grain evenly.
Step-by-Step Instructions
1. Rinse the Basmati – Place 1 cup of rice in a fine-mesh sieve and rinse under cold running water for about 1 minute, swirling with your hand, until water runs clear. This removes surface starch and prevents clumping.
2. Toast the rice – In a medium saucepan over medium heat, melt 2 tablespoons butter. Add the diced onion and cook, stirring occasionally, until softened and translucent (about 3–4 minutes). Stir in the minced garlic and cook 30 seconds until fragrant.
3. Add the rinsed rice – Pour the drained rice into the pan. Stir constantly for 2–3 minutes until the grains turn slightly opaque and you smell a toasty, nutty aroma. This step deepens the flavor of your rice pilaf and ensures separate grains.
4. Pour in broth and season – Carefully add 2 cups of broth (it may splatter), along with ½ teaspoon salt, ¼ teaspoon pepper, and one bay leaf. Bring to a boil over high heat.
5. Simmer and cover – Once boiling, reduce heat to low, cover the saucepan tightly, and let it simmer gently for 15–18 minutes. Do not lift the lid during cooking—steam is essential. After 15 minutes, check one grain: it should be tender but still slightly firm. If needed, cook 2–3 more minutes.
6. Rest and fluff – Remove from heat. Let the covered pan sit for 5–10 minutes (resting time). Then remove the lid, discard the bay leaf, and fluff the rice gently with a fork. Fold in the chopped fresh herbs. Taste and adjust salt if needed.
7. Serve – Spoon onto a platter and garnish with extra herbs. This Basmati rice pilaf pairs perfectly with grilled chicken, lamb, or roasted vegetables.
Nutritional Benefits & Advantages
– Low in fat (only 2–3 g per serving with butter) and gluten-free naturally.
– Basmati rice has a lower glycemic index than many short-grain varieties, making it a better choice for blood sugar management.
– Provides complex carbohydrates for sustained energy, plus small amounts of B vitamins and iron from the broth.
– The herbs add antioxidants and freshness without extra calories.
– Homemade pilaf contains no preservatives or excess sodium (common in boxed mixes).
Tips, Variations & Cooking Advice
– Flavor swaps – Use half broth, half water for a lighter taste. Add a cinnamon stick or star anise during simmering for a Middle Eastern twist.
– Dietary adaptations – Replace butter with olive oil or vegan butter for dairy-free/vegan. Use vegetable broth to keep it vegetarian.
– Protein addition – Stir in cooked shredded chicken or chickpeas at the end for a one-pot meal.
– Cooking method – Try making this in an Instant Pot: sauté onions/rice using the Sauté function, then pressure cook on High for 6 minutes with natural release.
– Bulk it up – Add toasted slivered almonds, golden raisins, or sautéed mushrooms right before serving.
Common Mistakes to Avoid
– Skipping the rinse – Unrinsed Basmati can turn sticky and gummy. Always rinse until water runs clear.
– Lifting the lid too often – Every time you lift the lid, steam escapes, extending cooking time and risking uneven texture.
– Over-stirring after adding liquid – Stirring breaks the grains and releases starch, resulting in a mushy pilaf. Stir only before covering.
– Using too high heat – Simmer on low, not medium, to prevent burning at the bottom while the top stays undercooked.
– Not resting – Skipping the rest period means the rice won’t finish absorbing moisture; it will seem wet and heavy.
Storage & Meal Prep Tips
– Refrigerate – Store cooled pilaf in an airtight container for up to 4 days. To reheat, add 1–2 tablespoons of water or broth per cup, cover, and microwave in 30-second bursts or warm in a covered pan over low heat, stirring occasionally.
– Freeze – Portion into freezer-safe bags or containers. Freeze for up to 3 months. Thaw overnight in the refrigerator before reheating.
– Meal prep – Make a double batch on Sunday. Use it as a base for grain bowls with roasted veggies and protein, or stuff into bell peppers for a quick weeknight dinner.
Conclusion
Mastering a fluffy, flavorful rice pilaf at home is easier than you think. By choosing high-quality Basmati rice, toasting it gently, and respecting the steam cycle, you’ll create a side dish that rivals any restaurant version. This recipe is endlessly adaptable—swap herbs, add nuts, or turn it into a main course with leftover protein. I encourage you to try it this week and share your results in the comments. And if you’re looking for a main dish to serve alongside, check out our [Chicken Souvlaki](https://homecookedrecipe.com/chicken-souvlaki/) or [Cranberry Orange Chicken](https://rapidorecetas.com/cranberry-orange-chicken/) for a complete meal.
Frequently Asked Questions
1. Can I use long-grain white rice instead of Basmati?
Yes, but the texture and aroma won’t be the same. If substituting, reduce broth by ¼ cup and cook for 2–3 minutes less.
2. Why is my pilaf mushy?
Most likely because you didn’t rinse the rice well or you stirred it after adding the broth. Also, check that the heat was low enough during simmering.
3. Can I make this pilaf vegan?
Absolutely. Substitute butter with olive oil or vegan butter, and use vegetable broth. The flavor will still be rich.
4. How do I add more flavor without extra salt?
Try toasting the rice with a pinch of cumin seeds or coriander. Add a strip of lemon zest during cooking, then remove before serving.
5. Can I freeze leftover pilaf?
Yes, but note that the texture may soften slightly upon thawing. It works great for soups or stir-fries. Reheat with a splash of broth to restore moisture.