Why These Homemade Pumpkin Bars Will Become Your Fall Favorite
Have you ever bitten into a store-bought pumpkin bar and felt like something was missing? The flavor is there, but the texture falls flat, and the sweetness feels artificial. When you prepare Pumpkin Bars at home, you control every ingredient—from the real pumpkin purée to the warm spices. Not only do they taste better, but you can also tailor them to your family’s dietary needs. In this post, I’ll walk you through a foolproof Pumpkin Bars recipe that delivers moist, spiced perfection every time. Plus, I’ll share a versatile Pumpkin Bars Recipe variation that swaps traditional frosting for a dark chocolate drizzle—ideal for reducing sugar while keeping indulgence high. Let’s get started!
—
Ingredients & Kitchen Tools
For the Pumpkin Bars
– 1¾ cups all-purpose flour (or gluten-free 1:1 blend) – gives structure; spoon and level to avoid density.
– 1½ teaspoons baking powder + ½ teaspoon baking soda – ensures a light crumb.
– 2 teaspoons pumpkin pie spice (or 1 tsp cinnamon + ½ tsp nutmeg + ½ tsp ginger + ¼ tsp cloves) – adjust to your warmth preference.
– ½ teaspoon salt – balances sweetness.
– 1 cup granulated sugar + ½ cup packed brown sugar – brown sugar adds moisture.
– ½ cup vegetable oil (or melted coconut oil) – keeps bars tender.
– 1 cup pumpkin purée (not pumpkin pie filling) – use canned or roasted fresh pumpkin.
– 2 large eggs – room temperature for best emulsion.
– 1 teaspoon vanilla extract.
Optional Frosting
– 4 oz cream cheese, softened
– ¼ cup unsalted butter, softened
– 1½ cups powdered sugar
– 1 teaspoon vanilla extract
Kitchen Tools
– 9×13-inch baking pan
– Parchment paper
– Mixing bowls (large + medium)
– Whisk and rubber spatula
– Electric mixer (for frosting)
– Cooling rack
—
Prep Time & Cooking Schedule
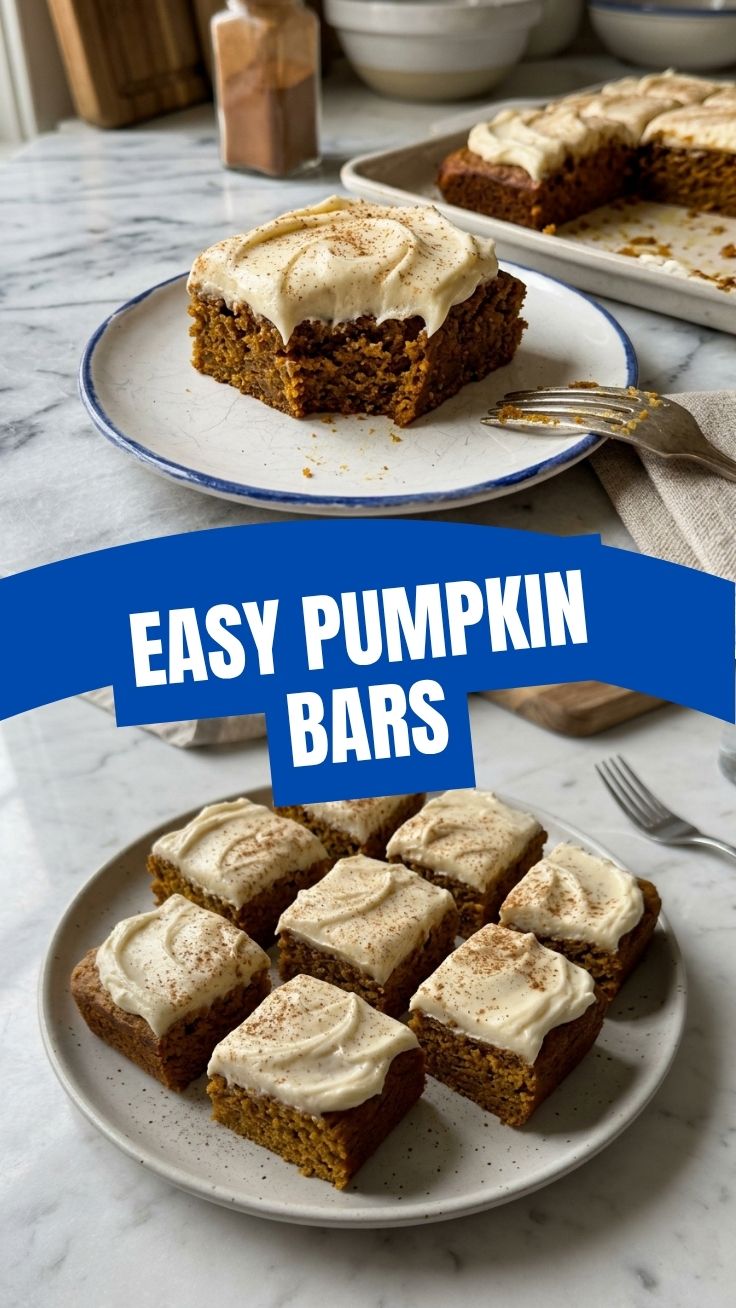
– Prep time: 15 minutes
– Bake time: 22–26 minutes
– Cooling time: 30 minutes (bars) + 10 minutes (frosted, if using)
– Total time: ~1 hour 15 minutes
Plan ahead: The bars need to cool completely before frosting. If you’re making them for a party, bake the day before and frost the morning of serving. The flavors actually deepen overnight.
—
Step-by-Step Instructions
1. Preheat & Prep Pan – Preheat oven to 350°F (175°C). Line a 9×13-inch pan with parchment paper, leaving overhang on two sides. Lightly grease the parchment.
2. Whisk Dry Ingredients – In a medium bowl, whisk together flour, baking powder, baking soda, pumpkin pie spice, and salt. Set aside.
3. Combine Wet Ingredients – In a large bowl, whisk granulated sugar, brown sugar, and oil until smooth. Add pumpkin purée, eggs, and vanilla; whisk until fully combined and no streaks remain.
4. Fold in Dry Mix – Gradually add dry ingredients to wet mixture, folding gently with a rubber spatula until just combined. Do not overmix—stop when you see the last flour streak vanish. Overmixing develops gluten and makes bars tough.
5. Bake – Pour batter into prepared pan and spread evenly. Bake for 22–26 minutes, rotating pan halfway through. Check doneness by inserting a toothpick in the center—it should come out clean or with a few moist crumbs. A cracked top is normal; it signals the perfect amount of moisture.
6. Cool Completely – Transfer pan to a wire rack and let cool for 30 minutes. Then lift bars out using parchment overhang and cool completely on the rack. This step is critical for your Pumpkin Bars to set properly; cutting them warm will result in a crumbly mess.
7. Make Frosting (Optional) – In a medium bowl, beat cream cheese and butter until creamy. Add powdered sugar and vanilla, then beat on low speed until combined, then high for 1 minute until fluffy. Spread over cooled bars.
8. Slice & Serve – Use a sharp knife to cut into 24 squares. For clean cuts, wipe the blade between slices. Store extras as directed below.
> Pro tip: If you want a more wholesome twist, try the Pumpkin Bars Recipe variation—swap the cream cheese frosting for melted dark chocolate (70% cocoa) and a sprinkle of sea salt. It’s a brilliant way to cut sugar while adding antioxidant-rich chocolate and a satisfying crunch from chopped pecans or almonds.
—
Nutritional Benefits & Advantages
Pumpkin isn’t just for spooky decorations—it’s a nutritional powerhouse. One cup of cooked pumpkin contains more than 200% of your daily vitamin A (as beta-carotene), plus fiber, vitamin C, and potassium. When combined with spices like cinnamon and ginger, you get anti-inflammatory benefits. By making these at home, you can adjust the sugar—use less than typical recipes or swap in coconut sugar. The oil provides heart-healthy fats, and eggs deliver high-quality protein that keeps you full. Compared to store-bought versions, homemade Pumpkin Bars have no preservatives or hydrogenated oils.
—
Tips, Variations & Cooking Advice
– Gluten-free: Substitute all-purpose flour with a 1:1 gluten-free blend. Add 1 teaspoon xanthan gum if your blend doesn’t include it.
– Dairy-free: Use vegan butter and cream cheese (like Miyoko’s or Violife) in the frosting. For the bars themselves, choose coconut oil instead of butter.
– Low-sugar: Replace half the granulated sugar with erythritol or monk fruit sweetener. The texture will be slightly less tender, but still delicious.
– Spice boost: Add ⅛ teaspoon cayenne or black pepper for a subtle warmth that complements the pumpkin.
– Mix-ins: Fold in ½ cup chocolate chips, dried cranberries, or chopped walnuts after the flour.
– Baking method: For thicker bars, use an 8×8 pan and bake 30–35 minutes. For thinner, crisper edges, press batter into a 10×15 jelly roll pan and bake 18–20 minutes.
—
Common Mistakes to Avoid
| Mistake | Solution |
|———|———-|
| Dry, dense bars | You likely overmixed the batter or overbaked. Fold only until combined and start checking doneness at 22 minutes. |
| Soggy center | Pumpkin purée contains a lot of water. Pat it dry with paper towels if it looks watery, or cook it down in a pan for 5 minutes before adding. |
| Frosting slides off | Bars must be 100% cool. If you’re in a hurry, place them in the fridge for 20 minutes after cooling on the rack. |
| Bars stick to pan | Always line with parchment paper, not just grease. The overhang allows easy lifting. |
—
Storage & Meal Prep Tips
– Room temperature: Store unfrosted bars in an airtight container for up to 3 days.
– Refrigerator: Frosted bars keep 5–6 days in the fridge. Bring to room temperature before serving for best flavor.
– Freezer: Wrap individual bars (frosted or unfrosted) tightly in plastic wrap, then foil. Freeze for up to 3 months. Thaw overnight in the fridge.
– Reheating: For that just-baked warmth, microwave one bar for 12 seconds. Avoid overheating—it can melt the frosting.
Meal prep hack: Bake a double batch, freeze half unfrosted, and frost the half you’ll eat this week. You’ll always have a quick snack or dessert ready.
—
Conclusion
You now have everything you need to create the most tender, spiced Pumpkin Bars right in your own kitchen. From the simple ingredient list to the adaptable frosting options—including that decadent dark chocolate and sea salt twist from the Pumpkin Bars Recipe—this recipe is designed to fit your lifestyle. Whether you’re baking for a fall gathering or just satisfying a craving, these bars deliver consistent results. I encourage you to try them this weekend, share a photo of your creation, and let me know in the comments which variation you loved most. Happy baking!
—
FAQs
1. Can I use fresh pumpkin instead of canned?
Absolutely. Roast a small sugar pumpkin at 375°F for 45 minutes, scoop out the flesh, and purée it. Strain the purée through cheesecloth for 30 minutes to remove excess water—otherwise your bars may turn soggy.
2. Why did my bars sink in the middle?
This usually happens if the oven door was opened too early (first 15 minutes) or if the batter was overmixed, which deflates air bubbles. Also, ensure your baking powder is fresh—test it by dropping a spoonful into hot water; it should fizz.
3. Can I make these without eggs?
Yes. Substitute each egg with ¼ cup unsweetened applesauce or a flax egg (1 tablespoon flaxseed meal + 3 tablespoons water, rested 5 minutes). The texture will be slightly denser but still delicious.
4. How do I prevent the frosting from being too runny?
Make sure your butter and cream cheese are softened but not melted. Beat only until fluffy—overbeating introduces too much air and can cause separation. If the frosting is too thin, add powdered sugar 1 tablespoon at a time.
5. What’s the best way to cut clean squares?
Chill the frosted bars in the fridge for 20 minutes. Use a long, sharp knife, and wipe it clean with a damp paper towel after each cut. For extra precision, score the top with a knife first, then slice all the way through.