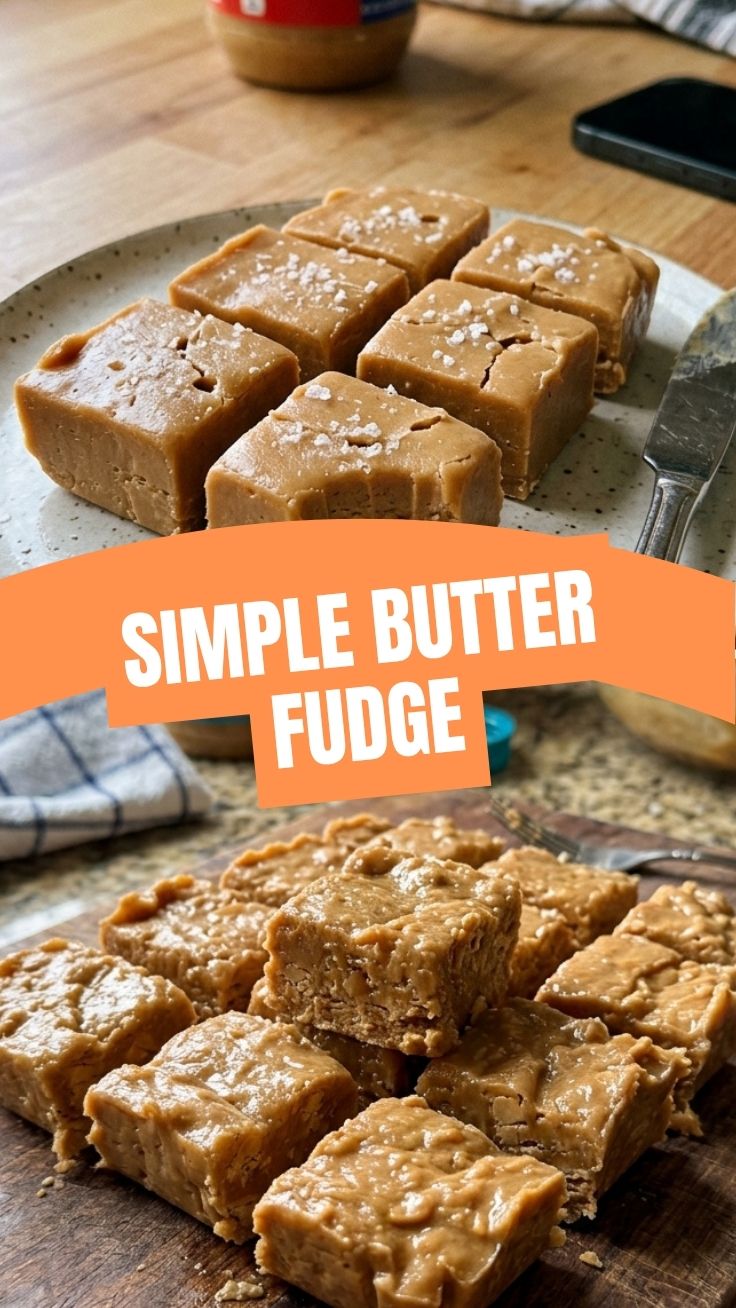
The Ultimate Homemade Peanut Butter Fudge: A Foolproof Recipe for Rich, Creamy Perfection
Have you ever craved that perfect balance of sweet and salty, only to find store-bought fudge disappoints with its waxy texture and artificial flavor? You’re not alone. The secret to truly unforgettable Peanut Butter Fudge lies in the simplicity of homemade preparation—where quality ingredients and precise technique transform basic pantry staples into a velvety, melt-in-your-mouth confection. This recipe is not just about satisfying a sweet tooth; it’s about mastering a classic treat that will have you exploring countless Fudge Recipes for years to come. Let’s dive into the science and art of making the best peanut butter fudge from scratch.
Ingredients & Kitchen Tools
Required Ingredients
– 2 cups granulated sugar – Provides the essential sweetness and structure; no substitutions for best results
– 1/2 cup unsalted butter (1 stick) – Adds richness and helps prevent crystallization; salted butter can be used if you reduce added salt
– 1/2 cup evaporated milk – Creates smooth texture and prevents graininess; can substitute full-fat coconut milk for dairy-free version
– 1 cup creamy peanut butter – Choose natural, no-stir varieties for best flavor; avoid reduced-fat versions as they contain fillers
– 1 jar (7 oz) marshmallow creme – The secret to ultra-creamy fudge; can substitute 2 cups mini marshmallows (melted separately)
– 1 teaspoon vanilla extract – Enhances peanut butter notes; use pure extract not imitation
– Pinch of salt – Balances sweetness and intensifies peanut flavor
Essential Kitchen Tools
– Heavy-bottomed medium saucepan (3-quart minimum) – Prevents scorching
– Candy thermometer (digital recommended) – Critical for precise temperature control
– 8×8-inch baking pan – Line with parchment paper for easy removal
– Silicone spatula – Withstands high heat without melting
– Mixing bowl – Heat-safe glass or stainless steel
– Sharp knife – For clean cuts (run under hot water before slicing)
Prep Time & Cooking Schedule
– Prep Time: 10 minutes (measure ingredients, line pan)
– Cook Time: 15 minutes (bring sugar mixture to soft-ball stage)
– Mixing & Setting Time: 10 minutes (combine and pour) + 2 hours (chill in refrigerator)
– Total Time: Approximately 2 hours 35 minutes
Planning Tip: Make this fudge the night before serving. The 2-hour chill time is minimum; overnight refrigeration creates the smoothest texture and easiest slicing.
Step-by-Step Instructions
1. Prepare the Pan: Line an 8×8-inch pan with parchment paper, leaving overhang on two sides for easy lifting. Lightly grease the paper with butter.
2. Combine Base Ingredients: In a heavy saucepan over medium heat, combine sugar, butter, and evaporated milk. Stir constantly with a silicone spatula until butter melts and sugar dissolves completely (about 3-4 minutes).
3. Monitor Temperature: Attach candy thermometer to saucepan (not touching bottom). Continue stirring until mixture reaches 234°F (soft-ball stage) – this typically takes 8-10 minutes. Crucial tip: Do not scrape sides of pan during this stage to avoid crystallization.
4. Remove from Heat: Immediately remove saucepan from burner. Add peanut butter and marshmallow creme all at once. Stir vigorously with a wooden spoon or spatula until completely smooth and combined (about 1 minute).
5. Add Vanilla: Stir in vanilla extract and pinch of salt. Mix until just incorporated.
6. Pour and Set: Pour mixture into prepared pan, spreading evenly with a offset spatula. Tap pan gently on counter to release air bubbles.
Texture Cue: Properly cooked fudge should look glossy and slightly thicker than cake batter when poured. If it appears oily or separated, the temperature was too high.
Now, the magic of this Peanut Butter Fudge lies in patience—let it cool uncovered at room temperature for 30 minutes, then refrigerate for at least 2 hours (overnight is best). For more delicious variations, explore our collection of Fudge Recipes.
Nutritional Benefits & Advantages
While fudge is an indulgence, Peanut Butter Fudge offers surprising nutritional perks when enjoyed in moderation:
– Protein Powerhouse: Peanut butter provides ~8g protein per 2-tablespoon serving, adding satiety (keeping you fuller longer)
– Healthy Fats: Monounsaturated and polyunsaturated fats support heart health and aid vitamin absorption
– Mineral Rich: Peanuts contain magnesium (30mg/serving) for muscle function, plus vitamin E as an antioxidant
– Energy Boost: Simple carbohydrates from sugar provide quick energy—perfect pre-workout snack in small portions
Dietary Advantage: A single 1-inch square typically contains 120-150 calories, making portion control easy. Compared to dark chocolate fudge, this version has 25% less saturated fat.
Tips Variations & Cooking Advice
Flavor Twists
– Chocolate Swirl: Drop 2 oz melted dark chocolate into warm fudge and swirl with a knife
– Salted Caramel: Drizzle with homemade caramel sauce before setting
– Spicy Sweet: Add 1/2 teaspoon cayenne pepper for heat-loving palates
Dietary Adaptations
– Dairy-Free: Use coconut oil instead of butter, and full-fat canned coconut milk instead of evaporated milk
– Vegan: Replace marshmallow creme with aquafaba-based meringue powder (2 tbsp + 3 tbsp water)
– Lower Sugar: Substitute 1 cup monk fruit sweetener for sugar (note: texture will be softer)
Cooking Advice
– Altitude Adjustments: Above 3,000 feet, cook to 228°F instead of 234°F
– Humidity Fix: On rainy days, cook mixture 2°F higher to compensate for moisture absorption
– Peanut Butter Choice: Use “grind-your-own” peanut butter from health food stores for most intense flavor
Common Mistakes to Avoid
| Mistake | Solution |
|————-|————–|
| Grainy/ Crystalized texture | Never stir after removing from heat; crystals form from agitation |
| Soft/ Runny consistency | Hit 234°F exactly—under-cooked fudge won’t set properly |
| Sticky/ Never-setting | Over-cooked (above 240°F) causes sugar to invert; use thermometer |
| Oily separation | Heat was too high or peanut butter was low-quality; use fresh, emulsified peanut butter |
| Burnt bottom | Always use heavy-bottomed pan and stir constantly over medium heat |
Storage & Meal Prep Tips
Refrigeration (Recommended)
– Store in airtight container with parchment between layers for up to 2 weeks
– Bring to room temperature for 5 minutes before serving for optimal creaminess
– Pro Tip: Place a slice of bread in container to absorb excess moisture—replace daily
Freezing (Long-term)
– Wrap individual squares tightly in plastic wrap, then foil
– Place in freezer-safe bag for up to 3 months
– Thaw in refrigerator overnight (do not microwave)
Reheating Instructions
– Stovetop: Gently warm squares in nonstick pan over low heat (1 minute per side)
– Microwave: 5-second bursts on 50% power—watch carefully to avoid melting
Conclusion
Making Peanut Butter Fudge at home transforms a simple craving into a rewarding culinary achievement. By mastering the candy thermometer and understanding the soft-ball stage, you’ll unlock endless possibilities for Fudge Recipes—from classic chocolate to innovative flavor combinations. The creamy texture, rich peanut flavor, and perfect sweetness make this recipe a keeper for holidays, parties, or simple weekend indulgence. I encourage you to share your results in the comments below—did you try a variation? What was your temperature reading? Your feedback helps other readers achieve perfect fudge every time.
FAQs
Q1: Can I use natural peanut butter (the kind that separates)?
Yes, but stir it very well before measuring. The oil content in natural peanut butter can cause greasiness, so add an extra tablespoon of powdered sugar to compensate.
Q2: My fudge turned out grainy—what went wrong?
Graininess indicates sugar crystals formed during cooking. This happens when you scrape the sides of the pan or stir too vigorously after adding the sugar mixture. Always heat gently and stir only until sugar dissolves.
Q3: Can I double this recipe?
Absolutely! Use a 9×13-inch pan and increase cooking time by 3-5 minutes. Check temperature carefully—double batches take longer to reach 234°F.
Q4: How do I fix fudge that won’t set?
If after 4 hours in the refrigerator it’s still soft, you likely under-cooked it. Unmold, chop into pieces, and melt with 1/4 cup additional powdered sugar. Re-cook to 236°F, then re-pour.
Q5: Is there a microwave version of this recipe?
Yes! Combine sugar, butter, and milk in microwave-safe bowl. Microwave on high 2 minutes, stir, then 1 minute intervals until 234°F. Finish with remaining ingredients as directed.