The Ultimate Guide to Perfectly Creamy Oatmeal: A Breakfast Game-Changer
Have you ever wondered why your homemade Oatmeal never tastes as good as the one from your favorite café? You’re not alone. The secret lies not just in the ingredients, but in the technique. Preparing a warm, comforting bowl of oatmeal from scratch is not only cost-effective but also allows you to control the sweetness, texture, and nutritional value. This guide will walk you through everything you need to know to make a flawless breakfast that fuels your morning.
—
Ingredients & Kitchen Tools
Dry Ingredients:
– 1 cup rolled oats (not instant; they hold their texture better)
– 1/2 teaspoon salt (enhances the natural sweetness)
– 1 tablespoon brown sugar or maple syrup (optional; adjust to taste)
Wet Ingredients:
– 2 cups milk or water (milk makes it creamier; use oat milk for dairy-free)
– 1 teaspoon vanilla extract (adds warmth without overpowering)
Toppings (Optional):
– Fresh berries, sliced banana, nuts, seeds, or a dollop of yogurt
Kitchen Tools:
– Medium saucepan (heavy-bottomed for even heat)
– Wooden spoon or silicone spatula (to stir without scratching)
– Measuring cups and spoons
– Small bowl (for mixing toppings)
Prep Time & Cooking Schedule
Prep Time: 2 minutes (gather ingredients)
Cook Time: 15–20 minutes
Total Time: 20–22 minutes
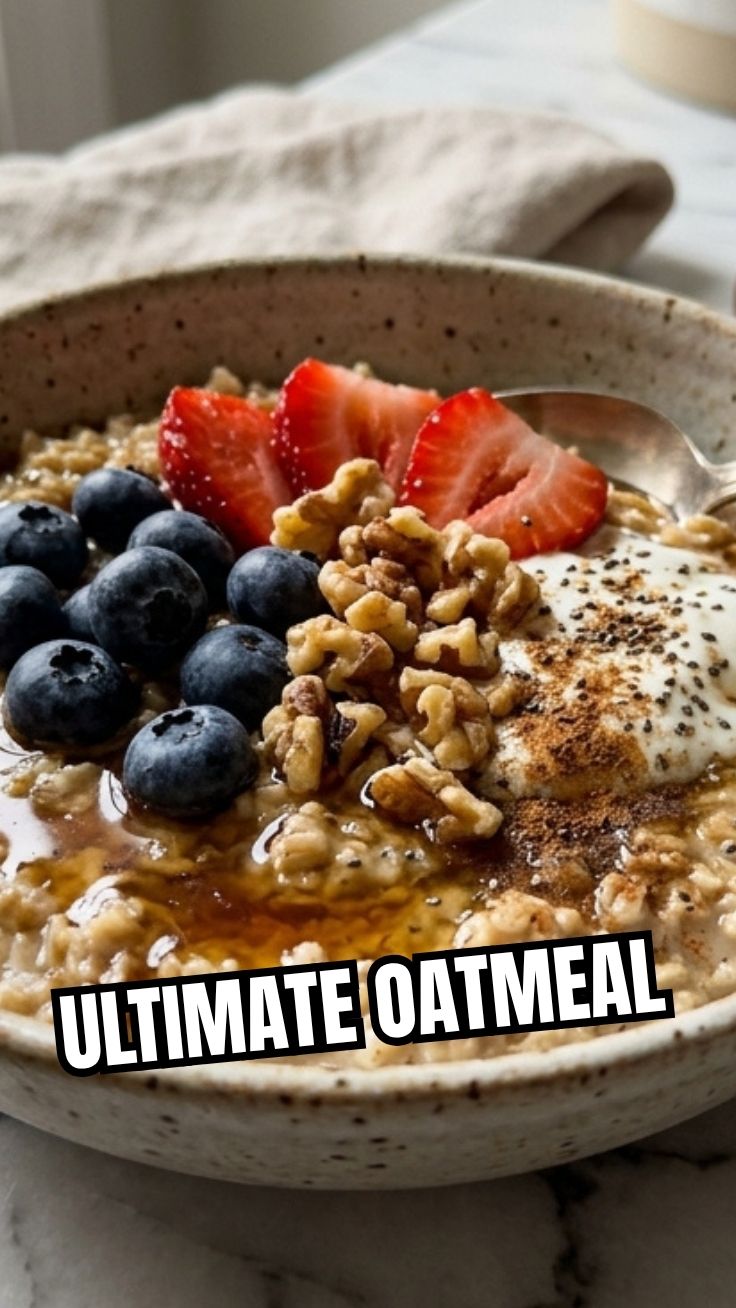
Tip: For a faster morning, combine dry ingredients the night before. This oatmeal also holds well for meal prep—simply reheat with a splash of milk.
—
Step-by-Step Instructions
Follow these steps carefully for a creamy, not gluey, oatmeal bowl.
1. Toast the oats (optional but recommended): Heat your saucepan over medium heat. Add the oats and dry-toast for 2–3 minutes, stirring constantly, until they smell nutty. This deepens the flavor of your breakfast.
2. Add liquid: Pour in the milk (or water) and salt. Bring to a gentle boil over medium-high heat.
3. Simmer and stir: Reduce heat to low. Cook for 15–20 minutes, stirring every 2–3 minutes. Stirring prevents sticking and releases starches for that creamy texture.
4. Check consistency: The oatmeal is ready when thick and creamy. Test by dragging your spoon through—it should leave a clean trail.
5. Add sweetener and vanilla: Stir in brown sugar or maple syrup and vanilla extract. Remove from heat.
6. Rest for 1 minute: Let it sit off the heat to thicken further.
7. Serve with toppings: Top with fresh fruit, nuts, or a drizzle of nut butter.
Pro Tip: If it thickens too much, stir in a splash of hot water or milk to loosen it.
—
Nutritional Benefits & Advantages
Starting your day with a bowl of oatmeal isn’t just comforting—it’s a powerhouse of nutrition. Oats are packed with soluble fiber (beta-glucan), which helps lower cholesterol and stabilize blood sugar. This breakfast also provides sustained energy, keeping you full well into the morning. Additionally, oats contain antioxidants and B vitamins that support heart health and brain function.
—
Tips, Variations & Cooking Advice
– Flavor variations: Add cinnamon, nutmeg, or a pinch of cardamom while cooking. Stir in mashed banana for natural sweetness.
– Dairy-free/gluten-free: Use certified gluten-free oats and plant-based milk (oat, almond, or coconut). For extra creaminess, use canned coconut milk.
– Overnight oats method: Combine oats, milk, and yogurt in a jar. Refrigerate overnight. No cooking required.
– Savory twist: Omit sweeteners. Top with a fried egg, avocado, and chili flakes.
—
Common Mistakes to Avoid
| Mistake | Solution |
|———|———-|
| Using instant oats | They turn mushy. Stick with rolled or steel-cut. |
| Not stirring enough | This leads to sticking and uneven cooking. Stir every 2–3 minutes. |
| Overcooking | Leads to a gluey texture. Remove from heat once creamy. |
| Adding sugar too early | It can burn. Add sweetener in the last minute. |
—
Storage & Meal Prep Tips
– Refrigeration: Store cooled oatmeal in an airtight container for up to 5 days.
– Freezing: Portion into freezer-safe containers for up to 3 months. Thaw overnight in the fridge.
– Reheating: Add 2–3 tablespoons of milk or water per serving. Heat on the stove over low heat, stirring frequently, or microwave in 30-second bursts. Stir well to restore creaminess.
—
Conclusion
Mastering the art of oatmeal transforms a simple bowl into a nourishing, delicious breakfast that fits any lifestyle. Whether you prefer it sweet, savory, or topped with fresh fruit, this recipe gives you total control. The key is patience and stirring—two small actions that yield big results. Try this recipe tomorrow morning and share your creations in the comments below! For more cozy breakfast ideas, explore our collection of warm bowls and baked goods.
—
FAQs
1. Can I use steel-cut oats instead of rolled oats?
Yes, but you’ll need to increase the cooking time to 25–30 minutes and use 2 1/2 cups of liquid per 1 cup of oats.
2. Why is my oatmeal always gluey?
You’re likely overcooking or over-stirring. Once it reaches a creamy consistency, remove from heat. Also, avoid using instant oats.
3. Can I make this dairy-free?
Absolutely. Substitute milk with oat, almond, or soy milk. Coconut milk adds richness.
4. How do I make it sweeter without refined sugar?
Mash a ripe banana into the oats while simmering, or stir in a tablespoon of maple syrup or honey at the end.
5. Can I meal prep this for the week?
Yes. Cook a larger batch, portion into containers, and refrigerate. Reheat with a splash of milk each morning.
Proven Way to Grow Oatmeal: 7 Perfect Methods Oatmeal
Ingredients
Equipment
Method
- Choose a suitable location in your garden with ample sunlight and well-draining soil.
- Prepare the soil by removing weeds and enriching it with compost if desired.
- Plant oat seeds directly into the prepared soil, following the spacing recommendations on the seed packet.
- Lightly cover the seeds with soil and water gently.
- Water regularly, ensuring the soil remains moist but not waterlogged.
- Harvest the oats when the grains are plump and the plant begins to turn golden brown.
- Thresh and winnow the harvested oats to separate the grains from the chaff.