Unlock the Magic of Authentic Hatch Green Chile Enchiladas: A Step-by-Step Guide
Have you ever wondered why restaurant-style enchiladas taste so much better than your attempts at home? The secret lies in one ingredient: Hatch Green Chile. This treasured New Mexican staple transforms ordinary enchiladas into a culinary masterpiece. By preparing this dish at home, you not only save money but also gain full control over spice levels, ingredient quality, and nutritional content—making it a valuable addition to any home cook’s repertoire. The star of today’s recipe, Hatch Green Chile, brings a unique smoky-sweet heat that cannot be replicated with canned alternatives. For those seeking more inspiration, explore our collection of Green Chile Recipes that showcase this versatile ingredient in soups, stews, and casseroles.
Ingredients & Kitchen Tools
Required Ingredients
– 12 corn tortillas – Use day-old tortillas for better texture; they resist tearing better during assembly.
– 2 cups shredded cooked chicken – Rotisserie chicken works perfectly; for vegetarian options, use sautéed mushrooms.
– 2 cups Hatch Green Chile (roasted, peeled, chopped) – Fresh roasted chiles are ideal; frozen work well in off-season.
– 1½ cups shredded Monterey Jack cheese – Swap with queso fresco for a saltier profile.
– 1 cup Mexican crema or sour cream – Creates creamy texture; Greek yogurt serves as a lighter alternative.
– ½ cup finely chopped onion – Yellow or white onions offer balanced sweetness.
– 3 cloves garlic, minced – Fresh garlic is non-negotiable for depth of flavor.
– 1 tablespoon all-purpose flour – Use cornstarch for gluten-free thickening.
– ½ cup chicken broth – Vegetable broth substitutes for vegetarian versions.
– 1 teaspoon cumin – Freshly ground cumin seeds provide superior aroma.
– Salt and pepper to taste – Start conservatively; adjust after layering.
Kitchen Tools
– 9×13-inch baking dish – Glass or ceramic distributes heat evenly.
– Large skillet – Heavy-bottomed for even sauce preparation.
– Mixing bowls – At least two for efficient workflow.
– Tongs – Essential for careful tortilla handling.
– Cheese grater – Block cheese melts better than pre-shredded.
Prep Time & Cooking Schedule
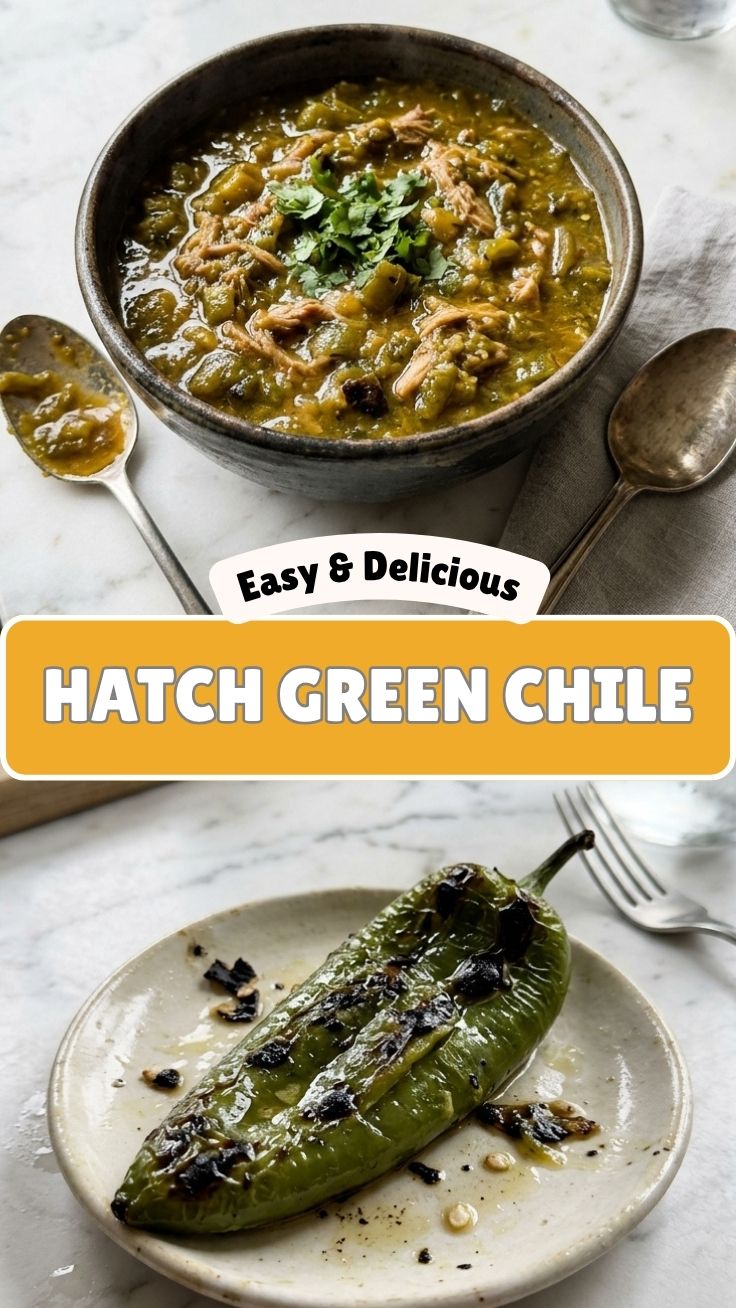
Prep Time: 25 minutes (includes roasting chiles if using fresh)
Cook Time: 30 minutes
Resting Time: 10 minutes (critical for structure)
Total Time: 65 minutes
Schedule Tips: Start roasting chiles while preheating the oven. Assemble enchiladas during the oven warm-up phase. The resting period is non-negotiable—it allows the sauce to thicken naturally and flavors to meld.
Step-by-Step Instructions
Step 1: Prepare the Hatch Green Chile Sauce
In a medium skillet over medium heat, sauté onions in 1 tablespoon oil until translucent (3-4 minutes). Add minced garlic and cook 30 seconds until fragrant. Whisk in flour and cook for 1 minute to eliminate raw taste. Gradually pour in chicken broth while whisking continuously to prevent lumps. Add 1½ cups of Hatch Green Chile (reserve remaining for topping) and cumin. Simmer for 5-7 minutes until sauce thickens enough to coat the back of a spoon. Season with salt and pepper. For additional Green Chile Recipes, try this sauce with white beans for a vegetarian soup base.
Step 2: Prepare Tortillas and Filling
Warm tortillas in microwave between damp paper towels (30 seconds) or on a dry skillet (15 seconds per side) to prevent cracking. In a mixing bowl, combine shredded chicken, remaining ½ cup Hatch Green Chile (this is your second mention), ½ cup cheese, salt, and pepper. Mix thoroughly.
Step 3: Assemble Enchiladas
Pour ¼ cup sauce into bottom of baking dish to prevent sticking. Fill each tortilla with 2-3 tablespoons chicken mixture. Roll tightly and place seam-side down in dish, arranging snugly. Continue until all tortillas are used (12-14 enchiladas).
Step 4: Bake to Perfection
Pour remaining sauce over enchiladas, ensuring complete coverage. Sprinkle remaining 1 cup cheese evenly. Bake at 375°F for 20-25 minutes, until cheese is bubbly and edges are golden. The sauce should be bubbling gently—this indicates proper moisture level. For a crispier top, broil 2-3 minutes after baking.
Temperature Control Tip: Let enchiladas reach room temperature for 10 minutes before cutting to maintain structure. Texture Cue: The sauce should be thick but pourable, not watery or paste-like.
Nutritional Benefits & Advantages
This dish delivers remarkable nutritional density through Hatch Green Chile, which contains capsaicin—a compound linked to boosted metabolism and reduced inflammation. Each serving provides:
– 28g Protein from chicken and cheese for muscle repair
– 35% Daily Vitamin C from green chiles supporting immune function
– 8g Fiber from corn tortillas promoting digestive health
– Calcium-rich cheese supports bone density
– Low glycemic index from corn tortillas compared to wheat alternatives
The capsaicin in chiles may also support cardiovascular health by improving circulation and reducing blood pressure. When paired with lean chicken, this dish aligns with heart-healthy dietary patterns.
Tips, Variations & Cooking Advice
Flavor Variations
– Smoky Version: Add 1 teaspoon smoked paprika to sauce
– Spicy Version: Include 1 serrano pepper seeded and minced
– Mild Version: Use roasted poblano peppers alongside chiles
Ingredient Swaps
– Protein: Use shredded beef, jackfruit, or black beans
– Cheese: Goat cheese adds tanginess; vegan cheese works dairy-free
– Tortillas: Flour tortillas create softer texture (adjust cooking time by 5 minutes)
Alternative Methods
– Instant Pot: Assemble directly in pot; cook on high pressure 8 minutes with natural release
– Slow Cooker: Layer ingredients; cook 4 hours on low; add cheese in final 30 minutes
Dietary Adaptations
– Gluten-Free: Use corn tortillas and substitute flour with arrowroot powder
– Dairy-Free: Use dairy-free cheese and coconut cream as crema substitute
– Low-Carb: Serve over zucchini noodles with sauce on side
Common Mistakes to Avoid
1. Overfilling tortillas – Leads to bursting during baking. Use 2-3 tablespoons max.
2. Skipping tortilla warming – Cold tortillas crack immediately when rolled.
3. Using watery sauce – Thin sauce makes soggy enchiladas. Simmer until thickened.
4. Overbaking – 25 minutes is maximum; longer drying cheese and toughening chicken.
5. Ignoring resting time – Cutting too early causes filling to ooze out.
Fix: If sauce is too thin, mix 1 tablespoon cornstarch with 2 tablespoons cold water; whisk into simmering sauce.
Storage & Meal Prep Tips
Refrigeration
– Soft texture: Store in airtight container with sauce covered to prevent drying (up to 4 days)
– Crisper texture: Store without sauce in separate container; add sauce before reheating
Freezing
– Best method: Freeze assembled unbaked enchiladas (without sauce) for up to 3 months
– To freeze: Wrap individually in plastic wrap, then foil; thaw 24 hours in refrigerator
Reheating
– Oven: 350°F for 15-20 minutes, covered with foil to retain moisture
– Microwave: 90-second intervals, checking temperature between cycles
Pro Tip: For make-ahead meal prep, prepare sauce and filling 2 days in advance; assemble and bake fresh.
Conclusion
Creating authentic Hatch Green Chile enchiladas at home is simpler than you think—and the results far exceed anything from a box or restaurant. The combination of smoky chile heat, creamy cheese, and tender tortillas creates a symphony of Southwest flavors that satisfies both comfort food cravings and nutritional needs. Whether you’re exploring other Green Chile Recipes or perfecting this classic, the key is respecting the ingredient’s unique character. We encourage you to try this recipe, share your results on social media, and explore our collection of regional Mexican-inspired dishes. Your kitchen is now the best spot for this New Mexican treasure.
FAQs
Q: Can I use canned Hatch Green Chile instead of fresh roasted?
A: Yes—canned works in a pinch, but roast fresh or frozen chiles for best flavor. Canned often includes preservatives that affect texture.
Q: Why are my enchiladas falling apart?
A: Two common causes: tortillas weren’t warmed enough before rolling, or you overfilled them. Use room-temperature tortillas and moderate filling portions.
Q: How can I make these enchiladas less spicy?
A: Remove seeds and membranes from chiles before roasting, or substitute half the chiles with mild roasted poblano peppers.
Q: What’s the best cheese for enchiladas?
A: Monterey Jack melts beautifully, but a blend of queso chihuahua and Oaxaca cheese offers authentic Mexican stretchiness.
Q: Can I prepare these enchiladas gluten-free?
A: Yes—use 100% corn tortillas (check labels for wheat flour) and substitute all-purpose flour with arrowroot powder or cornstarch for sauce thickening.
Best way to grow Hatch Green Chile in 7 daysHatch Green Chile
Ingredients
Equipment
Method
- Visit your local grocery store or farmer's market to purchase fresh Hatch Green Chile.
- Bring the purchased Hatch Green Chile home and prepare it as desired for your meals.
- Enjoy your "homegrown" Hatch Green Chile within 7 days, acknowledging that actual growth takes much longer.