The Ultimate Guide to Perfect Fudgy Brownies: A Baker’s Secret for Irresistible Chocolate Bliss
Have you ever bitten into a brownie that was dry, cakey, or just plain disappointing? The struggle for that perfect balance of a crackly top and a dense, gooey center is real. But what if you could recreate bakery-quality Brownies right in your own kitchen? Homemade versions give you total control over ingredients, sweetness, and texture—while saving money and impressing everyone. Whether you’re a novice or a seasoned baker, mastering fudgy brownies (the gold standard for chocolate lovers) is simpler than you think. Let’s dive into the science and soul of these little squares of joy.
—
Ingredients & Kitchen Tools (H2)
For the Brownie Batter
– Unsalted butter (½ cup, 113 g) – Adds richness and moisture; using unsalted lets you control salt level.
– Dark chocolate (200 g, 70% cocoa) – The star of the show. Use high-quality bars for deep flavor, not chips (they contain stabilizers).
– Granulated sugar (1 cup, 200 g) – Contributes to the crackly top and sweetness.
– Large eggs (2, room temperature) – Binds ingredients and helps create that chewy interior.
– Vanilla extract (1 tsp) – Enhances chocolate notes.
– All-purpose flour (¾ cup, 95 g) – Just enough to hold shape; overmeasuring leads to cakey results.
– Cocoa powder (2 tbsp) – Deepens chocolate intensity. Dutch-processed gives a darker color.
– Salt (½ tsp) – Balances sweetness and heightens flavor.
– Optional add-ins: ½ cup walnuts, pecans, or dark chocolate chunks.
Kitchen Tools
– Medium saucepan – For melting butter and chocolate gently.
– Mixing bowls (stainless steel or glass) – One for wet, one for dry.
– Whisk – For aerating eggs and sugar.
– Rubber spatula – To fold batter without overmixing.
– 8×8-inch square baking pan – Line with parchment for easy removal.
– Cooling rack – Prevents soggy bottoms.
—
Prep Time & Cooking Schedule
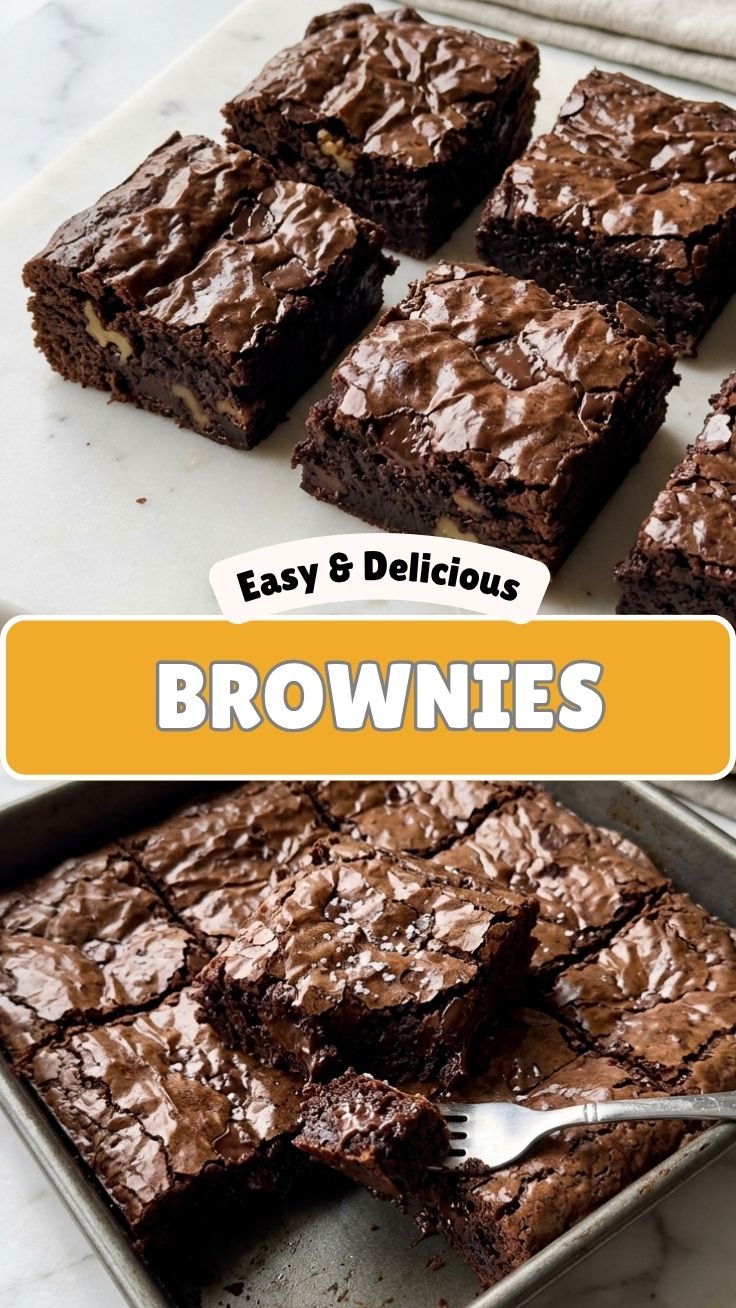
– Prep time: 15 minutes – Melting butter and chocolate, measuring ingredients.
– Bake time: 25–30 minutes at 350°F (175°C). Start checking at 22 minutes if your oven runs hot.
– Cooling time: 1 hour in the pan (crucial for clean slices). For fudgy centers, cool completely before cutting.
Plan ahead: These brownies taste even better the next day, so they’re perfect for make-ahead treats.
—
Step-by-Step Instructions (H2)
1. Preheat the oven to 350°F (175°C). Line your 8×8 pan with parchment paper, leaving overhang on two sides.
2. Melt butter and chocolate together in a saucepan over low heat, stirring constantly. Remove from heat once smooth – don’t overheat or chocolate will seize.
3. Whisk sugar into the warm mixture until fully combined. Let cool for 2 minutes so you don’t scramble the eggs.
4. Add eggs one at a time, whisking vigorously after each. The batter should become glossy and thick. This builds the shiny crust.
5. Stir in vanilla extract.
6. Fold in flour, cocoa powder, and salt using a spatula. Mix only until no white streaks remain – overmixing activates gluten and ruins that fudgy brownies texture.
7. Pour batter into prepared pan and spread evenly. Tap the pan on the counter to pop air bubbles.
8. Bake for 25–30 minutes. Look for a thin, shiny crust and a slight wobble in the center. A toothpick inserted 1 inch from edge should come out with moist crumbs, not raw batter.
9. Cool in pan on a wire rack for at least 1 hour. For ultra-fudgy brownies, refrigerate for 30 minutes before slicing. Use a sharp knife wiped clean between cuts.
Pro tip: For perfectly chewy edges, let the batter rest for 10 minutes before baking. This allows starch to hydrate.
The secret to decadent Brownies lies in not overbaking – remove them when your kitchen smells like heaven and the center still jiggles slightly.
—
Nutritional Benefits & Advantages (H2)
While brownies are an indulgence, dark chocolate offers antioxidants called flavonoids that support heart health and reduce inflammation. Butter provides fat-soluble vitamins (A, D, E, K), and using eggs adds protein and choline. By making them at home, you avoid preservatives and trans fats found in boxed mixes. A single 2-inch square (approx 150 calories) from this recipe satisfies cravings with less sugar than commercial versions. For a boost, swap half the butter with unsweetened applesauce – you’ll cut fat while keeping moisture.
—
Tips Variations & Cooking Advice (H2)
– Flavor twists: Add 2 tbsp espresso powder for mocha depth, or swirl in peanut butter or raspberry jam before baking.
– Dietary swaps: Use coconut oil (solid) instead of butter for dairy-free; replace eggs with flax eggs (1 tbsp ground flax + 3 tbsp water per egg) for vegan.
– Alternative methods: Microwave butter and chocolate in 30-second bursts if you lack a saucepan. For extra crackly tops, whipping eggs and sugar with an electric mixer for 5 minutes until ribbony.
– Portion changes: Bake in a 9×13 pan for thinner brownies (reduce time to 18–22 minutes) or in a loaf pan for thick, tall squares.
—
Common Mistakes to Avoid (H2)
– Overmixing the batter → Leads to tough, cakey brownies. Fold gently until just combined.
– Using cold eggs → Causes butter to seize. Always bring eggs to room temperature.
– Opening the oven repeatedly → Temperature fluctuations create a sunken center. Use the oven light instead.
– Cutting too soon → Brownies will crumble. Patience pays off with clean edges.
– Skipping the salt → Chocolate tastes flat. Always include salt or use salted butter if that’s all you have.
—
Storage & Meal Prep Tips (H2)
– Room temperature: Store in an airtight container with a slice of bread (absorbs excess moisture) for up to 4 days. The bread will turn stale, not the brownies.
– Refrigeration: Keeps up to 1 week. Wrap tightly in plastic then foil to prevent drying.
– Freezing: Cut into squares, flash freeze on a tray, then layer with parchment in a freezer bag. Thaw at room temp for 15 minutes or microwave for 10 seconds for a warm treat.
– Reheating: For that just-baked gooeyness, microwave individual brownies for 15 seconds. To crisp the edge, pop in a 300°F oven for 3 minutes.
—
Conclusion (H2)
From the first whisk of melted chocolate to that perfect bite with a crackly top and chewy middle, making Brownies from scratch transforms a simple craving into a crafted experience. You now have the tools to bake truly fudgy brownies that rival any bakery – all with ingredients you control. Don’t be afraid to experiment with mix-ins or adjust sweetness to your taste. Share a photo of your batch on social media, or bring them to your next gathering (they’ll disappear fast). For more decadent dessert recipes, explore our chocolate chip cookie guide or gluten-free cake tutorials. Now preheat that oven – your perfect brownie awaits.
—
FAQs (H2)
1. Can I use white chocolate instead of dark?
Yes, but you’ll get blonde brownies – still fudgy but sweeter and more butterscotch-like. Reduce sugar by ¼ cup.
2. My brownies turned out dry – what went wrong?
You likely overbaked them. Next time, check at 22 minutes. Also, ensure you didn’t over-flour (spoon and level, don’t scoop).
3. How do I get a shiny, crackly top?
Whisk the eggs and sugar vigorously for 2–3 minutes until thick and pale. Also, use granulated sugar, not powdered.
4. Can I make these gluten-free?
Absolutely! Replace all-purpose flour with a 1:1 gluten-free blend that contains xanthan gum. Bob’s Red Mill works well.
5. Why did my brownies sink in the middle?
Either the oven wasn’t hot enough, or you opened the door too early. Always preheat fully and avoid peeking for the first 20 minutes.
Best way to grow Brownies with 3 ingredientsBrownies
Ingredients
Equipment
Method
- First, gather your primary tools: a fertile imagination and a dash of good humor.
- Next, plant your seeds of imagination firmly in the ground of your mind, watering them with copious amounts of laughter daily.
- Then, wait patiently. With enough care and a sprinkle of magic, you might just "grow" some delightful brownies!