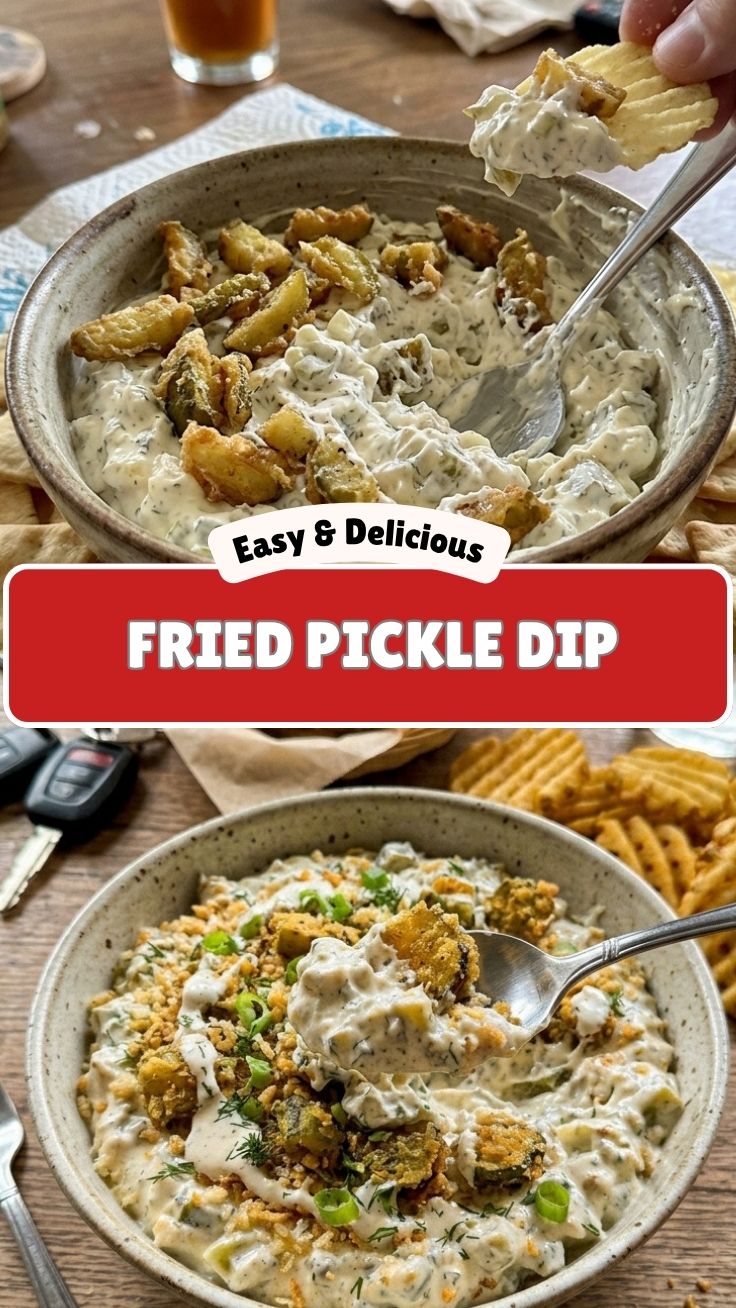
The Ultimate Tangy and Creamy Pickle Appetizer You Need to Try
Have you ever craved the tangy crunch of a fried pickle but wished it came in a dippable, shareable form? Imagine scooping up that same briny, dill-forward flavor blended with creamy cheese and a hint of heat—all without the deep-frying mess. That’s exactly what you get when you make Fried Pickle Dip at home. Not only is it incredibly easy to whip up in under 20 minutes, but it also lets you control the sodium and spice levels, making it a healthier alternative to restaurant versions. Plus, by incorporating pickle brine dip techniques, you unlock a secret depth of flavor that elevates this appetizer from good to unforgettable. Whether you’re hosting game day or just treating yourself, this homemade dip is a crowd-pleaser that requires minimal effort for maximum reward.
Ingredients & Kitchen Tools
For the dip base:
– 1 package (8 oz) cream cheese, softened – for a rich, creamy texture
– ½ cup sour cream or plain Greek yogurt (use yogurt for extra protein)
– ½ cup finely chopped dill pickles (choose crisp, kosher-style for best flavor)
– ¼ cup pickle brine (from the jar) – adds tang and moisture
– 1 teaspoon garlic powder (or 1 clove minced fresh garlic)
– ½ teaspoon onion powder
– ½ teaspoon smoked paprika (optional, for a subtle smoky note)
– ¼ teaspoon cayenne pepper (adjust to taste)
– Salt and black pepper to taste (go easy on salt – pickles are salty!)
– 2 tablespoons fresh dill, chopped (or 1 teaspoon dried dill)
For the crunchy topping (optional but recommended):
– ½ cup crushed pork rinds or panko breadcrumbs (use gluten-free panko if needed)
– 1 tablespoon melted butter or olive oil
Kitchen tools: Medium mixing bowl, hand mixer or fork, rubber spatula, small skillet (for toasting topping), serving bowl.
Substitutions: Dairy-free? Use vegan cream cheese and dairy-free sour cream. Need a lighter version? Swap cream cheese for Neufchâtel and use low-fat sour cream.
Prep Time & Cooking Schedule
Total time: 15 minutes active prep, plus 30 minutes chilling (optional but recommended for flavor meld). No cooking required for the base; the optional crunchy topping takes about 3 minutes in a skillet. Plan accordingly: if serving immediately, you can skip the chill, but letting the dip rest in the fridge for at least 30 minutes allows the pickle brine to permeate every bite. For best results, make it a few hours ahead or even the night before.
Step-by-Step Instructions
1. Soften the cream cheese – Let it sit at room temperature for 20 minutes, or microwave for about 15 seconds until soft but not melted. This ensures a smooth, lump-free base.
2. Mix the base – In a medium bowl, combine the cream cheese, sour cream, chopped dill pickles, and pickle brine. Add garlic powder, onion powder, paprika, cayenne, and a few twists of black pepper. Use a hand mixer on low speed or a sturdy fork to blend until creamy and uniform. Taste and adjust salt carefully—pickles and brine already add significant sodium.
3. Fold in fresh dill – Gently stir in most of the chopped dill, reserving a pinch for garnish. This adds a pop of color and freshness.
4. Chill (optional but recommended) – Cover the bowl and refrigerate for at least 30 minutes. During this time, the flavors marry beautifully, and the dip thickens slightly.
5. Prepare the crunchy topping – Just before serving, heat a small skillet over medium heat. Add crushed pork rinds or panko with the melted butter. Stir constantly for 2–3 minutes until golden and fragrant. Remove from heat and let cool.
6. Assemble and serve – Transfer the chilled dip to a serving bowl. Sprinkle the crunchy topping over the top, then garnish with remaining dill. Serve with crisp vegetables, crackers, or pretzels.
All along, remember that the key to an authentic Fried Pickle Dip lies in balancing creaminess with that unmistakable brininess. For an extra layer of complexity, try incorporating leftover pickle brine dip liquid from a previous batch—it’s a chef’s secret to making the dip sing.
Nutritional Benefits & Advantages
Pickles are naturally low in calories and provide a good dose of vitamin K, supporting bone health. The brine also contributes electrolytes like sodium and potassium, which can aid hydration—especially after a workout. Cream cheese and sour cream add calcium and protein, though in moderation. By using Greek yogurt, you boost protein and reduce saturated fat. The optional pork rind topping is actually keto-friendly and provides collagen. This dip is also vegetarian and can be made gluten-free with simple swaps. It’s a win for low-carb, high-fat diets like keto, and if you skip the topping, it’s even lower in carbs.
Tips, Variations & Cooking Advice
– Spice it up: Add a minced jalapeño or a dash of hot sauce (like Tabasco) for heat.
– Herb swap: Try chives or parsley instead of dill for a different profile.
– Dairy-free version: Use plant-based cream cheese and sour cream; ensure pickles have no added sugar.
– Topping alternatives: Crushed kettle chips, fried onions, or toasted sesame seeds all work.
– Serving ideas: Use the dip as a spread on burgers, sandwiches, or grilled chicken. It also makes an excellent dressing for potato salad when thinned with extra brine.
– Texture tip: For a chunkier dip, hand-chop the pickles instead of using a food processor. Over-processing can turn the dip watery.
Common Mistakes to Avoid
– Skipping the brine adjustment: Always taste before adding extra salt. The brine is already high in sodium, and cream cheese can be salty too.
– Using watery pickles: Pat them dry with a paper towel after chopping to prevent the dip from becoming too runny.
– Over-mixing: If you use a food processor, pulse briefly. Over-mixing can break down the pickles into a paste and make the dip gummy.
– Serving too cold: This dip is best when the cream cheese has softened slightly. If it’s straight from the fridge, let it sit at room temperature for 10 minutes before serving for a creamier mouthfeel.
Storage & Meal Prep Tips
Store leftover dip in an airtight container in the refrigerator for up to 5 days. Do not freeze—cream cheese-based dips become grainy upon thawing. If you’ve added the crunchy topping, store it separately in a sealed bag at room temperature and add just before serving to maintain crunch. To reheat, microwave for 10–15 seconds (just to take the chill off) or let it sit out for 15 minutes. Avoid high heat as it can cause separation. For meal prep, you can prepare the dip base up to 3 days ahead; only add the fresh dill and topping on serving day.
Conclusion
This homemade appetizer proves that you don’t need a deep fryer to enjoy the irresistible tang of pickles. With a few simple ingredients and a smart use of brine, you can create a creamy, savory dip that rivals any bar snack. We’ve shown you how to master Fried Pickle Dip in minutes, and by leveraging the acidity of pickle brine dip techniques, you’ve added an authentic depth of flavor. Now it’s your turn—give it a try, snap a photo, and share your creation with us. And if you loved this, don’t miss our other easy, tangy appetizers that turn everyday ingredients into party-worthy bites.
FAQs
Can I use sweet pickles instead of dill?
Yes, but the flavor profile will be sweeter and less tangy. Reduce or omit any added sugar, and consider adding a splash of vinegar or lemon juice to balance the sweetness.
Why is my dip watery?
Likely because the pickles weren’t patted dry, or you used a low-fat cream cheese which has higher water content. Next time, drain the pickles thoroughly and consider adding an extra tablespoon of brine only after the base is mixed.
Can I make this dip vegan?
Absolutely. Use vegan cream cheese and sour cream, and swap butter for olive oil in the topping. Ensure your pickles are free of non-vegan additives (most are).
How do I adjust the heat level?
Start with ¼ teaspoon cayenne for mild heat, or add ⅛ teaspoon gradually. For intense heat, mix in a teaspoon of sriracha or a few drops of liquid smoke for a smoky kick.
Can I use the dip as a marinade for chicken?
Yes! Thin it with a little extra brine or buttermilk, and soak chicken pieces for 2–4 hours before baking or grilling. The acidity tenderizes the meat beautifully.
Fried Pickle Dip
Ingredients
Equipment
Method
- In a medium bowl, beat softened cream cheese until smooth, then mix in sour cream, mayonnaise, pickle juice, garlic powder, onion powder, and paprika until well combined and creamy.
- Stir in the finely chopped dill pickles and fresh dill into the cream cheese mixture, ensuring even distribution of all ingredients.
- Gently fold in the crushed fried onion crisps just before serving to maintain their crunch, then taste and adjust seasoning with salt and pepper as needed.