The Ultimate Guide to Bakery-Style Chocolate Cupcakes at Home
Have you ever bitten into a perfectly moist, rich chocolate cupcake and wondered why yours never turn out that way? The secret isn’t a fancy bakery oven—it’s understanding the science behind the ingredients. Whether you’re baking for a birthday party, a weekend treat, or just because you deserve something indulgent, mastering Chocolate Cupcakes at home saves you money, lets you control the quality, and fills your kitchen with an aroma that no store-bought box can match. The best part? You can pair them with a silky frosting for cupcakes that transforms simple bakes into showstoppers. Let’s dive into everything you need to know.
Ingredients & Kitchen Tools
For the Chocolate Cupcakes (makes 12):
– 1⅓ cups all-purpose flour – Spoon and level for accuracy; don’t scoop directly.
– ¾ cup unsweetened cocoa powder – Dutch-process gives deeper flavor; natural works too.
– 1½ teaspoons baking powder – Ensures proper rise; check expiration date.
– ½ teaspoon baking soda – Reacts with buttermilk for tenderness.
– ¼ teaspoon salt – Balances sweetness and enhances chocolate.
– 1 cup granulated sugar – Can substitute coconut sugar for a less refined option.
– ½ cup buttermilk – Makes crumb tender; substitute ½ cup milk + 1 tsp lemon juice.
– ½ cup vegetable oil – Keeps cupcakes moist longer than butter.
– 2 large eggs – Room temperature for better emulsion.
– 2 teaspoons vanilla extract – Pure, not imitation, for best flavor.
– ½ cup hot coffee – Deepens chocolate flavor without tasting like coffee.
For the frosting for cupcakes:
– 1 cup unsalted butter – Softened but not melted.
– 3½ cups powdered sugar – Sifted to avoid lumps.
– ¼ cup heavy cream – Adjust for desired consistency.
– 2 teaspoons vanilla extract – Or use chocolate extract for double-chocolate.
Kitchen Tools: Muffin tin, 12 paper liners, mixing bowls, whisk, electric mixer, cooling rack, sifter, spatula.
Prep Time & Cooking Schedule
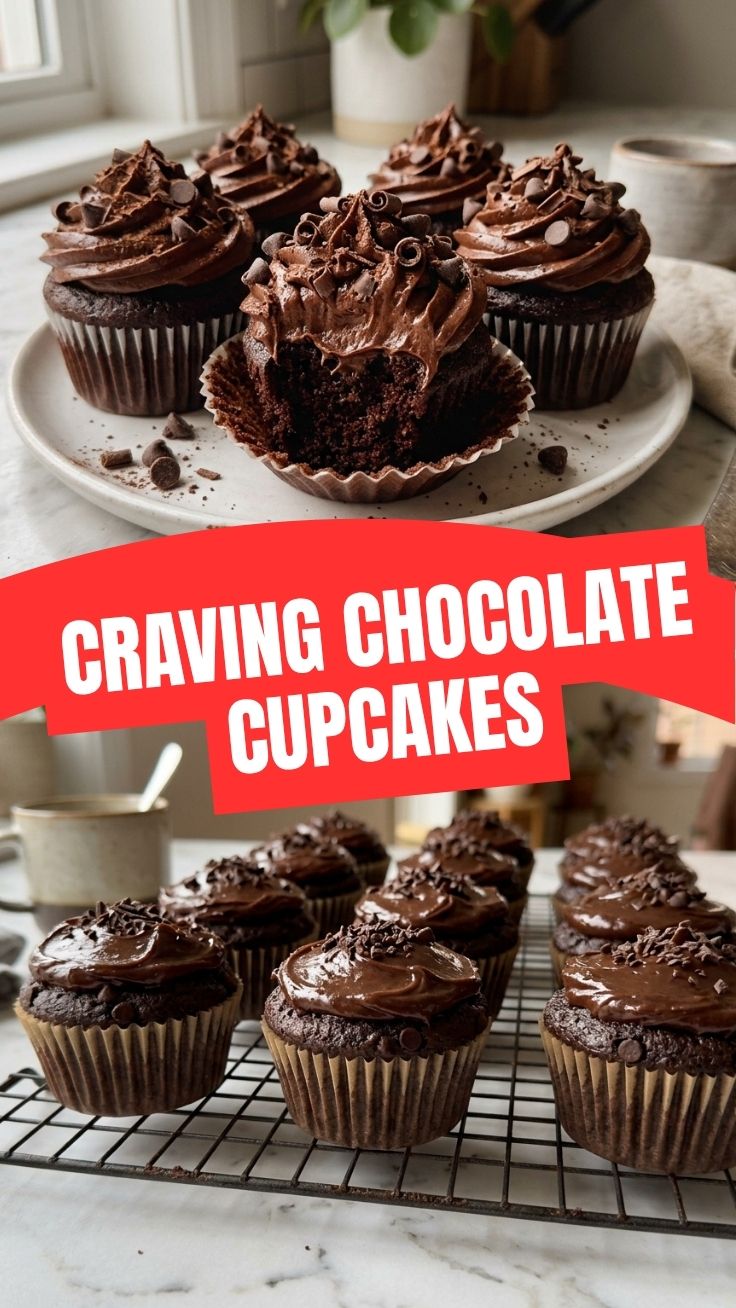
– Prep Time: 15 minutes
– Bake Time: 18–20 minutes
– Cooling Time: 30 minutes before frosting
– Total Time: About 1 hour 5 minutes
Plan ahead: The cupcakes need to cool completely before you add the frosting for cupcakes, or the buttercream will melt. Bake them in the morning, let them cool while you have lunch, and frost in the afternoon.
Step-by-Step Instructions
Step 1: Preheat and Prep
Preheat your oven to 350°F (175°C). Line a muffin tin with 12 paper liners. This ensures easy release and even baking.
Step 2: Combine Dry Ingredients
In a large bowl, sift together flour, cocoa powder, baking powder, baking soda, and salt. Sifting aerates the mixture and removes clumps—crucial for tender Chocolate Cupcakes.
Step 3: Mix Wet Ingredients
In another bowl, whisk together sugar, buttermilk, oil, eggs, and vanilla until smooth. The mixture should look glossy and slightly thickened.
Step 4: Combine and Add Coffee
Pour the wet ingredients into the dry and stir until just combined. Add the hot coffee and stir gently—the batter will be thin. That’s normal. Do not overmix or the cupcakes will be dense.
Step 5: Fill and Bake
Divide batter evenly among the liners, filling each about ⅔ full. Bake for 18–20 minutes. A toothpick inserted in the center should come out with a few moist crumbs, not wet batter. Cool in the pan for 5 minutes, then transfer to a wire rack.
Step 6: Make the Frosting
Beat softened butter until creamy. Gradually add powdered sugar, then cream and vanilla. Beat on medium-high for 3 minutes until light and fluffy. This is the perfect frosting for cupcakes—pipe or spread it generously.
Step 7: Frost and Serve
Once the cupcakes are completely cool, add the frosting. For best results, pipe it in a swirl starting from the outside edge. Let the frosted cupcakes rest for 15 minutes before serving.
Nutritional Benefits & Advantages
While chocolate cupcakes are an indulgence, they offer surprising benefits when made from scratch. Cocoa powder is rich in flavonoids—antioxidants that support heart health and reduce inflammation. Using oil instead of butter lowers saturated fat, and buttermilk adds probiotics that aid digestion. A single cupcake provides about 215 calories, 9g fat, and 3g protein. You control the sugar level, making these treats more balanced than store-bought versions.
Tips Variations & Cooking Advice
– Flavor Twist: Add ½ teaspoon cinnamon or espresso powder to the dry mix for a mocha kick.
– Gluten-Free: Substitute all-purpose flour with a 1:1 gluten-free baking blend. Add ¼ teaspoon xanthan gum if the blend doesn’t include it.
– Dairy-Free: Use almond milk + 1 teaspoon vinegar instead of buttermilk, and coconut oil instead of butter for the frosting.
– Mini Cupcakes: Bake for 10–12 minutes; makes about 24 minis.
– High-Altitude: Reduce sugar by 1 tablespoon, increase flour by 1 tablespoon, and bake at 365°F.
Common Mistakes to Avoid
– Overmixing the batter: This develops gluten, making cupcakes tough. Mix until just combined, then stop.
– Opening the oven door too early: The centers will collapse. Wait until at least 15 minutes of baking time has passed.
– Frosting warm cupcakes: The buttercream will slide off and become a mess. Patience is key—wait until they’re completely cool.
– Using cold eggs and buttermilk: Cold ingredients don’t emulsify properly, leading to a dense texture. Leave them on the counter for 30 minutes.
– Skipping the coffee: It doesn’t make the cupcakes taste like coffee—it deepens the chocolate flavor. Don’t omit it.
Storage & Meal Prep Tips
Store unfrosted Chocolate Cupcakes in an airtight container at room temperature for up to 3 days. For the frosting for cupcakes, refrigerate in a sealed container for up to 1 week—let it come to room temperature and re-whip before using. Frosted cupcakes can be refrigerated for 2 days, but bring them to room temperature 30 minutes before serving for the best texture. To freeze: wrap unfrosted cupcakes individually in plastic wrap, then place in a freezer bag. They’ll keep for up to 3 months. Thaw at room temperature for 1 hour before frosting.
Conclusion
Baking Chocolate Cupcakes from scratch is simpler than you think, and the result is far superior to any mix. The key is balancing moisture, richness, and that deep cocoa flavor—and finishing with a creamy frosting for cupcakes that ties it all together. Whether you’re a beginner or a seasoned baker, this recipe delivers consistent results every time. Try it this weekend, share a photo of your creation, and let us know how it turned out. Happy baking!
FAQs
1. Can I use margarine instead of butter for the frosting?
Yes, but the texture will be softer and less stable. Stick with unsalted butter for the best piping consistency.
2. Why did my cupcakes sink in the middle?
This usually happens from overmixing or opening the oven door too early. Mix gently and resist peeking until the 15-minute mark.
3. Can I make the batter ahead of time?
It’s best to bake immediately. The baking soda and powder start reacting as soon as they’re mixed, so the batter loses lift over time.
4. How do I make the frosting less sweet?
Add a pinch of salt, use cream cheese instead of half the butter, or substitute ½ cup of powdered sugar with cornstarch.
5. Can I use hot water instead of coffee?
Yes, but the chocolate flavor will be less pronounced. Coffee enhances cocoa without adding coffee taste—it’s worth trying.
Best way to grow your 7 Chocolate CupcakesChocolate Cupcakes
Ingredients
Equipment
Method
- Preheat your oven to 350°F (175°C) and line a 7-cup muffin tin with paper liners.
- In a large bowl, whisk together the flour, sugar, cocoa powder, baking soda, and salt until well combined.
- In a separate medium bowl, whisk together the milk, vegetable oil, egg, and vanilla extract.
- Pour the wet ingredients into the dry ingredients and mix until just combined, being careful not to overmix.
- Stir in the boiling water until the batter is smooth and thin.
- Divide the batter evenly among the 7 prepared muffin cups, filling each about two-thirds full.
- Bake for 18-22 minutes, or until a wooden skewer inserted into the center of a cupcake comes out clean.
- Let the cupcakes cool in the muffin tin for a few minutes before transferring them to a wire rack to cool completely.