The Ultimate Guide to Perfectly Crunchy Breadsticks at Home
Are you tired of store-bought breadsticks that turn soggy within hours? Imagine pulling a batch of golden, crispy breadsticks from your oven—fragrant with garlic and herbs, perfectly crunchy on the outside yet tender inside. Learning to craft these at home not only saves money but gives you complete control over texture and flavor. Breadsticks are a versatile companion for soups, salads, or dips, and I’ll show you how to achieve bakery-quality results with simple ingredients. This guide covers everything from dough hydration to shaping techniques, ensuring your first batch rivals any restaurant. Let’s demystify the art of homemade crunchy breadsticks.
Ingredients & Kitchen Tools
For the Dough:
– 3 cups all-purpose flour (or bread flour for extra chew)
– 1 packet active dry yeast (2¼ teaspoons)
– 1 cup warm water (110°F/43°C)
– 2 tablespoons olive oil (plus extra for brushing)
– 1 teaspoon salt
– 1 tablespoon sugar (feeds the yeast)
For Topping:
– 2 tablespoons melted butter
– 2 cloves minced garlic (fresh preferred)
– 1 teaspoon dried oregano or rosemary
– Coarse sea salt for sprinkling
Kitchen Tools:
– Large mixing bowl
– Stand mixer with dough hook (optional)
– Baking sheet lined with parchment paper
– Pastry brush
– Sharp knife or bench scraper
– Kitchen thermometer (for water temperature)
Optional Substitutions:
– Swap all-purpose flour for whole wheat (reduce water by 2 tablespoons)
– Use garlic powder if fresh garlic is unavailable
– Substitute vegan butter for dairy-free version
Prep Time & Cooking Schedule
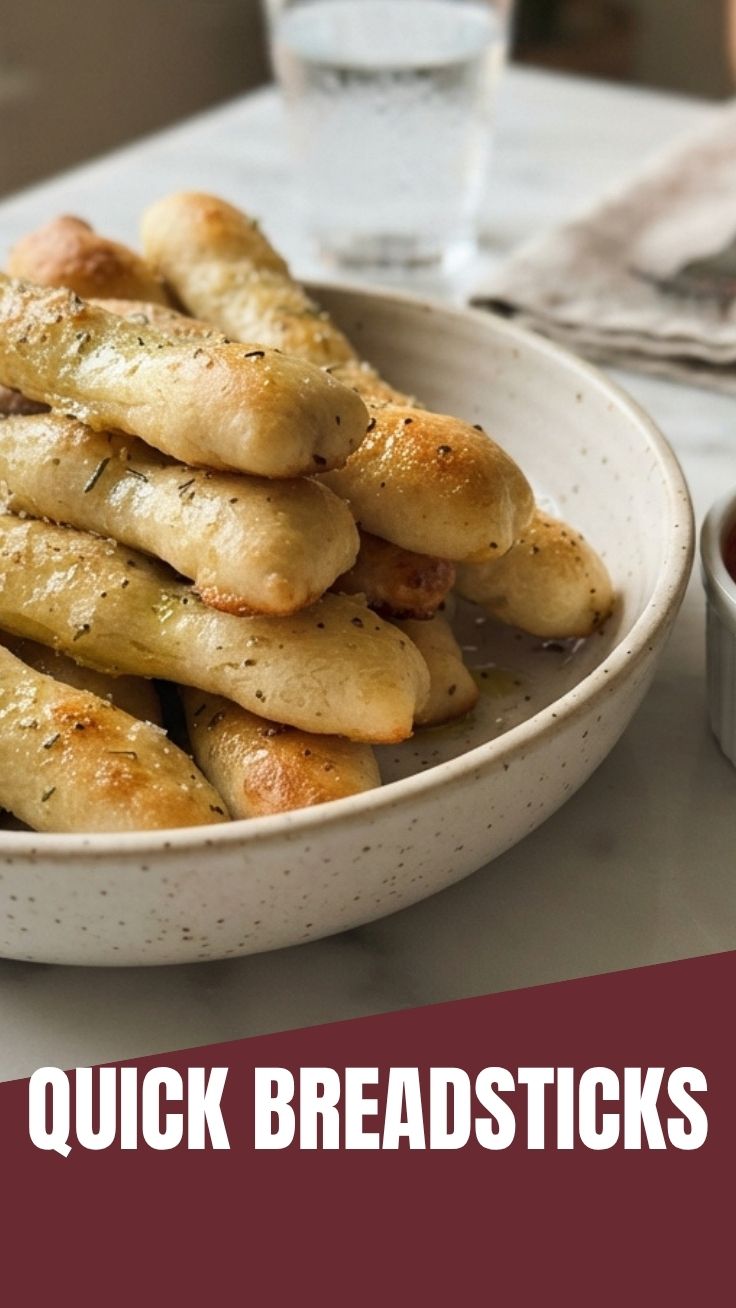
– Prep Time: 20 minutes (mixing + kneading)
– Rising Time: 1–1.5 hours (first proof)
– Shaping Time: 15 minutes
– Second Rise: 30 minutes
– Baking Time: 12–15 minutes at 400°F (200°C)
– Total Time: Approximately 2.5 hours
Pro tip: Prepare the dough the night before and refrigerate for up to 12 hours. The slow fermentation develops deeper flavor and reduces active work time.
Step-by-Step Instructions
Step 1: Activate the Yeast
In a small bowl, combine warm water (110°F) with sugar. Sprinkle yeast on top and let stand 5 minutes until frothy. This confirms yeast activity—if no foam appears, start fresh.
Step 2: Mix the Dough
In a large bowl, combine flour and salt. Add yeast mixture and olive oil. Mix until a shaggy dough forms. Turn onto floured surface and knead 8 minutes (or 5 minutes with stand mixer on medium speed) until smooth and elastic. The dough should spring back when pressed.
Step 3: First Rise
Place dough in oiled bowl, cover with plastic wrap, and let rise in warm spot (75°F) until doubled, about 1 hour. Use your finger to test—poke gently; if indentation remains, it’s ready.
Step 4: Shape the Breadsticks
Punch down dough and divide into 12 equal portions. Roll each piece into a 10-inch rope, tapering ends slightly. Place on parchment-lined baking sheet, spacing 1 inch apart. For extra crunch, brush with olive oil before second rise.
Step 5: Second Rise & Topping
Cover loosely with towel and let rise 30 minutes. Meanwhile, prepare garlic butter: melt butter and stir in minced garlic and oregano. Brush mixture over risen breadsticks, then sprinkle with coarse salt.
Step 6: Bake to Perfection
Preheat oven to 400°F (200°C). Bake 12–15 minutes until golden brown and hollow-sounding when tapped. For extra-crispy breadsticks, bake an additional 2 minutes on wire rack while still hot. When making Garlic breadsticks, be careful not to burn the garlic—if browning too quickly, tent with foil during last 3 minutes.
Temperature Control Tip: Oven thermostats vary. Rotate baking sheet halfway through for even browning. The internal temperature of fully baked breadsticks should register 190°F (88°C).
Nutritional Benefits & Advantages
Homemade breadsticks offer significant advantages over commercial versions. Each serving (2 breadsticks) contains approximately 180 calories, 4g protein, and 3g fiber when using whole wheat flour. The olive oil provides heart-healthy monounsaturated fats, while garlic offers antimicrobial properties. By controlling sodium, you can reduce salt content by 40% compared to packaged alternatives. The fermentation process also makes nutrients more bioavailable and reduces phytic acid, improving mineral absorption.
Tips Variations & Cooking Advice
Flavor Variations:
– Cheesy Breadsticks: Sprinkle ¼ cup parmesan on top before baking
– Everything Bagel Style: Add sesame seeds, poppy seeds, dried garlic, and onion flakes
– Spicy Version: Mix ½ teaspoon cayenne into garlic butter
Dietary Adaptations:
– Gluten-Free: Use 1:1 gluten-free flour blend + 1 teaspoon xanthan gum. Reduce water by 2 tablespoons.
– Dairy-Free: Replace butter with vegan margarine or additional olive oil
Alternative Methods:
– Air Fryer: Bake at 350°F for 8–10 minutes, flipping halfway
– Overnight Method: Prepare dough, refrigerate up to 12 hours after first rise, then shape and bake next day
Portion Changes: For breadstick “snacks,” cut ropes to 6 inches instead of 10. Adjust baking time by 2 minutes.
Common Mistakes to Avoid
1. Overproofing the Dough: If dough becomes overly puffy and collapses when touched, it’s overproofed. Solution: Reduce second rise to 20 minutes in warm environments.
2. Soggy Breadsticks: Usually caused by underbaking. Always tap the bottom—a hollow sound indicates doneness. Bake on lower oven rack for crisper bottoms.
3. Burnt Garlic in Garlic breadsticks: Garlic burns easily at high heat. Solution: Brush garlic butter on during the last 5 minutes of baking, or mix garlic with butter after melting to mellow flavor.
4. Tough Texture: Overkneading develops too much gluten. Stick to recommended kneading times and use gentle handling during shaping.
Storage & Meal Prep Tips
Refrigeration: Store cooled breadsticks in an airtight container at room temperature for up to 3 days. Avoid refrigerating, which accelerates staling.
Freezing: Flash-freeze shaped, unbaked breadsticks on a baking sheet for 1 hour, then transfer to freezer bag. Bake directly from frozen at 400°F for 15–18 minutes. Alternatively, freeze baked breadsticks in freezer-safe bags for 2 months.
Reheating: Restore crunch by placing breadsticks in a 350°F oven for 5 minutes. For microwave reheating (not recommended), wrap in damp paper towel for 15 seconds—texture will become chewy, not crispy.
Meal Prep: Double the batch and freeze half. Prep garlic butter mixture separately and refrigerate for up to 1 week.
Conclusion
Mastering homemade breadsticks transforms simple ingredients into a crowd-pleasing staple that complements any meal. Whether you prefer classic plain or aromatic Garlic breadsticks, this recipe delivers consistent crunch with every batch. The key lies in proper proofing, correct oven temperature, and resisting the urge to overhandle the dough. By following these steps, you’ll create restaurant-quality breadsticks that stay crispy longer than store-bought versions. I encourage you to experiment with different herbs and seeds to make this recipe your own. Share your creation on social media and tag me—I’d love to see your golden, crunchy results!
FAQs
1. Can I use instant yeast instead of active dry yeast?
Yes. Reduce rise time by 25% and skip the activation step—mix instant yeast directly with flour. Use slightly warmer water (115°F) for faster rising.
2. Why are my breadsticks soft instead of crunchy?
Usually due to underbaking or high humidity. Bake until deep golden brown and internal temperature reaches 190°F. Place baked breadsticks on wire rack immediately to prevent steam softening.
3. How can I make gluten-free breadsticks less dense?
Add 1 tablespoon apple cider vinegar to gluten-free dough to improve texture. Use a blend containing oat flour or rice flour for lighter crumb. Let batter rest 10 minutes before shaping.
4. My garlic burns during baking. How do I prevent this?
Mix garlic into melted butter and let sit 10 minutes to mellow flavor. Alternatively, brush garlic butter on during last 5 minutes of baking, or use granulated garlic instead of fresh.
5. Can I make breadsticks without a stand mixer?
Absolutely. Knead by hand for 8–10 minutes until smooth. The dough should be slightly tacky but not sticky. Use a bench scraper to incorporate flour as needed.
How to grow 5 homemade Breadsticks
Ingredients
Equipment
Method
- In a large bowl, dissolve the sugar in warm water, then sprinkle in the yeast and let it proof for 5-10 minutes until foamy.
- Stir in the flour and salt, then mix until a shaggy dough forms.
- Knead the dough on a lightly floured surface for 5-7 minutes until smooth and elastic, then place it in a greased bowl, cover, and let it rise in a warm place for 1 hour or until doubled in size.
- Preheat your oven to 400°F (200°C) and lightly grease a baking sheet.
- Punch down the risen dough and divide it into 5 equal pieces.
- Roll each piece into a breadstick shape, about 8-10 inches long, and place them on the prepared baking sheet.
- Bake for 12-15 minutes, or until golden brown.
- While the breadsticks are baking, whisk together olive oil and garlic powder in a small bowl.
- Once baked, brush the warm breadsticks with the garlic oil and sprinkle with Parmesan cheese, if desired.