The Ultimate Guide to Perfect Teriyaki Chicken: A Restaurant-Quality Meal at Home
Have you ever wondered why restaurant Teriyaki Chicken tastes so irresistibly glossy and savory, yet your homemade version often ends up dry or bland? The secret isn’t a special wok or a chef’s secret—it’s the balance of umami-rich Teriyaki Sauce and precise cooking technique. Preparing this dish at home not only saves money but lets you control the sodium, sugar, and oil content while achieving that crave-worthy caramelization. In this comprehensive guide, I’ll walk you through every detail—from ingredients to troubleshooting—so your teriyaki chicken turns out juicy, sticky-sweet, and deeply flavorful every single time.
—
Ingredients & Kitchen Tools
For the Dish
– Boneless, skinless chicken thighs (1.5 lbs) – Thighs stay juicier than breasts; substitute with breasts if preferred (reduce cooking time by 2–3 minutes).
– Soy sauce (⅓ cup) – Use low-sodium for better salt control; tamari for gluten-free.
– Mirin (¼ cup) – Sweet rice wine; substitute with 2 Tbsp rice vinegar + 1 Tbsp sugar if unavailable.
– Honey or brown sugar (3 Tbsp) – Honey adds floral notes; brown sugar deepens caramelization.
– Fresh ginger (1-inch piece, grated) – Avoid dried ginger; it lacks the pungent kick.
– Garlic (3 cloves, minced) – Fresh is non-negotiable for authentic aroma.
– Cornstarch (1 Tbsp + 2 Tbsp water for slurry) – Thickens sauce to glossy perfection.
– Sesame oil (1 tsp) – For toasty finish; optional but recommended.
– Sesame seeds & sliced green onions – For garnish.
Kitchen Tools
– Large skillet or wok (non-stick or cast iron)
– Small mixing bowl (for sauce)
– Whisk
– Tongs or spatula
– Microplane or grater (for ginger)
– Sharp knife & cutting board
– Measuring cups & spoons
Optional Substitutions
– Gluten-free: Use tamari and ensure mirin is GF.
– Paleo/Whole30: Replace soy sauce with coconut aminos and skip sugar.
– Spicy kick: Add 1 tsp sriracha or red pepper flakes to the sauce.
—
Prep Time & Cooking Schedule
– Prep Time: 15 minutes (chop, grate, mix sauce)
– Marinating Time: 30 minutes (minimum; 2 hours for deeper flavor)
– Cooking Time: 12–15 minutes (stovetop)
– Resting Time: 5 minutes (allows juices to redistribute)
Total time: About 1 hour (including marinating). Plan ahead: prep the sauce and marinate chicken while you steam rice or stir-fry vegetables.
—
Step-by-Step Instructions
1. Prepare the marinade: In a bowl, whisk together soy sauce, mirin, honey (or brown sugar), grated ginger, and minced garlic. Reserve ¼ cup of the mixture for later use as a basting sauce. Place chicken thighs in a ziplock bag or shallow dish, pour the remaining marinade over, seal, and refrigerate for at least 30 minutes.
2. Make the teriyaki sauce: In a small saucepan, combine the reserved ¼ cup marinade with ½ cup water. Bring to a simmer over medium heat. In a separate cup, mix 1 Tbsp cornstarch with 2 Tbsp cold water to form a slurry. Whisk the slurry into the simmering sauce and cook for 1–2 minutes until thickened and glossy. Set aside. (This step ensures your teriyaki chicken gets that signature lacquered finish without burning the sugar during cooking.)
3. Sear the chicken: Remove chicken from bag; discard used marinade. Pat thighs dry with paper towels (critical for browning). Heat 1 Tbsp vegetable oil in a large skillet over medium-high heat until shimmering. Add chicken thighs in a single layer (work in batches if needed). Cook 4–5 minutes per side until golden brown and internal temperature reaches 165°F (74°C).
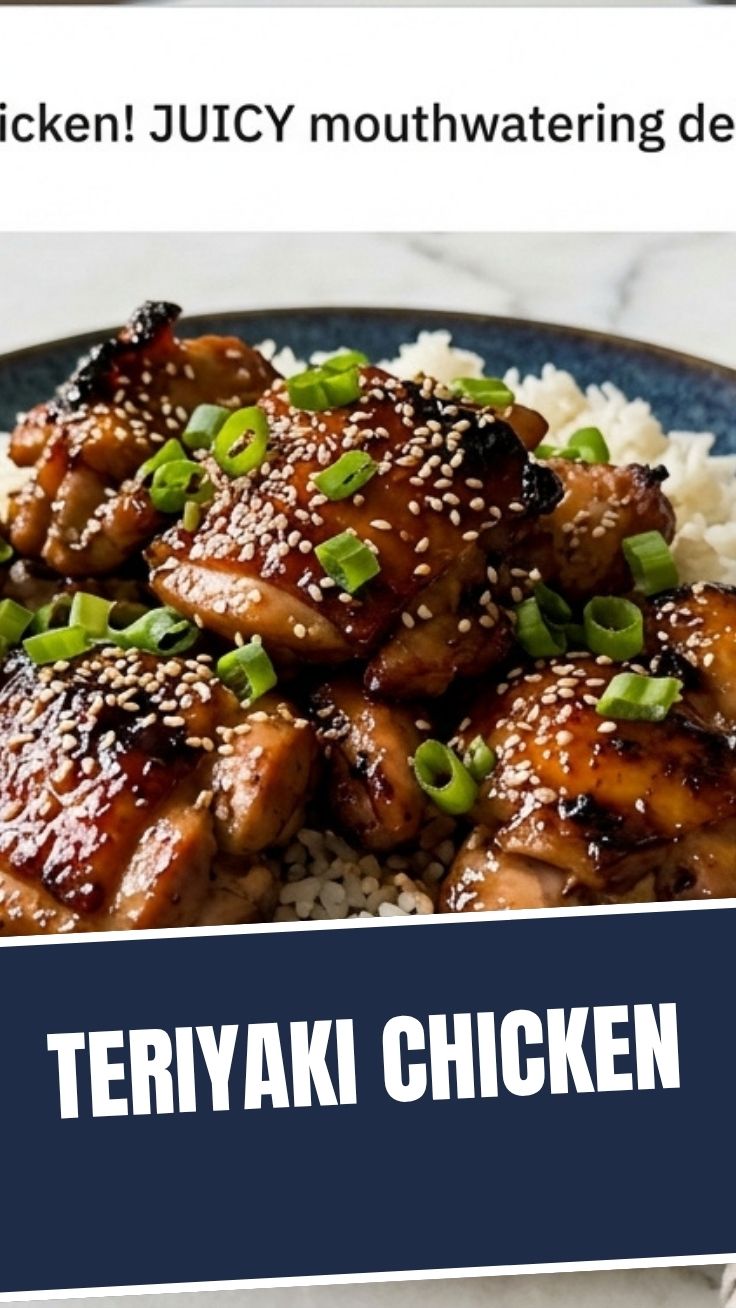
4. Glaze and finish: Reduce heat to medium-low. Pour half of the reserved thickened teriyaki sauce over the chicken, turning pieces to coat. Let the sauce bubble and caramelize for 1–2 minutes. Remove from heat, drizzle with sesame oil, and sprinkle sesame seeds and green onions.
Pro tip: For extra stickiness, brush the remaining sauce on the chicken just before serving. Let the pan rest a minute—the sauce will thicken further as it cools.
—
Nutritional Benefits & Advantages
– High-quality protein: Chicken thighs provide about 25g protein per serving, supporting muscle repair and satiety.
– Ginger and garlic offer anti-inflammatory compounds and aid digestion.
– Low added sugar option: By using honey sparingly, you reduce refined sugar load compared to takeout versions (which often spike blood sugar).
– Customizable sodium: Low-sodium soy sauce cuts salt by 40% without sacrificing flavor.
– Healthy fats from sesame oil (if used) contribute heart-healthy polyunsaturated fats.
A single serving (without rice) contains roughly 320 calories, 18g fat, 12g carbs (mostly from natural sugars), and 30g protein—making it a balanced choice for a main dish.
—
Tips Variations & Cooking Advice
Flavor Variations
– Sweet & Spicy: Add 1 tsp gochujang or chili garlic paste to the sauce.
– Pineapple Teriyaki: Replace mirin with pineapple juice for a tropical twist.
– Garlic-Lover’s: Double the garlic and add a pinch of garlic powder.
Cooking Method Swaps
– Oven-baked: Sear thighs in an oven-safe skillet, then bake at 375°F for 15 minutes, basting halfway through.
– Air fryer: Cook at 375°F for 10–12 minutes, flipping once, then brush with sauce and air fry 2 more minutes.
– Grill: Direct heat, 4–5 minutes per side, basting with sauce in the final 2 minutes.
Dietary Adaptations
– Gluten-free: Use tamari and gluten-free mirin or rice vinegar.
– Dairy-free: This recipe is naturally dairy-free.
– Low-carb/Keto: Skip honey; use allulose or monk fruit sweetener and thicken with xanthan gum instead of cornstarch.
—
Common Mistakes to Avoid
| Mistake | Solution |
|———|———-|
| Chicken turns dry | Use thighs instead of breasts; don’t overcook. Use an instant-read thermometer. |
| Sauce is too thin | Add slurry one teaspoon at a time and simmer until desired thickness. |
| Sauce burns in pan | Keep heat medium-low when adding sugar-based sauce; stir frequently. |
| Chicken not browned enough | Pat thighs completely dry before searing; don’t crowd the pan. |
| Bland flavor | Marinate at least 30 minutes; taste sauce and adjust salt/sweetness before cooking. |
—
Storage & Meal Prep Tips
– Refrigerate: Store leftovers in an airtight container for up to 4 days. Keep sauce separate to prevent sogginess.
– Freeze: Cooked teriyaki chicken freezes well for up to 3 months. Wrap tightly in foil then place in a freezer bag. Thaw overnight in the fridge.
– Reheat: For best texture, reheat in a skillet over medium-low heat with a splash of water or extra sauce. Microwave only on 50% power to avoid rubberizing the chicken.
– Meal prep: Cook a double batch; portion chicken with steamed broccoli and brown rice for ready-to-go lunches. The teriyaki sauce can be made ahead and refrigerated for up to 2 weeks.
—
Conclusion
Mastering teriyaki chicken at home is simpler than you think—and once you taste that glossy, caramelized perfection, you’ll never reach for takeout again. By balancing the sweetness of honey with the savory depth of homemade teriyaki sauce, this recipe delivers authentic flavor with total control over ingredients. Remember to marinate for at least 30 minutes, sear hot and fast, and always let the sauce thicken before glazing. Serve over steamed jasmine rice with a side of steamed edamame or a crisp cucumber salad. I’d love to hear how yours turns out—share your photos and tweaks in the comments below!
—
FAQs
1. Can I use chicken breasts instead of thighs?
Yes, but reduce cooking time by 2–3 minutes per side and check internal temperature (165°F). Breasts dry out faster, so consider brining them first.
2. What can I substitute for mirin?
Mix 2 Tbsp rice vinegar + 1 Tbsp sugar, or use dry sherry. Do not omit – mirin’s sweetness and acidity are key to the sauce profile.
3. Why is my sauce too salty?
Use low-sodium soy sauce and taste before adding extra salt. If oversalted, balance with a squeeze of lemon juice or a pinch of sugar.
4. Can I make this in a slow cooker?
Yes, but the texture will be softer. Sear chicken first, then cook on low for 2–3 hours. Thicken the sauce with cornstarch slurry at the end.
5. How do I get a thicker, stickier glaze?
Let the sauce simmer longer after adding cornstarch slurry, or double the cornstarch. Also, brush sauce on the chicken in layers during the final minute of cooking.