The Ultimate Creamy Milkshake Recipe You Need to Try at Home
Have you ever craved a thick, frosty, and indulgent treat but hesitated because store-bought versions are loaded with additives and sugar? What if you could whip up a better Milkshake in your own kitchen—using real ingredients, controlling the sweetness, and customizing every sip? Preparing a classic milkshake at home isn’t just easy; it’s a game-changer for your taste buds and your health. You get to skip the preservatives, choose high-quality dairy or plant-based alternatives, and even turn your shake into a balanced snack. Whether you’re a seasoned home cook or a complete beginner, this recipe delivers that nostalgic creaminess with a modern twist. Ready to blend?
—
Ingredients & Kitchen Tools
Ingredients
– 2 cups vanilla ice cream (or dairy-free ice cream for a vegan option) – Provides the thick, creamy base.
– 1/2 cup whole milk (or oat/almond milk) – Thins the shake to the perfect sipping consistency.
– 1 tablespoon granulated sugar (optional) – Adjust sweetness to your preference.
– 1 teaspoon pure vanilla extract – Enhances the classic milkshake flavor.
– Pinch of sea salt – Balances sweetness and deepens taste.
– Optional add-ins: 1/4 cup chocolate syrup, fresh berries, peanut butter, or a shot of espresso for a mocha twist.
Kitchen Tools & Utensils
– Blender (high-speed recommended for silky texture)
– Measuring cups and spoons
– Tall serving glass
– Long spoon or straw
– Ice cream scoop (for easy portioning)
Tip: Chill your glass in the freezer for 10 minutes before serving—it keeps the milkshake cold longer and adds an extra touch of luxury.
—
Prep Time & Cooking Schedule
– Prep Time: 5 minutes
– Blending Time: 2–3 minutes
– Total Time: 8 minutes (including chilling the glass)
This milkshake comes together in less time than it takes to drive to a fast-food joint. Because everything happens in one blender, cleanup is minimal. Perfect for a last-minute dessert, a weekend treat, or even a post-workout boost (if you add protein powder).
—
Step-by-Step Instructions
1. Chill your glass – Place a tall glass in the freezer while you gather ingredients. This simple trick keeps your shake frosty without ice crystals forming.
2. Scoop ice cream – Use a sturdy ice cream scoop to measure 2 cups. Let it soften on the counter for 2 minutes if it’s rock hard.
3. Layer in blender – Add the milk, vanilla extract, sugar (if using), and salt. Then top with the ice cream. Liquids at the bottom help the blades spin freely.
4. Blend until smooth – Start on low speed for 10 seconds, then increase to high for 20–30 seconds. Stop when the mixture is thick, creamy, and free of lumps. For a thinner shake, add an extra tablespoon of milk; for a thicker one, add more ice cream.
5. Taste and adjust – Dip a spoon and taste. Too sweet? Add a pinch more salt. Not sweet enough? Drizzle in a teaspoon of honey or agave.
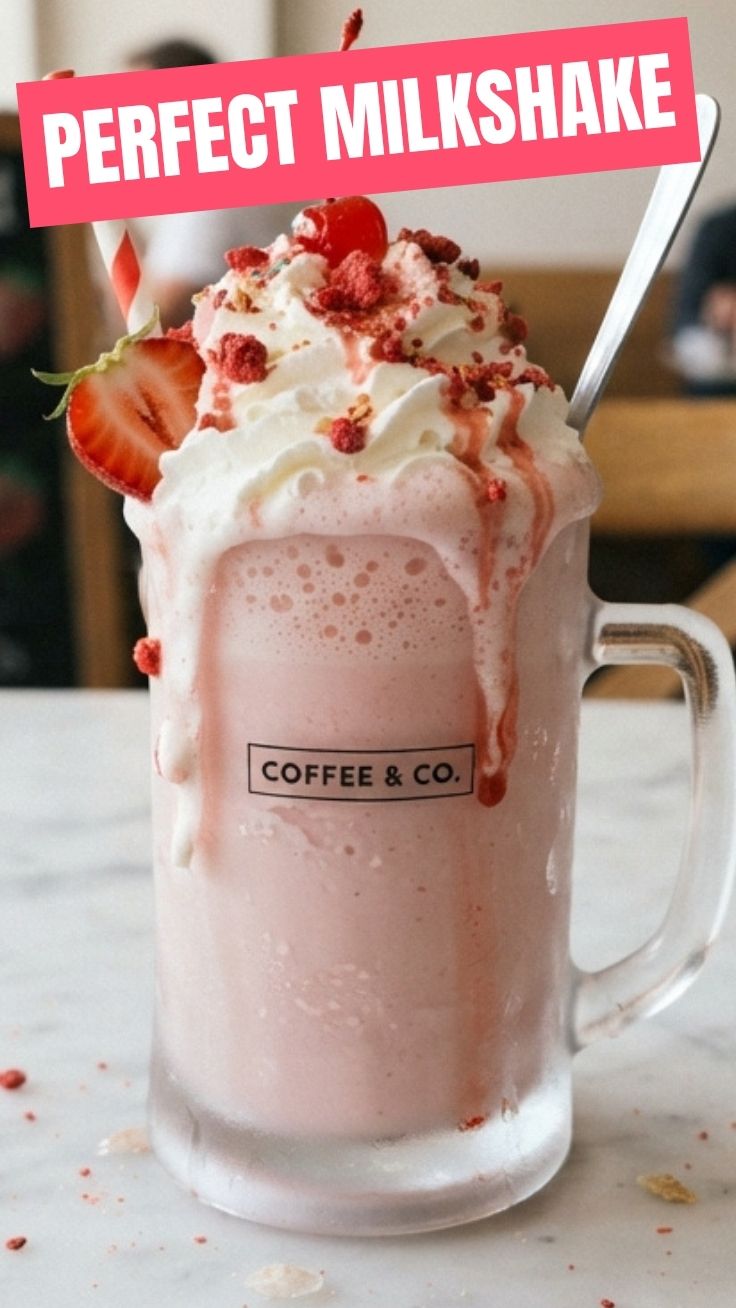
6. Pour and serve immediately – Remove the chilled glass, pour in the shake, and garnish with whipped cream, sprinkles, or a cherry. Use a long spoon for the thickest parts.
> Pro Tip: To avoid a watery shake, never add ice cubes unless you’re making a smoothie. Ice dilutes the flavor—this Milkshake relies on frozen ice cream for its luxurious texture. If you’re looking for lighter options, check out these milkshake recipes [here](https://rapidorecetas.com/chocolate-protein-pudding/) for a protein-packed twist.
—
Nutritional Benefits & Advantages
This homemade Milkshake isn’t just a dessert—it can be part of a balanced diet when made mindfully.
– Calcium boost: Whole milk and ice cream provide about 30% of your daily calcium, supporting bone health.
– Complete protein: Dairy offers all nine essential amino acids. For a plant-based version, use soy or pea-protein ice cream.
– Customizable macros: By swapping sugar for a natural sweetener and using low-fat milk, you can reduce calories to around 250 per serving.
– No artificial additives: Skip the stabilizers and High Fructose Corn Syrup found in many commercial shakes. You control every ingredient.
For weight-conscious readers, pairing this shake with a handful of protein powder or Greek yogurt turns it into a satisfying post-workout meal. And if you’re curious about healthier versions, the [Milkshake](https://homecookedrecipe.com/weight-loss-summer-smoothie-recipes/) link offers summer-friendly adaptations.
—
Tips, Variations & Cooking Advice
– Flavor twists: Swap vanilla ice cream for chocolate, strawberry, or coffee. Add 2 tablespoons of cocoa powder for a double-chocolate hit.
– Dietary adaptations:
– Vegan: Use coconut or oat milk-based ice cream and plant milk.
– Low-sugar: Use sugar-free vanilla ice cream and unsweetened milk.
– Lactose-free: Lactose-free milk and ice cream work perfectly.
– Portion control: Make mini milkshakes in small cups for kids, or double the recipe for sharing.
– Booster add-ins: A tablespoon of chia seeds, flaxseed meal, or collagen powder blends seamlessly without altering taste.
—
Common Mistakes to Avoid
1. Using warm ingredients – Warm ice cream or milk leads to a soupy mess. Always start with very cold milk and firm ice cream.
2. Over-blending – Blending for more than 60 seconds introduces air, making the shake frothy instead of dense. Stop as soon as it’s smooth.
3. Skipping the salt – A pinch of salt is the secret to balancing sweetness. Without it, the shake can taste flat.
4. Not tasting before serving – Everyone’s palate is different. Taste and adjust sweetness or salt level to your liking.
5. Pouring into a warm glass – A warm glass melts the shake instantly, ruining the texture. Always chill the glass.
—
Storage & Meal Prep Tips
Milkshakes are best enjoyed fresh, but you can store leftovers:
– Refrigeration: Pour into an airtight container and refrigerate for up to 24 hours. The mixture will separate slightly—simply re-blend or whisk before drinking.
– Freezing: Freeze the shake in a sealed container for up to 1 month. Thaw in the fridge for 2 hours, then re-blend with a splash of milk to restore creaminess.
– Meal prep: Pre-scoop ice cream portions into a freezer bag. When ready, just add milk and blend in seconds.
Note: Avoid microwaving to reheat—milkshakes are meant to be cold!
—
Conclusion
There you have it—a foolproof recipe for a thick, creamy Milkshake that rivals any diner version. By making it at home, you take control of quality, flavor, and nutrition. Whether you stick to classic vanilla or experiment with bold additions, this shake is guaranteed to satisfy. We’ve covered everything from ingredient swaps to storage tips, so you’re fully equipped to perfect your technique. Don’t forget to explore those milkshake recipes linked above for even more inspiration. Now grab your blender, whip up a glass, and share your creation with friends or family. Better yet, tag us with your results—we’d love to see your frosty masterpiece!
—
FAQs
1. Can I use frozen yogurt instead of ice cream?
Yes! Frozen yogurt will give a tangier, slightly lighter texture. You may need to add a little more milk to achieve the same creaminess.
2. Why did my milkshake turn out too thin?
This usually happens if the ice cream was too soft or you added too much milk. Fix by adding more ice cream and blending again.
3. How do I make a vegan milkshake?
Use a high-quality vegan ice cream (coconut, cashew, or oat based) and plant milk like oat or almond. The process remains exactly the same.
4. Can I make this milkshake without a blender?
Yes, but with extra effort. Mash the ice cream with a fork, then stir vigorously with a whisk until smooth. Alternatively, use a hand mixer.
5. What’s the best way to thicken a milkshake without ice cream?
Freeze ripe bananas (peeled, sliced) and blend them with milk. It creates a naturally thick, creamy texture similar to ice cream. Add cocoa powder for a chocolate version.
5 Delicious Milkshakes
Ingredients
Equipment
Method
- Gather all ingredients, including vanilla ice cream, milk, vanilla extract, and optional sugar.
- In a blender, combine the vanilla ice cream, milk, vanilla extract, and sugar (if using).
- Blend on high speed until the mixture is smooth and creamy, scraping down the sides if necessary.
- Pour the milkshake equally into five glasses and serve immediately.