The Ultimate Guide to Perfect Thanksgiving Stuffing: A Moist, Flavor-Packed Recipe Everyone Will Love
Have you ever wondered why some Stuffing turns out dry and bland while others are irresistibly moist and aromatic? The secret isn’t just in the ingredients—it’s in the technique. Preparing this classic side dish at home transforms a simple meal into a memorable feast, filling your kitchen with the nostalgic aroma of sage, celery, and butter. Whether you’re hosting your first Thanksgiving or looking to elevate your holiday table, mastering homemade Stuffing ensures you control every flavor. For those with dietary restrictions, exploring a gluten-free thanksgiving stuffing option opens up new possibilities without sacrificing taste or texture. This guide walks you through each step with data-backed tips for consistent results.
Ingredients & Kitchen Tools
Base Ingredients:
– 1 loaf (16 oz) day-old sourdough or French bread – stale bread absorbs moisture better; substitute with gluten-free bread for a gluten-free thanksgiving stuffing version
– 4 tbsp unsalted butter (or vegan butter)
– 1 large yellow onion, diced (about 1½ cups)
– 3 celery stalks, diced (about 1 cup)
– 3 garlic cloves, minced
– 2 cups low-sodium chicken or vegetable broth – keeps stuffing from getting salty
– 1 large egg, lightly beaten (or flax egg for vegan)
– 2 tbsp fresh sage, chopped (or 2 tsp dried)
– 1 tbsp fresh thyme leaves (or 1 tsp dried)
– ½ cup fresh parsley, chopped
– 1 tsp salt
– ½ tsp black pepper
Kitchen Tools:
– Large skillet
– 9×13-inch baking dish
– Large mixing bowl
– Chef’s knife + cutting board
– Whisk
– Aluminum foil
Optional Substitutions: Swap sourdough with cornbread for Southern-style dressing; use mushroom broth for deeper umami; add ½ cup dried cranberries or chopped apples for sweetness.
Prep Time & Cooking Schedule
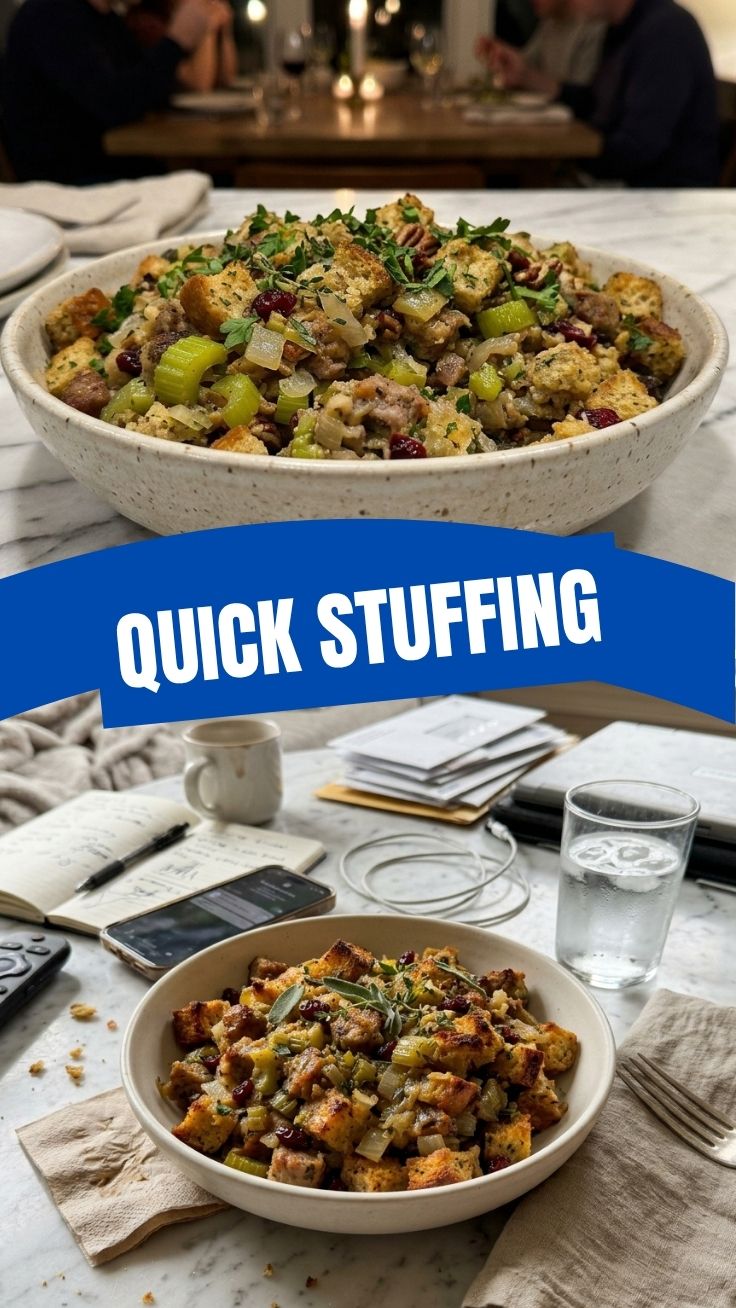
The total time is approximately 1 hour 15 minutes, broken down as:
– Prep Time: 20 minutes (dice vegetables, chop herbs, cube bread)
– Cooking Time: 45–50 minutes (covered 30 minutes, uncovered 15–20 minutes)
– Resting Time: 10 minutes before serving
Planning Tip: Cube bread 1–2 days ahead and leave it uncovered on a baking sheet to stale. This prevents mushy stuffing by ensuring the bread absorbs liquid without disintegrating. If short on time, toast cubes at 300°F for 10 minutes.
Step-by-Step Instructions
Step 1: Prepare the Bread Base
Preheat oven to 375°F. Spread bread cubes on a baking sheet and toast for 10 minutes until lightly crisp. This step is critical—properly dried bread creates the ideal texture for classic Stuffing. For a gluten-free thanksgiving stuffing, use certified gluten-free bread and reduce toasting time by 2 minutes to avoid burning.
Step 2: Sauté the Aromatics
In a large skillet, melt butter over medium heat. Add onion and celery; cook 7–8 minutes until softened and translucent. Add garlic, sage, and thyme—cook 1 minute until fragrant. Season with salt and pepper.
Step 3: Combine Wet and Dry Ingredients
In a large bowl, whisk broth with beaten egg until smooth. Add toasted bread cubes and sautéed vegetables, then pour broth mixture over everything. Toss gently with a spatula until evenly moistened—aim for a “spongy” texture where cubes are wet but not swimming.
Step 4: Bake to Perfection
Transfer mixture to a greased baking dish. Cover tightly with foil and bake 30 minutes. Remove foil and bake 15–20 minutes more until golden brown and slightly crispy on top. Temperature check: Internal temperature should reach 165°F for food safety.
Texture tip: For extra crisp edges, increase uncovered baking by 5 minutes. For softer stuffing, add ¼ cup more broth before baking.
Nutritional Benefits & Advantages
A single serving (about 1 cup) of this Stuffing provides approximately 220 calories, 8g protein, 30g carbohydrates, and 8g fat. The celery adds vitamin K and fiber for digestive health, while sage offers antioxidant properties that support memory and brain function. Using low-sodium broth reduces sodium by 40% compared to standard recipes, making this heart-friendly. The egg provides high-quality protein—essential for satiety during heavy holiday meals. For a lighter option, substitute half the bread with cauliflower rice (reducing calories by 35%).
Tips Variations & Cooking Advice
Flavor Variations:
– Italian Style: Add ½ cup sun-dried tomatoes, ¼ cup pine nuts, and swap thyme for oregano
– Sausage Lover’s: Brown ½ lb Italian sausage before sautéing vegetables—drain excess fat first
– Herb Garden: Use 1 tbsp each rosemary, marjoram, and chives for Mediterranean flair
Cooking Adjustments:
– Slow Cooker Method: Cook on HIGH for 2–3 hours or LOW for 4–5 hours (add ¼ cup extra broth)
– Air Fryer: Bake at 350°F for 20 minutes in 8×8-inch dish, covered with foil
Dietary Adaptations:
– Dairy-Free: Use olive oil or vegan butter
– Egg-Free: Replace egg with ¼ cup unsweetened applesauce
– Low-Carb: Use 4 cups cauliflower florets (pulsed in food processor) mixed with 2 cups almond flour
Common Mistakes to Avoid
Mistake 1: Using Fresh Bread
Fresh bread turns into paste when mixed with liquid. Always use day-old or toasted bread—this ensures distinct cubes that hold their shape.
Mistake 2: Over-Saturating with Broth
Add liquid gradually. The mixture should look moist but not soupy. Over-wet stuffing bakes into a dense, gluey mass. A good test: press a handful—it should hold together but release easily.
Mistake 3: Skipping the Resting Time
Baked stuffing needs 10 minutes to set. Cutting too early causes it to crumble. Resting allows starches to firm up, creating sliceable portions.
Mistake 4: Compressing into the Dish
Spread stuffing loosely—packing it tightly prevents steam circulation, resulting in a soggy bottom. Leave ½ inch of space from dish edges for even browning.
Storage & Meal Prep Tips
Refrigeration: Store in an airtight container for up to 4 days. Reheat in a 350°F oven for 15 minutes (covered with foil, add 1 tbsp broth per cup to restore moisture).
Freezing: Cool completely, then freeze in a freezer-safe bag for up to 3 months. Thaw overnight in the refrigerator before reheating. Important: Freeze without the egg if possible—add beaten egg when thawing for best texture.
Reheating Hack: For crispy leftovers, reheat in an air fryer at 375°F for 5–7 minutes. This revives the crust without drying the interior.
Conclusion
Mastering homemade Stuffing transforms holiday meals from ordinary to extraordinary—the balance of crisp edges and soft interior, the fragrance of fresh herbs, and the satisfaction of a dish made with intention. Whether you follow this classic recipe or adapt it into a gluten-free thanksgiving stuffing, remember that technique matters as much as ingredients. Toast your bread properly, don’t skimp on herbs, and let it rest before serving. Try this recipe for your next gathering, share your results in the comments, or experiment with the variations to make it your own. Your family will thank you—and so will your taste buds.
FAQs
Q: Can I make stuffing ahead of time?
A: Absolutely. Assemble the dish (without baking) up to 24 hours in advance, cover tightly, and refrigerate. Add 10 minutes to baking time when cooking from cold.
Q: How do I fix stuffing that’s too dry?
A: Drizzle warm broth (¼ cup at a time) over the stuffing, toss gently, and let it rest 5 minutes before serving. For reheated leftovers, add broth and microwave 30 seconds.
Q: What’s the best bread for stuffing?
A: Sourdough or French bread provides structure and tang, while cornbread offers sweetness. Gluten-free bread works but choose dense varieties—avoid fluffy white bread that dissolves.
Q: Can I use dried herbs instead of fresh?
A: Yes, but reduce quantity by half (fresh-to-dried ratio is 3:1). Add dried herbs during sautéing to release oils; add fresh herbs at the end for brighter flavor.
Q: Why does my stuffing taste bland?
A: Seasoning needs salt at every layer—salt the vegetables while sautéing, season the broth, and taste the bread mixture before baking. Don’t forget black pepper and fresh parsley for brightness.
Best way to grow 10 Stuffing recipes
Ingredients
Equipment
Method
- Preheat your oven to 375°F (190°C) and grease a 9x13 inch baking dish.
- Spread the cubed bread on a baking sheet and toast for 10-15 minutes until lightly golden; this helps prevent a soggy stuffing.
- In a large skillet or Dutch oven, melt the butter over medium heat.
- Add the diced onions and celery and cook until softened, about 8-10 minutes.
- In a large mixing bowl, combine the toasted bread cubes, sautéed aromatics, and any chosen flavor variations or optional add-ins.
- In a separate bowl, whisk together the chicken or vegetable broth, beaten eggs, salt, and pepper.
- Pour the liquid mixture over the bread mixture and gently toss until everything is well combined and the bread is moistened; add more broth if needed for desired consistency.
- Transfer the stuffing mixture to the prepared baking dish and cover with foil.
- Bake for 30 minutes, then remove the foil and bake for another 20-30 minutes, or until the top is golden brown and crispy.
- Let the stuffing rest for a few minutes before serving, then garnish with fresh parsley or other herbs if desired.