The Ultimate Guide to Making the Perfect Apple Crisp at Home
Have you ever craved a warm, cinnamon-spiced dessert but felt intimidated by the thought of rolling out pie dough? You’re not alone. That’s exactly why the humble apple crisp has earned a place in so many home kitchens—it delivers all the comforting flavors of a classic Apple Crisp without the fuss. When you prepare it yourself, you control the sweetness, the spice level, and the texture of that irresistible oat topping. Plus, it’s infinitely adaptable to whatever apples you have on hand. While a traditional Apple Pie requires careful crimping and blind baking, apple crisp is forgiving, fast, and always satisfying. In this guide, I’ll walk you through every step so you can create a dessert that rivals any bakery version—right from your own oven.
—
Ingredients & Kitchen Tools
The beauty of apple crisp lies in its simplicity. Here’s exactly what you need:
Filling:
– 6 medium apples (mix sweet and tart varieties like Honeycrisp + Granny Smith) – peeled, cored, and sliced ¼-inch thick
– 3 tablespoons granulated sugar (or coconut sugar for a lower-GI option)
– 1 tablespoon lemon juice – prevents browning and brightens flavor
– 1 teaspoon ground cinnamon
– ¼ teaspoon ground nutmeg
– 1 tablespoon cornstarch – for thickening the juices
Topping:
– 1 cup old-fashioned rolled oats (gluten-free certified if needed)
– ½ cup all-purpose flour (or almond flour for gluten-free)
– ½ cup packed brown sugar (light or dark)
– ½ teaspoon salt
– ½ cup cold unsalted butter, cut into small cubes
Kitchen Tools:
– 8×8-inch baking dish (or 9-inch pie plate)
– Sharp chef’s knife and cutting board
– Mixing bowls (medium and large)
– Pastry cutter or fork for blending butter into dry ingredients
– Measuring cups and spoons
– Vegetable peeler
Optional Substitutions:
– Replace butter with coconut oil (solid, not melted) for a dairy-free version
– Swap oats for chopped nuts (pecans or walnuts) if you want a nuttier crunch
– Use maple syrup instead of brown sugar for a deeper caramel note
—
Prep Time & Cooking Schedule
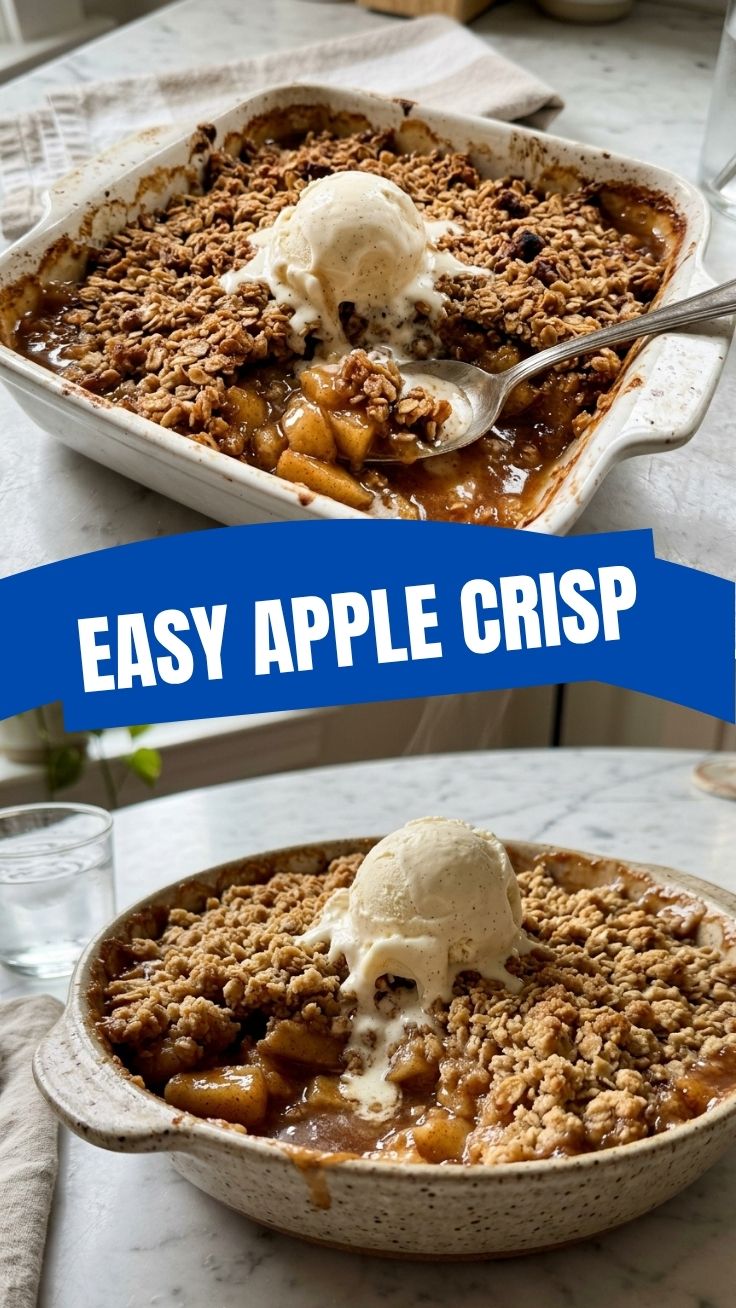
– Prep time: 20 minutes (peeling, slicing, mixing)
– Cook time: 40–45 minutes at 375°F (190°C)
– Resting time: 15 minutes after baking – essential for the filling to set
Best time to start: Plan to put the crisp in the oven about an hour before you want to serve it. While it bakes, you can prepare a scoop of vanilla ice cream or whip some cream. The resting period gives you time to set the table and let the aromas fill your kitchen.
—
Step-by-Step Instructions
1. Preheat and prepare the dish. Set your oven to 375°F. Lightly grease an 8×8-inch baking dish with butter or nonstick spray.
2. Prepare the filling. In a large bowl, toss apple slices with granulated sugar, lemon juice, cinnamon, nutmeg, and cornstarch. Let sit for 5 minutes while the apples release their juices.
3. Make the topping. In a separate medium bowl, combine oats, flour, brown sugar, and salt. Add cold butter cubes and use a pastry cutter (or your fingers) to work the butter into the dry mixture until it resembles coarse crumbs with some pea-sized butter pieces remaining.
4. Assemble. Pour the apple mixture into the prepared dish and spread evenly. Sprinkle the oat topping over the apples, covering completely. Don’t press it down—you want a craggy, crunchy top.
5. Bake. Place the dish on a baking sheet (to catch any drips) and bake for 40–45 minutes, until the topping is golden brown and the filling is bubbling around the edges. If the topping browns too quickly, tent loosely with foil after 30 minutes.
6. Rest and serve. Remove from the oven and let it rest for at least 15 minutes. The filling will thicken as it cools. Serve warm, topped with ice cream or a drizzle of caramel.
Pro tip on temperature control: If your oven runs hot, reduce to 350°F and extend baking time by 5–10 minutes. You want the apples tender but not mushy—test with a fork after 35 minutes.
Flavor adjustment: For a more complex spice profile, add ¼ teaspoon cardamom or a pinch of cloves. And while apple crisp shines on its own, you can also serve it alongside a slice of Apple Pie for a double-apple dessert board.
—
Nutritional Benefits & Advantages
Apples are packed with fiber, vitamin C, and antioxidants like quercetin, which support heart health and immunity. Oats provide soluble beta-glucan, known to help lower cholesterol. By making apple crisp at home, you control the sugar level—cut it by 25% if you prefer, with no major texture loss. Compared to a buttery pie crust, the oat-flour topping has less saturated fat and more whole grains, making this dessert a smarter indulgence.
—
Tips, Variations & Cooking Advice
Flavor variations:
– Add 1 cup fresh cranberries or chopped pears for a seasonal twist
– Stir in ½ teaspoon vanilla extract to the apple filling
– Top with a handful of slivered almonds before baking
Method swaps:
– Slow cooker: assemble in a slow cooker, cook on low for 3 hours, then uncover and broil 2 minutes to crisp the topping
– Air fryer: use a smaller dish and air-fry at 325°F for 20–25 minutes
Dietary adaptations:
– Gluten-free: use certified gluten-free oats and a 1:1 gluten-free flour blend
– Dairy-free: replace butter with solid coconut oil or a vegan butter stick
– Low sugar: substitute brown sugar with 2 tablespoons maple syrup + 2 tablespoons erythritol
—
Common Mistakes to Avoid
1. Soggy topping. The culprit is warm butter melting too fast. Always use cold butter and handle the topping minimally.
2. Watery filling. Not adding any thickener (cornstarch or flour) leads to a soupy mess. One tablespoon is perfect for 6 apples.
3. Overbaking. Apples can turn into applesauce if baked too long. At 375°F, check at 40 minutes.
4. Under-seasoning. Don’t be shy with cinnamon and salt—a pinch of salt in both filling and topping elevates every bite.
5. Skipping the rest. Cutting into a piping hot crisp makes the filling run. Patience pays off.
—
Storage & Meal Prep Tips
– Refrigeration: Store leftovers in an airtight container for up to 4 days. The topping will soften, but it’s still delicious.
– Freezing: Assemble the unbaked crisp (without baking) in a freezer-safe dish, wrap tightly, and freeze for up to 3 months. Bake directly from frozen—add 10–15 minutes to the bake time.
– Reheating: Warm individual portions in the microwave for 30 seconds, or reheat the whole dish in a 350°F oven for 10 minutes to re-crisp the topping.
Meal prep hack: Make the topping in advance and store it in the fridge for up to a week. When you’re ready, simply slice apples and assemble.
—
Conclusion
Making apple crisp from scratch is one of the most rewarding kitchen projects. You get the deep, caramelized sweetness of baked apples paired with a crunchy oat topping that’s infinitely customizable. Whether you serve it for a family dinner or a cozy weekend treat, this dessert never fails to impress. Remember: while apple crisp is quick and forgiving, it still rewards attention to detail—like resting time and butter temperature. And if you ever want to upgrade your dessert game, try serving it with a wedge of classic Apple Pie for the ultimate apple lover’s feast. Now preheat your oven, grab those apples, and get ready to enjoy a dessert that tastes like pure autumn comfort. Share your results in the comments—I’d love to see your golden, bubbling creation!
—
FAQs
1. Can I use pre-peeled apples or canned apples?
Fresh apples give the best texture and flavor. Pre-peeled apples oxidize quickly, and canned apples are too soft. Stick with whole, fresh apples for a crisp that holds its shape.
2. Why did my topping turn out chewy instead of crunchy?
Chewy topping usually means the oats absorbed too much moisture from the filling. Try reducing the apple juice by letting the macerated apples drain slightly before assembling, or increase the oat-to-butter ratio by adding a few extra tablespoons of oats.
3. Can I make apple crisp without oats?
Absolutely. Replace oats with an equal amount of chopped pecans or walnuts, or use a streusel made from flour, brown sugar, and butter only (no oats). It will be denser but equally delicious.
4. How do I know the crisp is done?
You’ll see large, slow bubbles at the edges of the dish, and the topping should be deep golden brown. Insert a fork into an apple slice—it should be tender but not mushy.
5. Can I double this recipe for a crowd?
Yes. Use a 9×13-inch baking dish and increase bake time to 50–55 minutes. Keep the oven at 375°F and check for doneness at 45 minutes. You may need to tent with foil halfway through to prevent over-browning.
Quick way to grow 5 Apple Crisp apple trees
Ingredients
Equipment
Method
- Select a sunny spot with well-draining soil for your apple trees. Dig holes twice as wide and just as deep as the root ball of each sapling, spacing them 15-20 feet apart.
- Mix compost or aged manure into the excavated soil to enrich it, then gently place each sapling in its hole, ensuring the graft union is 2-3 inches above ground level.
- Backfill the holes with the amended soil, lightly tamping to remove air pockets, and immediately water thoroughly to settle the soil around the roots.
- Stake each tree to provide support against wind, ensuring the ties are loose enough to prevent girdling, and apply a 2-3 inch layer of mulch around the base of each tree, keeping it away from the trunk.
- Water the trees deeply once a week, especially during dry periods, and fertilize in the spring with a balanced NPK fertilizer according to package instructions.
- Prune any broken, diseased, or crossing branches in late winter to early spring to promote healthy growth and air circulation.