Crispy Coconut Shrimp: The Ultimate Guide to Perfectly Golden, Tropical Bites
Have you ever bitten into a restaurant-style Coconut Shrimp and wondered how to recreate that irresistible crunch at home? You’re not alone. The combination of sweet coconut, succulent shrimp, and a crispy golden crust is pure magic—and making it yourself means you control the freshness, the oil temperature, and the seasoning. Whether you’re planning a weeknight dinner or an appetizer for guests, mastering this dish is simpler than you think. In this guide, I’ll walk you through every detail, from choosing the right shrimp to nailing that perfect puff of coconut. And if you’ve been hunting for a reliable coconut shrimp recipe, you’ve found it. Let’s dive into the science and art of Coconut Shrimp, ensuring every bite is crispy, sweet, and unforgettable.
Ingredients & Kitchen Tools
Before you start, gather these ingredients and tools. Each item plays a role in texture and flavor.
Shrimp: 1 lb large (16/20 count) raw shrimp, peeled and deveined with tails on. The tails make for easy dipping and a pretty presentation.
Coconut: 1½ cups unsweetened shredded coconut (or sweetened for a dessert-like twist). Toast it lightly beforehand for deeper flavor.
Breading: ½ cup all-purpose flour (or rice flour for gluten-free), 2 large eggs, 1 cup panko breadcrumbs. Panko gives extra crunch.
Seasonings: ½ tsp salt, ¼ tsp black pepper, ¼ tsp garlic powder, and a pinch of cayenne (optional).
Oil: Neutral oil like canola or avocado for deep frying (about 4 cups).
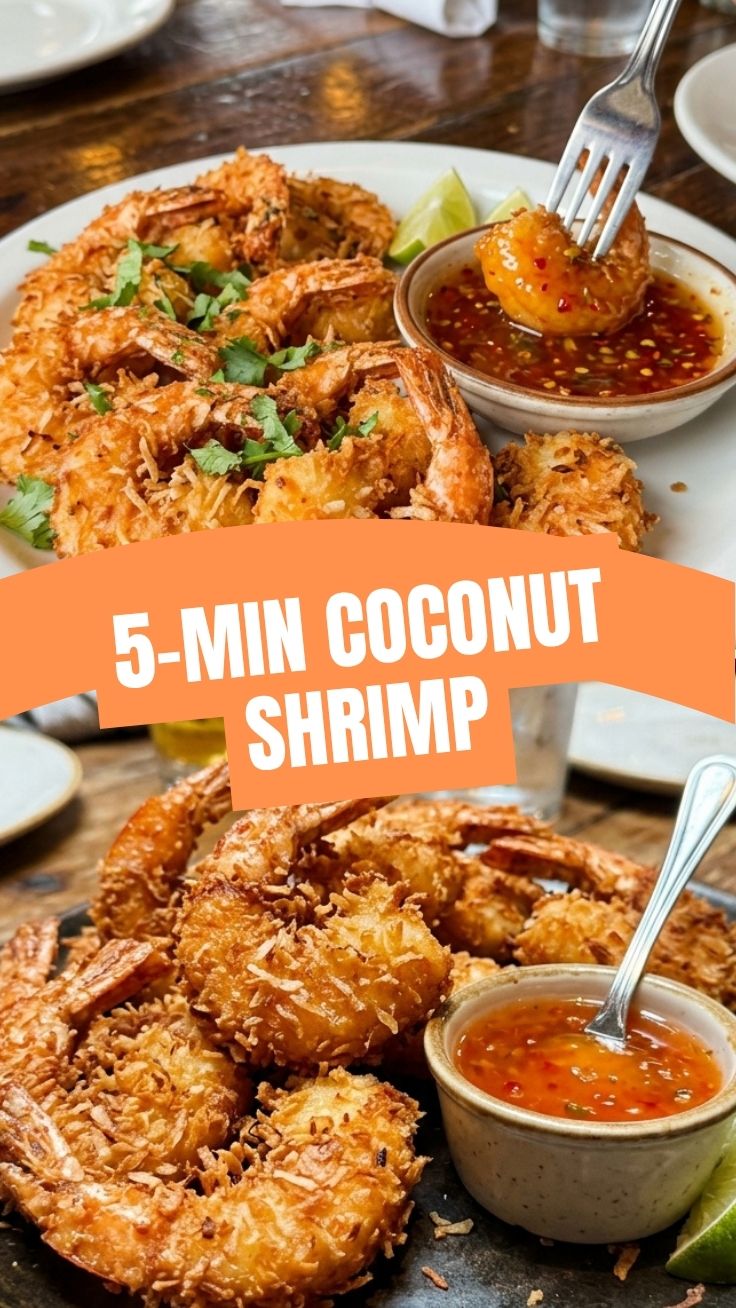
Dipping sauce: Sweet chili sauce, or mix equal parts honey and sriracha for a spicy-sweet kick.
Tools: Deep fryer or heavy-bottomed pot, candy/deep-fry thermometer, three shallow bowls for breading station, wire rack over baking sheet, tongs, paper towels.
Optional substitutions: Swap panko for crushed cornflakes for a cereal-crunch. Use almond flour for keto-friendly Coconut Shrimp. Replace egg with buttermilk for a tangy coating.
Prep Time & Cooking Schedule
– Prep time: 20 minutes (cleaning shrimp, setting up breading station).
– Resting time: 15 minutes after breading – crucial for the coating to adhere.
– Cooking time: 2–3 minutes per batch (in 350°F oil).
– Total time: Approximately 40 minutes.
Plan to serve immediately after frying; Coconut Shrimp loses crispness quickly. If cooking for a crowd, keep finished batches warm on a wire rack in a 200°F oven.
Step-by-Step Instructions
1. Prepare the shrimp: If using frozen shrimp, thaw completely and pat very dry with paper towels. Moisture is the enemy of crispiness. Season lightly with salt and pepper.
2. Set up breading station: In bowl 1: flour + garlic powder + cayenne. In bowl 2: beaten eggs + 1 tbsp water. In bowl 3: mix panko and shredded coconut evenly.
3. Coat each shrimp: Dredge in flour (shake off excess), dip in egg wash, then press firmly into coconut-panko mixture. Ensure the coating covers all sides. Place on a wire rack. This step is where the perfect Coconut Shrimp gets its golden armor.
4. Rest: Let breaded shrimp sit for 15 minutes. This allows the batter to set, preventing coating from falling off during frying.
5. Heat oil: In a deep pot, heat oil to 350°F (177°C). Use a thermometer – too low makes greasy shrimp, too high burns the coconut.
6. Fry in batches: Drop 4–5 shrimp into the oil. Do not crowd. Fry for 2–3 minutes, turning once, until deep golden brown. Internal temperature of shrimp should reach 145°F. Remove with tongs to a paper-towel-lined plate.
7. Season immediately: Sprinkle with a tiny pinch of salt while hot. Serve with dipping sauce. For an extra-tropical variation, try this coconut shrimp recipe with mango-lime dipping sauce.
Pro tip: If the coating browns too quickly before the shrimp is cooked, your oil is too hot. Lower heat slightly.
Nutritional Benefits & Advantages
Shrimp is a lean protein source, rich in selenium, vitamin B12, and omega-3 fatty acids. Coconut provides medium-chain triglycerides (MCTs), which may support energy metabolism. This dish can be part of a balanced meal when paired with a fresh salad or cauliflower rice. For a lower-carb version, replace flour with coconut flour – the Coconut Shrimp remains crispy while reducing net carbs. However, note that frying adds calories; air-frying reduces fat by about 40% while retaining texture.
Tips Variations & Cooking Advice
– Flavor variations: Add lime zest to the coconut mixture; use smoked paprika instead of cayenne; or incorporate finely chopped macadamia nuts for extra crunch.
– Ingredient swaps: For gluten-free, use rice flour and gluten-free panko. For dairy-free, the recipe is naturally dairy-free. To make it paleo, skip panko and add extra coconut flakes plus almond flour.
– Alternative cooking: Air fry at 375°F for 8–10 minutes, flipping halfway, spraying with oil. For baking, place on a greased rack at 400°F for 12–15 minutes.
– Portion changes: Use smaller shrimp (41/50 count) for appetizers; adjust cooking time to 1–2 minutes.
Common Mistakes to Avoid
1. Soggy coating: Usually caused by wet shrimp or insufficient resting time. Always pat dry and rest.
2. Uneven browning: Occurs when oil temperature fluctuates. Maintain 350°F and fry in small batches.
3. Burning coconut: Coconut burns faster than breadcrumbs. If using sweetened coconut, reduce heat to 340°F.
4. Overcooked shrimp: Shrimp becomes rubbery if fried too long. Cook just until opaque and pink.
5. Coating falls off: Not pressing the breading firmly enough. Use your hands to mold it onto the shrimp.
Storage & Meal Prep Tips
Refrigeration: Store leftover Coconut Shrimp in an airtight container lined with paper towels for up to 2 days. Do not stack; separate layers with paper towels.
Freezing: Flash-freeze breaded (uncooked) shrimp on a baking sheet, then transfer to a freezer bag for up to 2 months. Fry directly from frozen, adding 1 minute to cooking time.
Reheating: To restore crispiness, reheat in an air fryer at 375°F for 3–4 minutes, or in a 400°F oven for 5–7 minutes. Avoid microwaving – it turns the coating rubbery.
Conclusion
Crispy, sweet, and savoury all at once, this dish proves that homemade can rival any restaurant. By following the technique of proper drying, resting, and temperature control, you’ll achieve that golden crust every time. Remember, the perfect Coconut Shrimp relies on patience and precision. Whether you’re looking for a crowd-pleasing appetizer or a weeknight treat, this coconut shrimp recipe delivers consistent results. Give it a try, share your golden batches on social media, and don’t hesitate to experiment with the variations above. Once you taste the difference, you’ll never go back to frozen.
FAQs
1. Can I use frozen shrimp?
Yes, but thaw completely and pat dry. Excess moisture causes soggy breading. Never fry frozen shrimp directly – it will cool the oil and cook unevenly.
2. How do I make this coconut shrimp recipe gluten-free?
Substitute all-purpose flour with rice flour or tapioca starch, and use gluten-free panko (or crushed gluten-free crackers). The rest of the ingredients are naturally gluten-free.
3. Why did my coconut fall off during frying?
Most likely because you didn’t press the coating firmly enough, or the shrimp wasn’t dry. Also, letting the breaded shrimp rest for 15 minutes helps the egg wash set.
4. Can I bake instead of fry?
Absolutely. Bake at 400°F on a wire rack over a baking sheet, spraying with oil, for 12–15 minutes. The texture will be less greasy but still crunchy, especially if you use Panko.
5. How long can I keep leftover Coconut Shrimp?
Refrigerate for up to 2 days. For best texture, reheat in an air fryer. Do not freeze already cooked shrimp – the coating becomes soggy upon thawing.